Howdy! The transition into fall is the perfect time to host guest bloggers on lifewithlilred. It is such fun to be inspired by the autumn traditions and joys of dear friends and readers and it adds that extra touch of (pumpkin) spice to my page. Speaking of pumpkins, today, we will be checking out a pumpkin milkshake recipe by Rachael from And Fierce. I have never tried a pumpkin milkshake before, but with a recipe that sounds this yummy, I think I’ll be giving it a shot! Take a look:
Quick & Easy Pumpkin Milkshake Recipe
Compliments of Rachael from And Fierce
One of our local restaurants we like to hit up at the end of their season will have a pumpkin milkshake. Earlier this month, I kept saying we have to go the last day and get one. We ran out of time and never went. After that, I decided I would make my own at home.
Simple and real ingredients but the result is perfection! So let’s go!!
Ingredients:
15 oz can of pure pumpkin
10-12 oz of vanilla ice cream (if you want more feel free to add more)
1/2 cup of milk
1/2 inch nob of fresh ginger, peeled and grated
2 teaspoons of pumpkin pie seasoning
Salted caramel sauce
Real whipped cream
Directions:
Add your pumpkin, vanilla ice cream, peeled and grated ginger, milk, and pumpkin pie seasoning into a blender and mix it up.
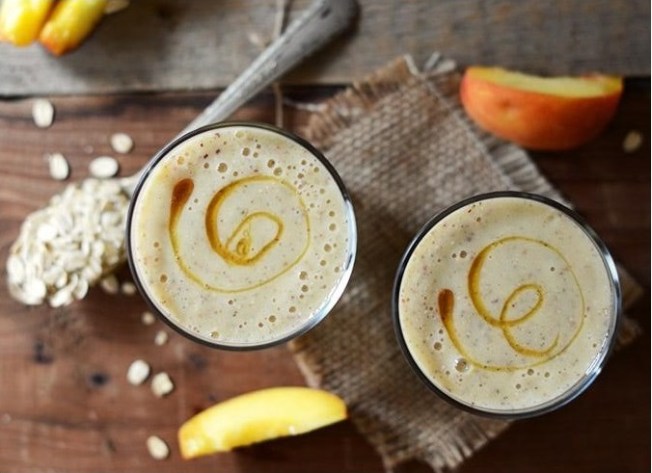
Once blended, get a cup and squirt caramel on the sides of the inside of the cup. Squirt or dollop your real whipped cream and add more caramel sauce to the top.
Yeilds: Roughly 32 ounces
As you can see I split mine into three 16 ounce cups to share between myself, Atticus, and Winter.

These really hit the spot and are completely kid approved! I’m sure we will make these again!
Many thanks again to Rachael for sharing her gorgeous Halloween Wreath and Pumpkin Milkshake Recipe here on lifewithlilred. For more from this amazing blogger, check out her page and give her a follow on Instagram @kavebabe !!
What is your favorite fall flavor? Are you team pumpkin spice or apple? I want to hear from all of you, so leave me a comment and let’s chat! Much love. -Sarah