DIY enthusiasts can be found all over. Some people start doing DIY out of necessity but soon find that they love it. Others try their hand at some tasks because they think it will be fun and they discover that it is. Some people do a bit of casual DIY, but a few can get really into it. Serious DIYers will start with fixing a few things but will soon find themselves coming up with their own projects that they carry out. They will happily invent something to make or improve upon if they get to do some DIY. These people need to make sure they have the right tools. They need something a little more powerful than the standard items to make sure that they are making the most of their DIY. Like some of these, for example:
Power Sanders: Any DIY enthusiast worth their salt who likes to work with wood needs to have a power sander. Sure, using sandpaper is excellent for finishing something off, but you don’t want to do everything by hand when you have a huge project to tackle. If you want to take on a big project, you’ll need something more powerful to help you out. Sanding will help to prepare a surface or finish it off at the end of a project. There are different types of sanders to consider, though, so it’s important to get the right one. They include belt, disk, pad and random orbit sanders.
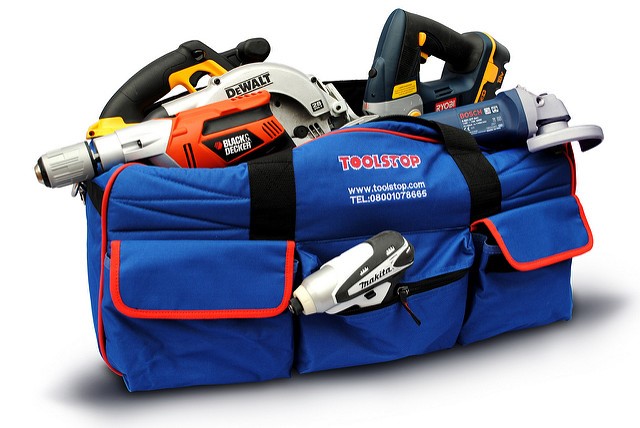
Impact Drivers: If you’re a fan of DIY, you’re likely to have a power drill or screwdriver. However, if you’re serious about DIY, you should consider getting an impact driver. An impact driver is like a power screwdriver but with much more weight behind it. It has more force behind it, allowing you to drive a screw further into any surface. You can find out more about impact drivers on any good DIY or product review website.
Angle Grinders: Angle grinders are excellent because they will do several jobs at once. They can cut, sand, grind, and polish materials. If you’re a DIY enthusiast with a limited amount of space, this is the one tool that you should consider investing in. It’s one of the most recommended tools to have in your DIY kit so you might want to choose it over some other options. They don’t need to be expensive and you can find them at different price points from excellent brands.
Nailers: It may seem like a simple tool, but a nail gun should be in any DIY lover’s tool arsenal. Who wants to waste time with a hammer, pounding nails into various materials and surfaces? A nailer takes the pain out of the job, making putting in multiple nails quick and easy. It might be a relatively simple tool, but it can be one of the best for a dedicated DIY enthusiast. It can help out tremendously with tasks both big and small.
Odds & Ends: If you are gifting for a DIYer but a new piece of equipment isn’t in your budget, why not assemble a package of odds and ends? Those little somethings that people who DIY can’t get enough of. It could be a Socket Head Cap Screw, magnetic wristbands to hold nails, or even blueprint paper. Whatever you choose, it is sure to be well used.
Anyone who loves DIY should make sure that they have the best tools for carrying out their work. If you take it seriously, your tools should be serious, too!


")


")


")