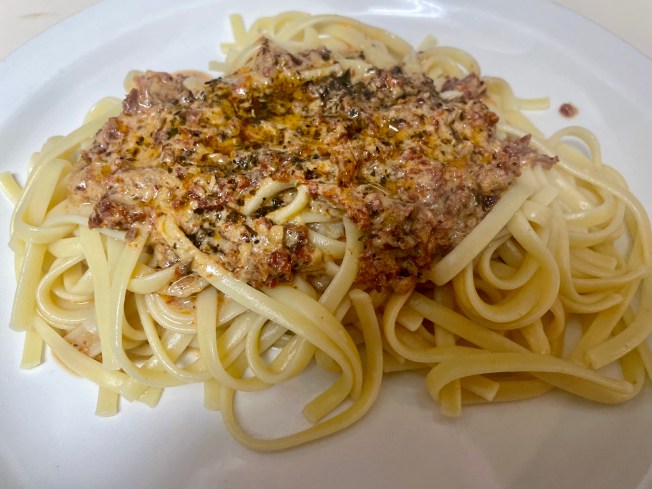
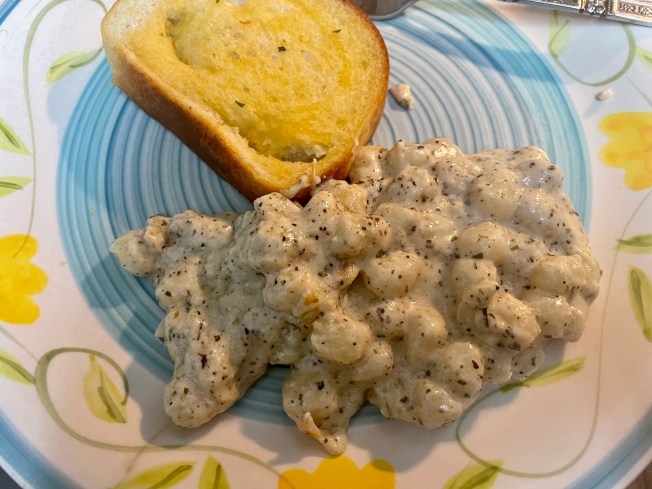
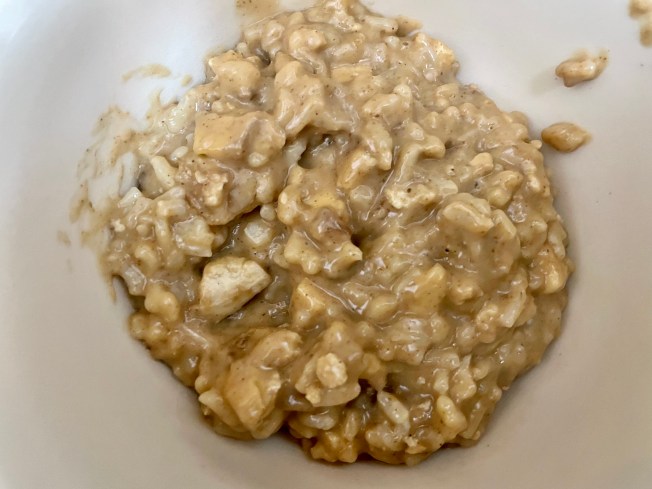
Hello!!! I always enjoy trying out new recipes and had a few random odds and ends of ingredients that I didn’t end up using for other meals. This included some lemons and a container of ricotta cheese. I originally planned on using the ricotta for baked ziti, but decided that I wanted to try something different. I knew that I could turn lemons into lemonade with these randos in my fridge and found a recipe by Savoring Italy for Creamy Lemon Ricotta Pasta on Pinterest. Both Johnny and I really enjoyed it and it is definitely one that I will make again! Check it out:

I am a huge fan of lemon pasta dishes. Well, let’s be real – any pasta dish lol. What I like about lemon pasta specifically is how light it is. The zingy flavor reminds me of summertime and after lots of snow in Ohio, it is just what I needed! I thought the last lemon pasta recipe I made was good, but the one by Savoring Italy was infinitely better. The ricotta cheese made it so rich and savory and every bite was a little slice of heaven. My only qualm with the recipe was that it tasted much better the second day. While it was very good freshly made, I always prefer something that I am making to taste its best immediately.
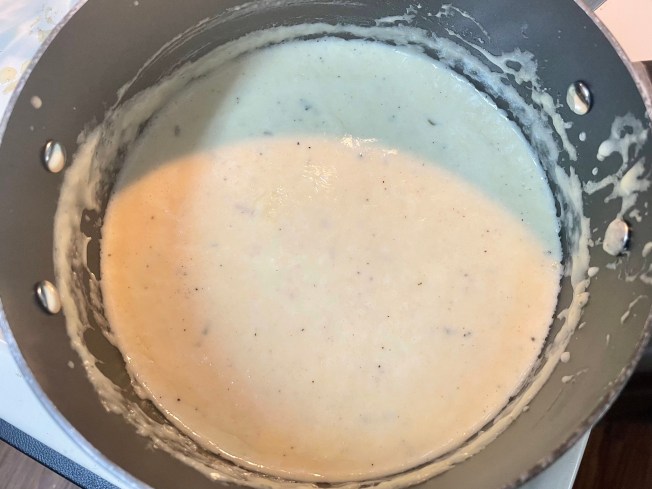
The recipe for this pasta was insanely easy and other than cooking the angel hair pasta that I opted for, the prep time took less than five minutes. All I needed to do was zest and juice the lemons, brown some butter in a pan, and mix it all together with the noodles and cheese. This is probably the fastest recipe I have ever made, which was excellent on a work night. It also used under ten ingredients and I didn’t have to buy anything different to make this recipe in its entirety. There is nothing better than that!
I am eager to make the Creamy Lemon Ricotta Pasta by Savoring Italy again. Now that I have made it once by staying true to the recipe, I plan on doctoring it up with some garlic, spinach, and pine nuts to give it a bit more variety. This meal was a huge success because Johnny was SO sure he wasn’t going to like it and ended up having seconds!
Have you tried any new recipes recently? How did it turn out? I want to hear from all of you, so leave me a comment and let’s chat! Much love. -Sarah