Tag Archives: diy

Simple Ways to Make Your Home More Attractive to Buyers

Standard
Simple Ways to Make Your Home More Attractive to Buyers

Selling your home is no mean feat. Even if your property is in the most respectable neighborhood and has been well looked after, there will be many buyers who are put off by the simplest of things, which is why if you want to sell your home quickly, and for the best price, you should take some time to make it appear as attractive as possible. Any real estate broker will tell you that, even if your home isn’t the best on the block, you can make it more appealing than the rest by doing some or all of the following:

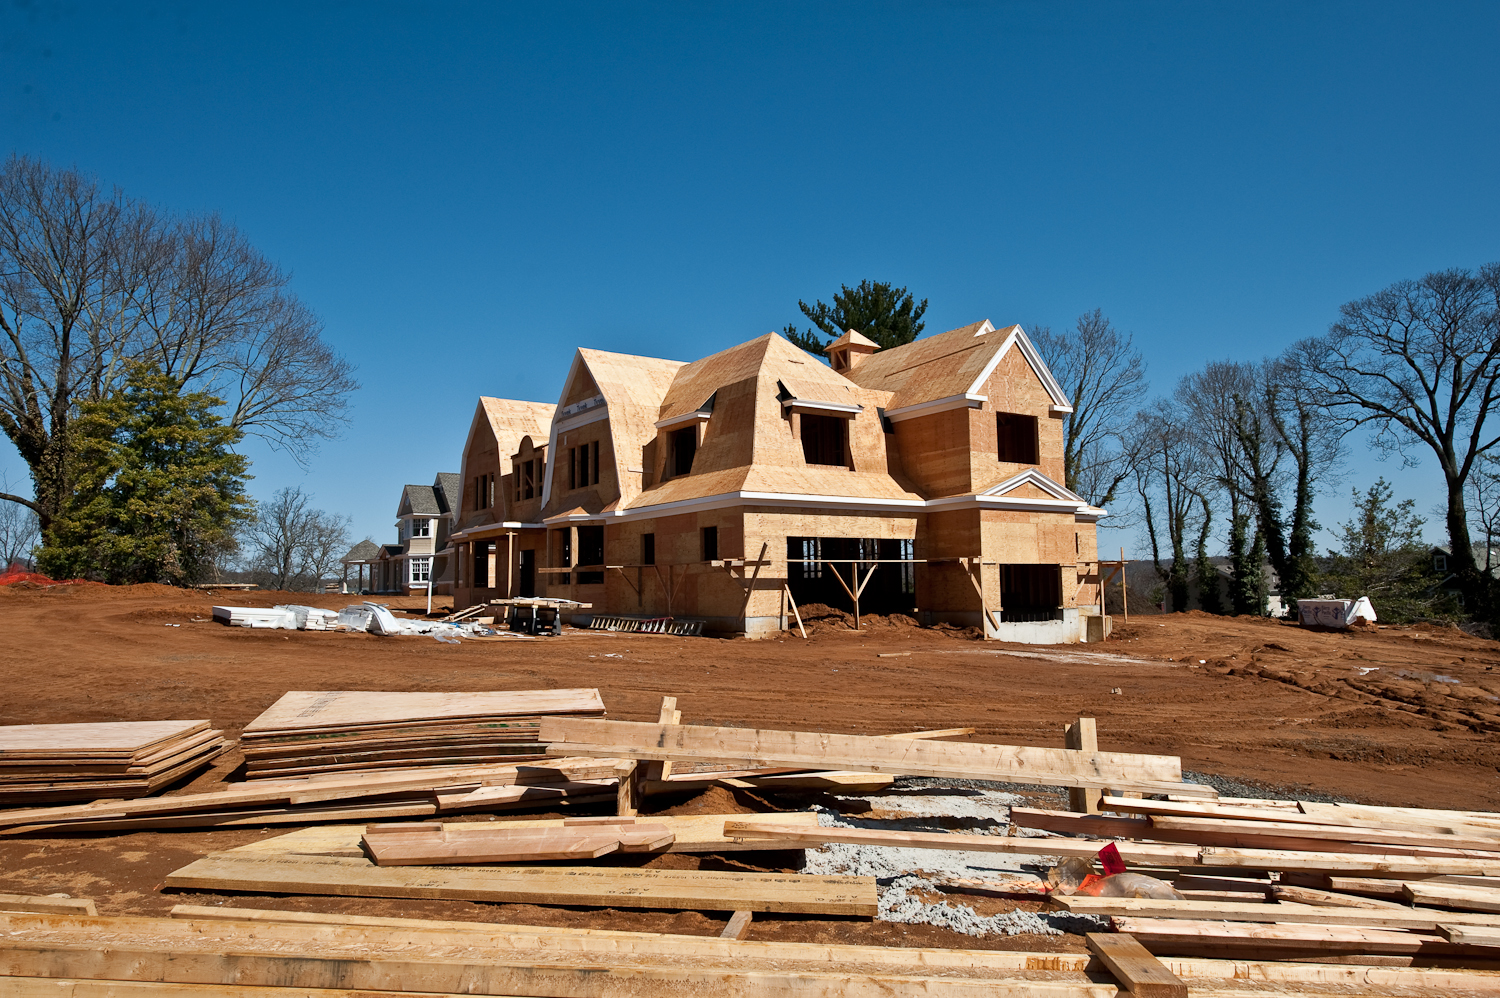
Make a Good First Impression: Perhaps they shouldn’t, but first impressions count. If you want potential buyers to be drawn to your home, you need to make sure that they see it in a positive light right from the beginning, and this means taking good care of your lawns, trees, hedges, driveways, and the exterior of your home. Do not neglect the outdoors if you want to make that all-important sale!

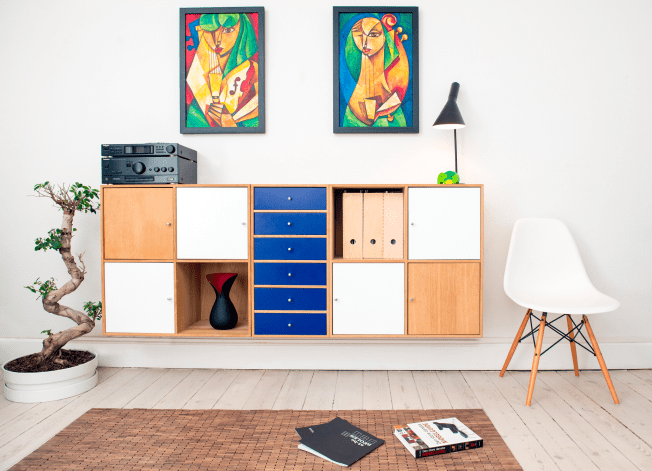
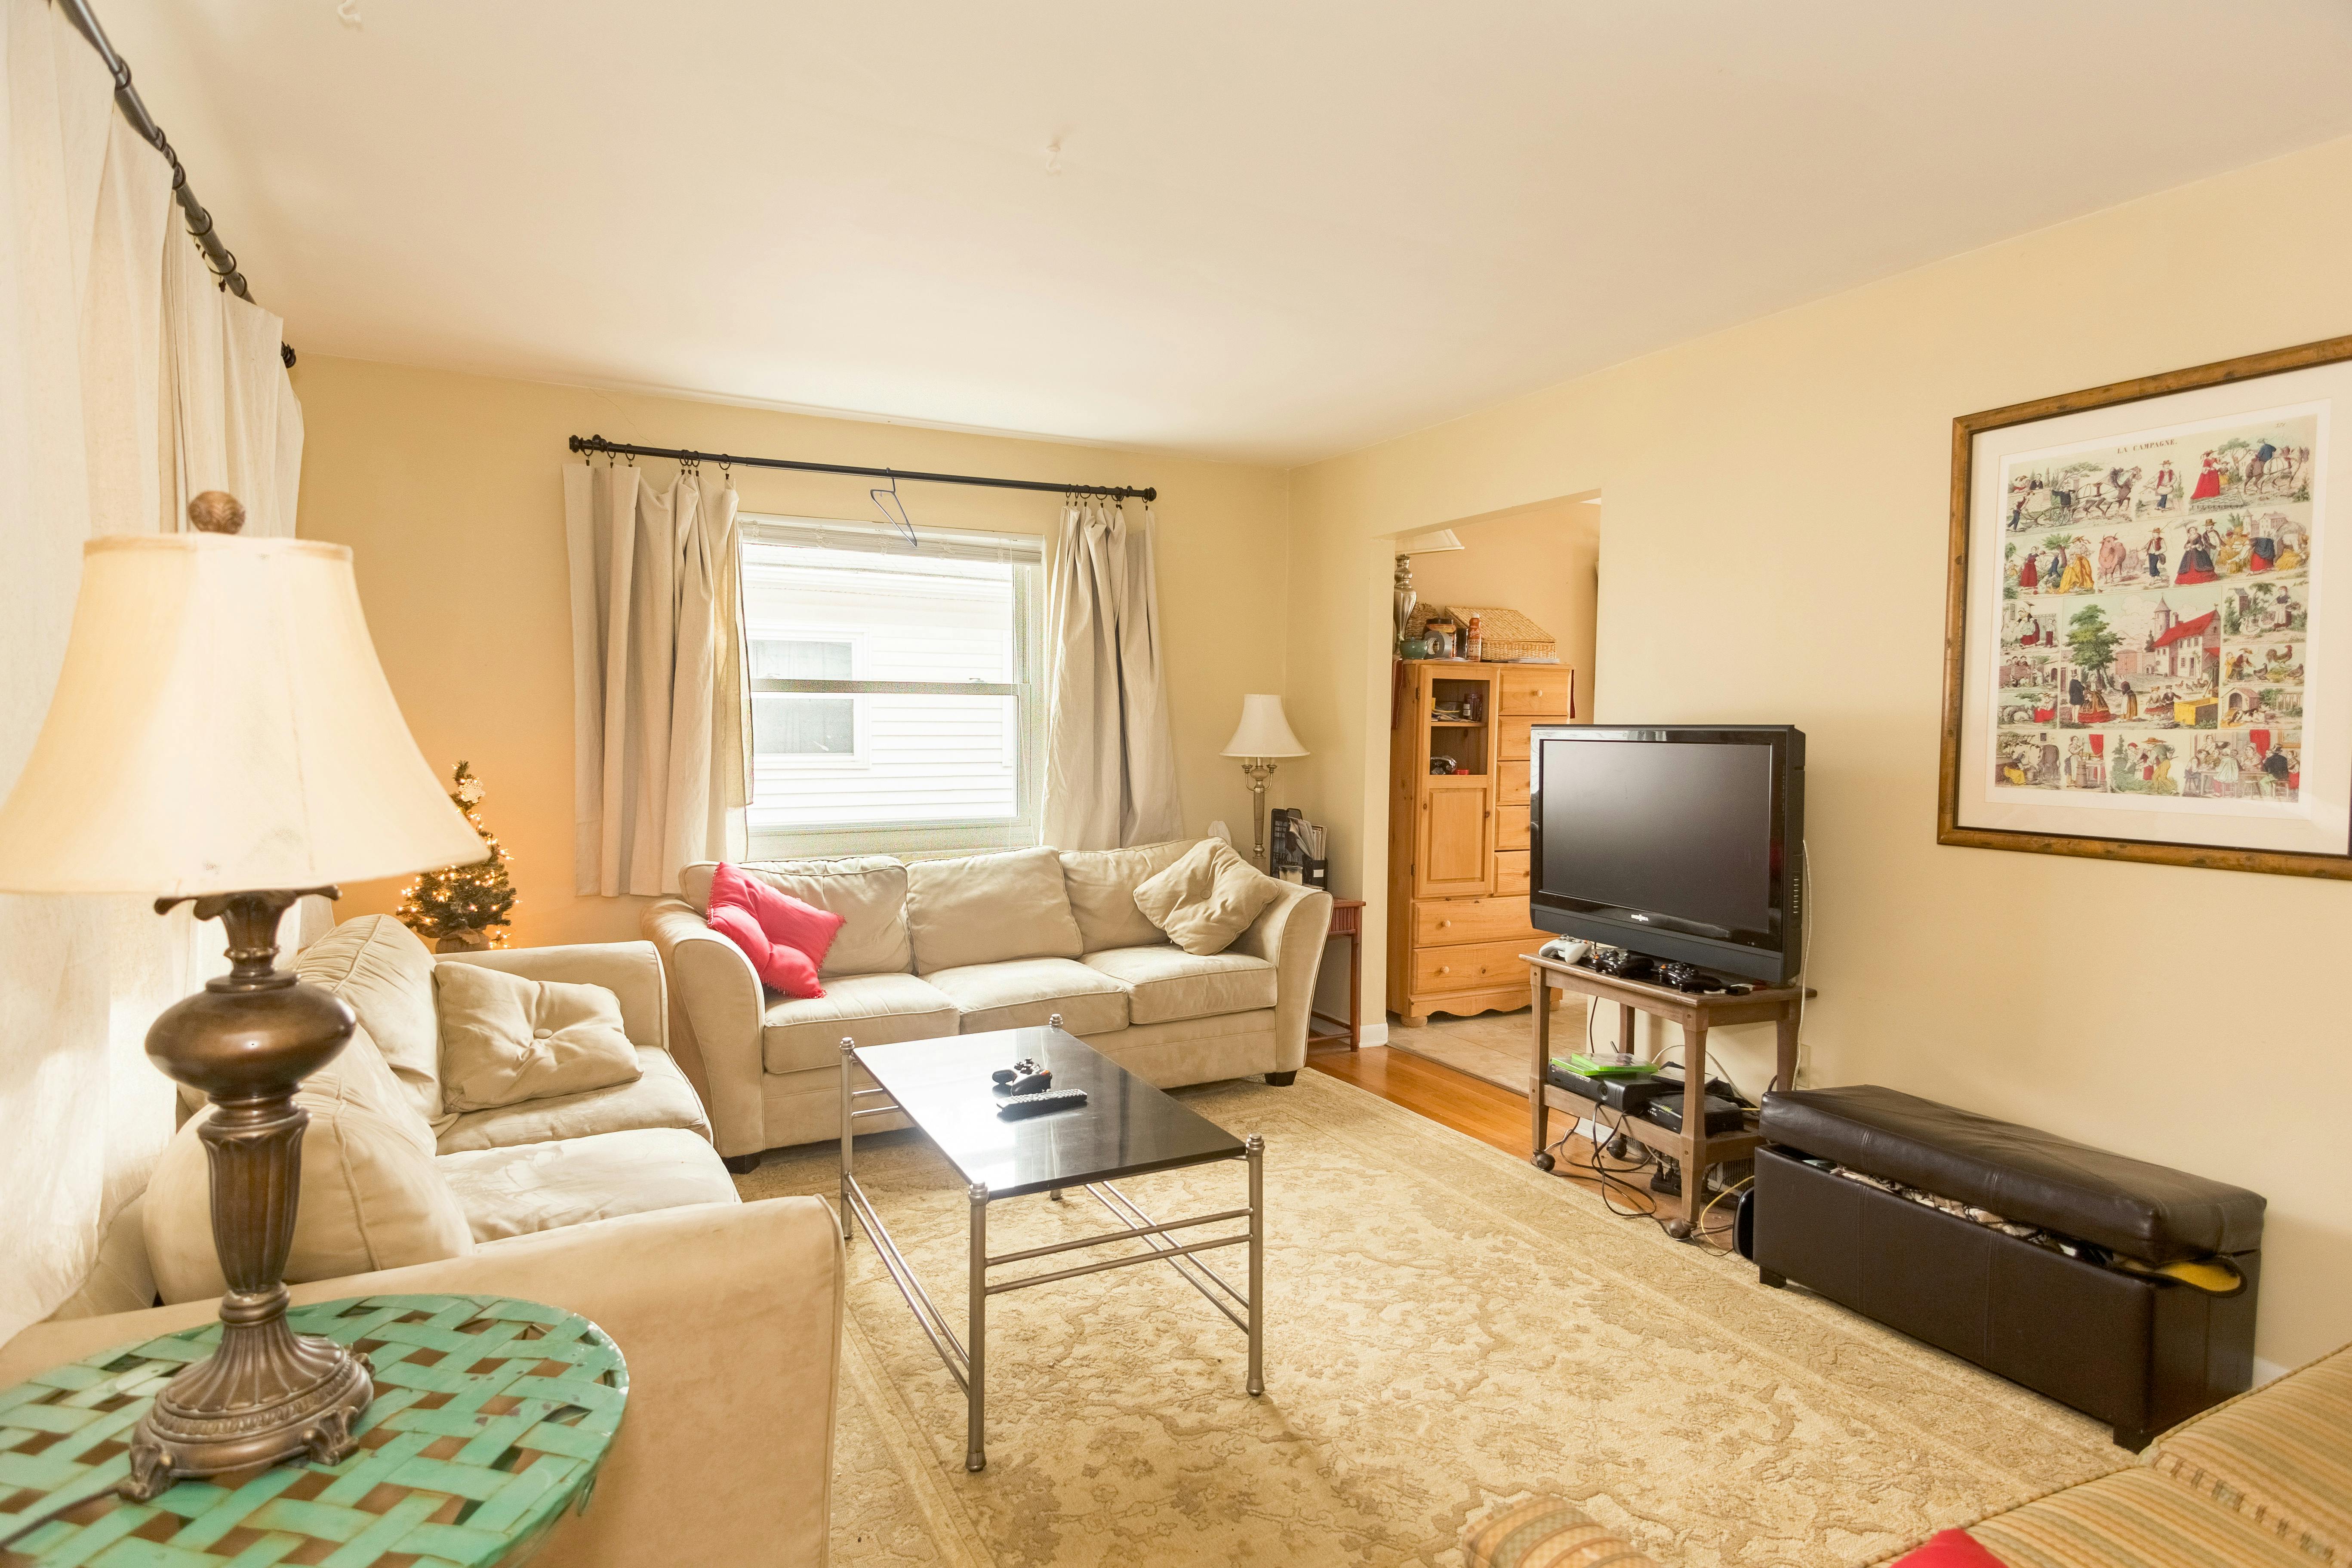
Declutter: Most homes have a lot of stuff sitting around, some functional and some not. We use this clutter, and much of it has sentimental value to us, but that is not so for buyers. What buyers want is to walk into a spacious room, one that they can picture their own stuff in and one that lets them think about how the space can be best utilized to accommodate their family and lifestyle.

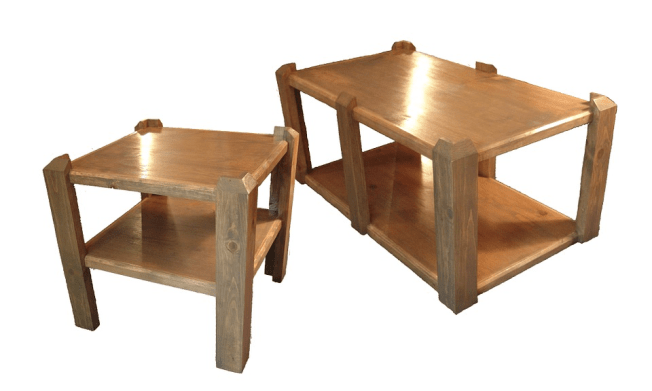
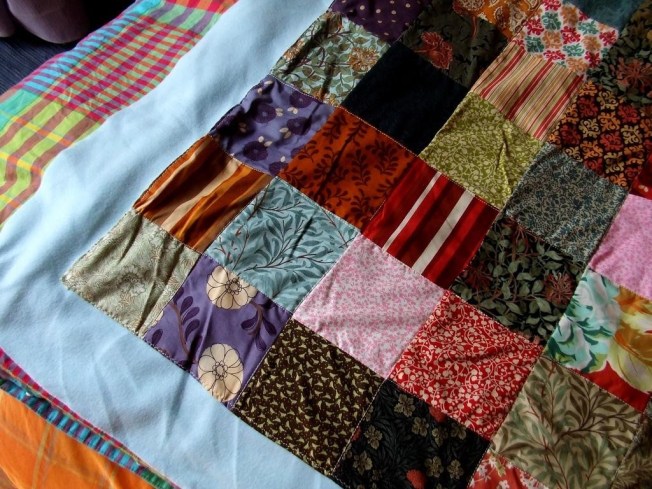
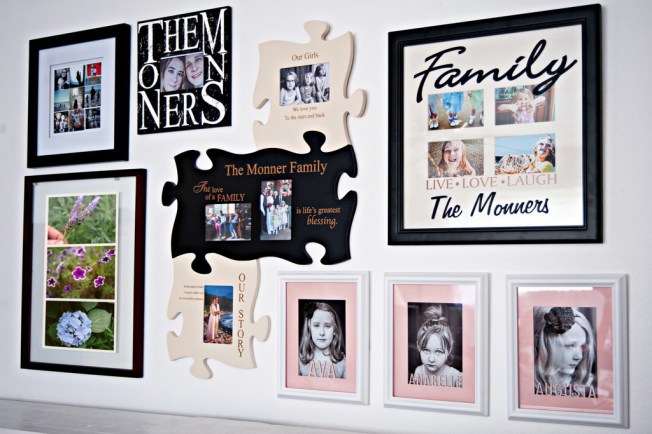
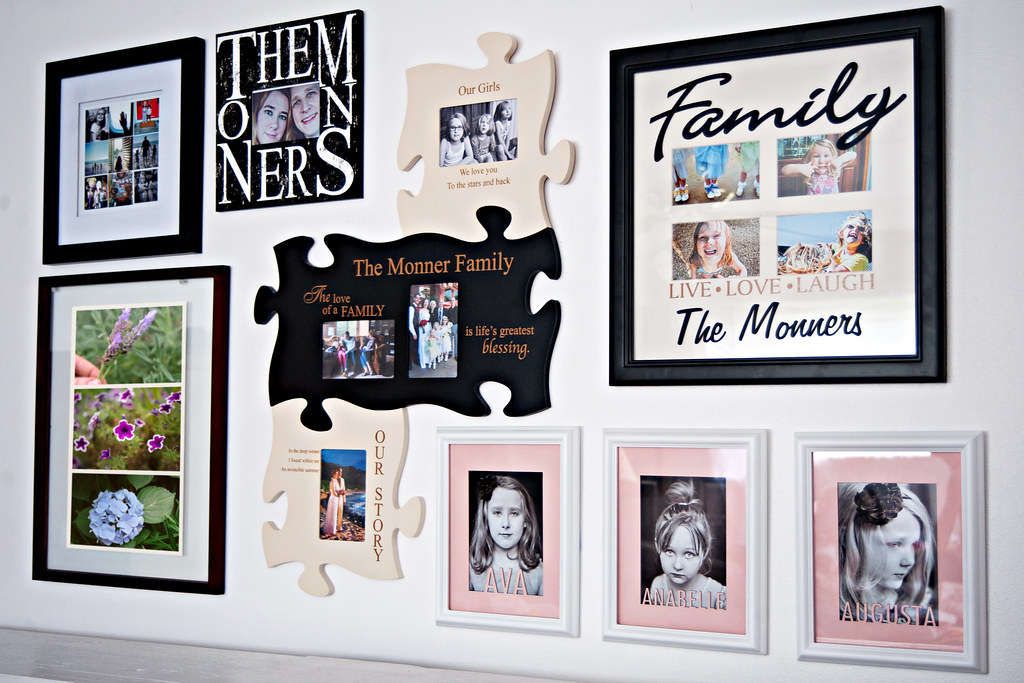
Little Touches: Although for the most part, you want to keep personal keepsakes to a minimum when your house is on the market, it is always a good idea to add little touches that will make the property feel homely without being overwhelming. Cut flowers, potted plants, expertly placed candles, and a fruit bowl can make all of the difference.

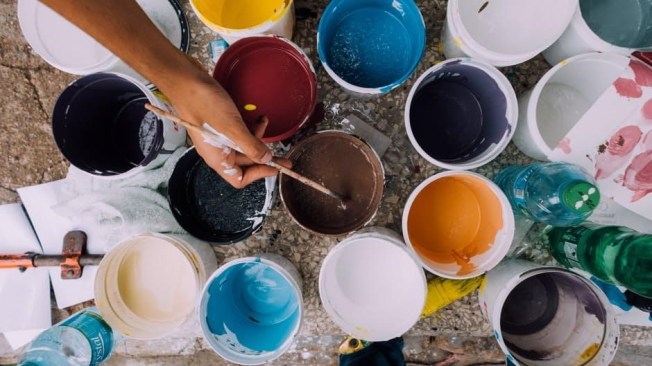
Decorate in Neutral Colors: If your rooms haven’t been decorated in a while, you might want to consider giving them a fresh lick of paint. This will brighten up your rooms and make them more appealing to buyers who don’t want the hassle of decorating when they move in. If you do decide to paint your property, try to stick with neutral colors because they are less likely to put anyone off, they make a room seem bigger, and they provide a blank canvas for the desires of potential buyers.

Spring Clean: No matter how amazing your home might be, potential buyers are unlikely to see it in its true light if it is messy or dirty, which means that you need to put some serious elbow grease into cleaning your home and making it sparkle.

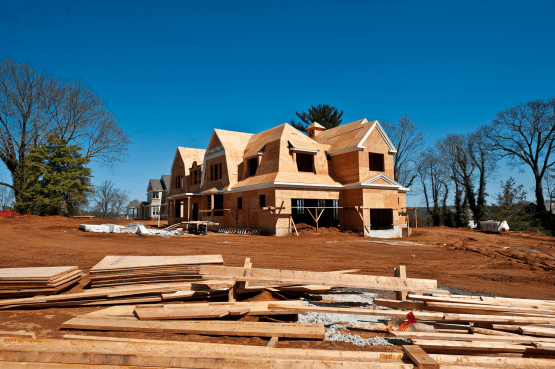
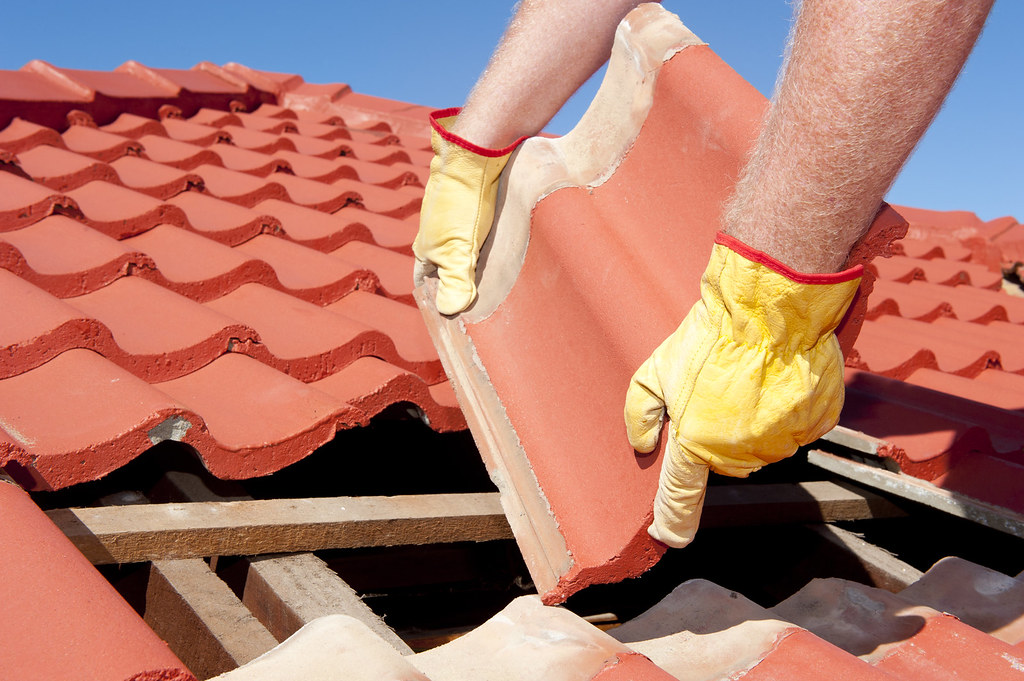
DIY: Attending to any home repairs is something that you should always do when putting a home on the market. Many buyers are looking for a home that is as near perfect as possible. They don’t want to have to take care of all of those little jobs that you, as the previous owner, left unattended. By taking care of any little problems with your home via DIY or through a Handyman Service, you can present a more impressive property that the buyers will be clambering to buy.

It may seem like a lot of effort, but making your home more attractive will make it easier for you to sell and it could mean the difference between a sale at the optimum price and one significantly lower.

Featured Image By: Flickr

Wait! Try These Tricks Before Throwing Out Tired Furniture

Standard
Wait! Try These Tricks Before Throwing Out Tired Furniture

Furniture can only last so long before it starts to look a little tired. Your immediate thought might be that you need to get rid of a piece of furniture that’s going downhill. However, if it’s something that you love, you don’t need to say goodbye to it just yet. There are some easy things that you can do to rescue your furniture and avoid having to throw it out. Some things you can do yourself or you could get a professional to help you out. Before you throw out that sofa or cabinet, here’s what you could do to save it:

Start By Giving It a Clean: The first thing you should do with a tired piece of furniture is to clean it. You could be amazed by how much of a difference it makes. Furniture made from wood, metal, or plastic can be very easy to clean. You only need to dust or wipe it down, perhaps with some soapy water or special cleaning solution. But upholstered fabric can be a little trickier to get clean. Some pieces have removable covers that you can put in your washing machine. You might also want to consider an upholstery steam cleaner, which will make it easier to get the fabric clean.

Reupholster Fabric Furniture: Some upholstered furniture might still look rough after you clean it. Perhaps there are holes or tears in the fabric or it has just become very worn down. You don’t need to throw it out, though. You still have a chance to rescue it by reupholstering it. You can replace the fabric with something similar or give it a completely new look. This is a job you could attempt to do yourself. However, if you’re unsure about it, it’s just as easy to get a professional to do it for you. Get some quotes to make sure that you get the right price.

Repair Wood: Wooden furniture can end up with lots of little blemishes in its daily use. You might notice scratches, stains, or cracks in the varnish. There are some simple ways for you to fix these issues on your own. For example, you can repair scratches using moist coffee grounds by applying them for a few minutes and then wiping away. Oil and vinegar can help to remove stains, while sandpaper and nail polish can help you repair varnish. If you have bigger issues, such as loose joints, you could fix them yourself or have the furniture repaired by a professional.

furniture1.png

Pixabay Image

Paint or Varnish: A lick of paint is often a good way to give something a new lease on life. If your furniture is looking a bit dull, painting it could revive it. Just make sure that you use the right type of paint for the material. You could also choose to use varnish or a new stain on your wooden furniture if you want to refresh the surface. You could create an entirely new look or just give your furniture a subtle refresh.

See if you can save a piece of furniture before you decide to get rid of it. It could last for another few years!

Featured Image By: Pixabay

Renovations – Make Your Home Improvements Simpler With These Ideas

Standard
Renovations – Make Your Home Improvements Simpler With These Ideas

We will all reach a point where we have to figure out how to make changes to the home. There are a lot of things you can do that will help you to improve the property. Most of the time this comes down to how well you can plan and prepare. Making renovations around the home is something really important for boosting the appeal of the property. You have to understand how well you can make these renovations, and exactly what is involved in doing up your home. Here are some of the ideas that you can use to help make the home renovation process much simpler and more effective:

Do as Much as You Can Yourself: The secret to successful home DIY and renovation projects is to do as much as you can yourself. There are a lot of different projects you might wish to do for your home, and it’s important that you try to get some done on your own. Learning DIY skills sets you up nicely for ensuring that you can accomplish a lot of the home renovations that need doing. This is something that you should focus on trying to achieve and get right as much as possible. There are some projects you’re not going to be able to do yourself, but for those that you can you should definitely give it a try!

rennovate.jpg

DIY

Leave the Big Jobs to the Experts: Having said that, there are certain jobs and tasks that you should not try to attempt yourself. These are projects that need professional and expert guidance and input. If you attempt important and detailed tasks that you’re not qualified for, this can often make it worse. Imagine you want to repair the roof or relay the floor. These projects are big undertakings, and there are a lot of places where you could make mistakes and go wrong. That’s why it’s important to make sure you call in professionals and experts when it comes to tasks like this. You need people who are qualified and know what they are doing, and this is something you should sort out as soon as you possibly can. Big tasks including creating a new driveway, any exterior or interior renovations, and even something like completely transforming your backyard and needing a backyard excavation, should all be performed by Residential Contractors Prince George (or ones in your local area). These are jobs that require certain tools and professional experience to execute.

rennovate1

Flickr Image

Take Out a Loan: You also need to make sure you have the money needed to carry out the work that you want. Home repairs and renovations can be expensive, but it will ensure that you are getting quality work the first time around. If you want this to happen, you’re going to need to make sure you take out a loan. That’s why you should check out http://personalmoneystore.com and see how you can benefit from a loan for the home. Make sure you have the money that you need to cover the work that’s necessary to get your home looking as picture perfect as possible.

Focus on the Important Areas: Think about the areas of the home that matter, and those that you’d like to improve. What can you do to spruce things up and make the home a better place? This involves considering what parts of your home get the most use. For instance, you might consider checking out these easy kitchen renovations because the kitchen is such an important room in the home. Try to make changes that the home will benefit the most from. If no one is using the attic, then it doesn’t make much sense to put energy into it when you have a bathroom that needs remodeled.

When you are thinking of remodeling your home, don’t forget to consider its exterior. Yes, a renovated bathroom would be nice but there might be more pressing matters at hand. This could include tending to trees that are too close to your house, major landscaping issues, and your roofing. The roof is your home’s biggest defense and anything wrong with it should be tended to immediately with professional exterior contractors. Once all safety issues are addressed is when the fun parts of interior renovations can begin.

Always Think About Boosting Value: You should always focus on trying to develop and improve the value of the home whenever you can. Boosting the value is important and can really help you to sell your home in the future. This doesn’t just include your indoor space but the exterior too as it gives your home curb appeal. A rundown driveway, for example, is something that can be fixed after you find a trusted professional for your local area. This will eliminate the eyesore and boost your property value immediately.

Featured Image By: Wikimedia

Bullseye: Getting A Job In The Career You Really Want

Standard
Bullseye: Getting A Job In The Career You Really Want

When you’re looking for a new direction in your career or finding your first job, then it’s about managing your expectations as much as possible. The job you want and the career path you want won’t always be immediately available. You will face setbacks and you will have to take side roads. But that doesn’t mean you should give up. If anything, it means you should look into the means of how to increase your chances of getting the job you truly want more than ever:

Know The Right People: If you’re solely applying for jobs by looking at listings, then you’re missing the way that the game is really played. As they say, in business it’s about who you know, not what you know. Network in spaces where the people in your coveted industry schmooze around. Join their groups in Linkedin and attend trade shows and other corporate events.

Making friends significantly builds your chances of getting the referrals for a job in your industry even when you’re not expecting it. If you’re using a bit of help to find a job, like a recruitment agency, then get specific. Instead of using generic agencies, specialized ones like Portfolio Credit Control aim directly at a specific job or industry. That kind of specialized service is what employers are going to look for when they use recruitment agencies.

job6.png

Thumbs up for employment! 😉

Don’t Be Shy: As well as upping your possibilities of building connections through others, you should be open to building that connection yourself. Learn the right etiquette for approaching employers directly. Send a cover letter alongside a resume if you’re applying for a position that isn’t being advertised. Applying directly can be a good way to show how forward-thinking and eager you are. But if you don’t prepare that approach properly, it will make you look ill-prepared. Make sure you do your research on the business and tailor your resume to the needs and the values that you’re able to see from their website and any other materials that they might have available.

job7.png

Pixabay Image

DIY: If you have the skills in the industry that you want to work in, then you might just have the ability to start working for yourself. Of course, there are some skills and jobs that are better suited for self-employment than others but don’t underestimate the value of your abilities. Bookkeeping and accountancy, marketing skills, and design are all good skills to start your own business from.

Besides figuring out whether there’s a market for your services among individuals and businesses, you also need to make sure that you’re prepared to handle starting your own business. For instance, you need to consider both the resources and effort needed to maintain an office space and a website. There are a lot of tools that can help you get started, but you need to research your options carefully before making any big decisions.

Be proactive, be open and friendly, and be willing to take charge of your own career if you can. Don’t get caught into the usual trap of getting stuck in an industry that you have no passion or love for – You deserve better.

Featured Image By: Pixabay

How Unique Can You Go? Tips For Making A Home Unlike Any You’ve Seen

Standard

Who doesn’t want a home that’s different from anyone elses? In life, the more unique we can be, the better. There’s something satisfying in knowing that you’re the only person with that particular style. You’ll become the envy of your friends and will probably set a few trends of your own! The only question is, how do you achieve a look that’s different from anyone else? Being individual can be hard. We’re all trying to achieve the same goal, aren’t we? It makes sense that we’re all trying the same style ideas! We’ve got some ideas about how to achieve the most unique home you can imagine. Following these will ensure that you’re creating a home that no one’s ever seen before!

Build Your Own: We’re going to start this list with the most extreme suggestion. We’re aware building your home isn’t an option for many people. It is, however, the best way to get a home unlike any other. When designing your home, you have a say in every aspect of the house you’re living in. You can go as mad with your plan as you like. You could even employ the services of a company like http://www.structural-innovations.com, and get creative with the structure you put in place!  If you have money and time behind you, the world is your oyster! Or at least, your home is. If you’ve never considered building your home, research whether it could work for you.

unique.png

Wikimedia Image

Think Outside the Decor Box: If you’re not keen on embarking on such a massive project, there’s plenty of other things you can try! The easiest way to change your home is to focus on decoration. To achieve a look unlike any other, try not to let anyone’s decoration influence you. Sit down and plan the room from your mind only. Whatever choices you come up with, you can ensure they’ll be unique to you. Have fun with this. Tap into your creative well and use it to get your home looking great.

Get Creative With the Layout: While you’re getting daring with home design, why not try something different with the layout? There are certain layout norms that many of us follow for no real reason. Of course, some rooms, such as your kitchen or bathroom, can’t change around. Your other rooms are fair game, though. Why not swap your bedroom and living room? If it’s possible, it’s worth a go. People will look twice; that’s for sure!

Make Furniture: Making your home may not be practical, but making your furniture is a more achievable goal. If you’re not good at making things from scratch, repurpose things to fit into your home. Why not scrap the lights and have a lantern of old jars instead? Use watering cans as plant pots. You can even work solely with one material in making your own furniture, just like this discount Amish furniture; stuff like this is made entirely out of wood, which makes it incredibly durable. And the more restrictions you put on your making process, the more creative your ideas can get! Small touches like this will bring an individual style to any room. You could even reupholster old furniture. Learn how on sites like http://do-it-yourselfdesign.blogspot.com. You can choose any material you want to get the furniture you need!

unique1.png

Pexels Image

Amazing DIY Projects You Need To Try Next Year

Standard

Being able to make something out of practically nothing is pretty awesome isn’t it? There’s nothing more satisfying than starting out with just a few chunky pieces of wood and ending up with something super awesome to fill your home or garden with.

Furniture and decor these days is so stupidly expensive that it makes sense to do it yourself. Even the pieces that are supposed to look old and shabby cost a fortune these days, if not more, so why bother forking out all of those extra dollars when you can do it for a much cheaper price yourself?

DIY projects aren’t just great for the final result, either. You’ll have something to fill your time with, a new set of skills, and, of course, the patience of a saint afterwards. If you’ve got some spare time on your hands (or little to no spare cash), then try these DIY projects and kick start your new year in style.

  1. The Most Stylish Table Lamps You’ll Ever See: This one is actually amazingly cheap as well as super easy. If you have some spare wine glasses around the house and a few paper shades (if not, both of these items are easy to find and can literally be purchased for a few dollars), drop an LED tea light into the wineglass and cover it with a paper shade. These make the perfect dinner table lampshades that are both safe and stylish to use.
  1. A Side Table With Style: If you have some old window shutters in the garage that haven’t been used in years, then why not put them to good use? You’re clearly not going to use them for their original purpose again so, instead, make a table from them and have an amazingly quirky looking table in one of your rooms for little to no cost.

diyny

Pexels Image

  1. A Lick of Paint Never Did Anyone Any Harm: If you’ve opened a tin of paint recently and got all of your walls finished, then you don’t need to throw the leftovers in the bin. Paint is expensive these days so you don’t want to waste a drop! Use what’s left to freshen up the furniture around the house. Chairs, tables, display surfaces – whatever is looking a little downbeat, spruce it up in the simplest, cheapest, and easiest way possible.

diyny1.jpg

 Pexels Image

  1. A Little Woodwork Knowledge Goes a Long Way: If you’re not much of an expert where woodwork is concerned, then don’t worry because that doesn’t need to stop you from having great wooden furniture in your home. Simple projects like a stowaway bench will bring character to the kitchen or garden play area. For tips on what sort of equipment you’ll need to get the job done properly, check out Straight Kerfs’ homepage.
  1. Make Your Decor Pop With Mini Bursts of Color: If you find that your all white furniture leaves your home looking a little boring, then there’s no need to go out and spend a fortune on replacing it all. Simply cover the metal or wooden handles with patterned fabric swatches. You can mix or match and have your home looking far more colorful at the cost of just a few dollars.
    diyny2

    Bring on the color for a fun new look!

How do you DIY? What is one DIY project that you’re really proud of? I want to hear from all of you, so leave me a comment and let’s chat! Much love. -Sarah

DIY Projects That Could Transform Any Space In Your Home

Standard
DIY Projects That Could Transform Any Space In Your Home

When it comes to decorating a home, we all have our own personal style to contend with. Some people like to stick with the catalogue inspiration you find in many magazines, while others like quirky and unusual items to accessorize their homes. However, one thing we can all get involved in a little more is creating our own pieces for our home.

You may think that you are not very crafty or perhaps haven’t got much time or patience for creating things yourself. But, some things are so easy that you just might be tempted to give them a go. Thanks to websites like Pinterest there is more inspiration than ever before, from the complex to the easy you are bound to find something that you could do. I thought it would be a great idea to share with you some DIY crafts that could help you get started.

Homemade Soft Furnishings: All of us have some sort of soft furnishings in our home, so why not create some of them yourself. They’re amazing to style a room with and can help create a theme or carry out a color scheme that you had in mind. Here are some of the top homemade soft furnishings you could create.

Cushions: Cushions are one of the easiest things that you can sew. With many patterns online to help you cut out the fabric and even tutorials on how to use the sewing machine you can’t go too wrong. The great thing about this is that you get to choose the fabric, so it makes an unusual dressing feature to a bed or couch. Cushions are allowed to be loud and fun so don’t be afraid to pick out a bright and vibrant fabric with a crazy pattern. It could transform your living areas and make great talking points. Plus, they are one of a kind so there is no chance of someone having anything the same as you.

diy4

CAT!

Bed Linen: If you are a little more daring or brave, you could take on the challenge of creating your own bed linen. In theory, it’s just like creating one giant cushion cover, but there is a lot of fabric to work with so you may want to keep with the practice on smaller items. Again, the best thing about it is choosing your own fabric so you can be as unique and daring as you want to be with vibrant patterns or unusual color choices.

Bed Spreads: A bedspread is a little different. Traditionally being thicker in material and something that is more for dressing the bed area than sleeping with. Most people tend to create a patchwork quilt for this sort of thing. You could collect cuts of fabric and design to create something totally unique. A quilt like this may be a more long term project.

diy5

Flickr Image

Blankets: Blankets make great presents, especially for friends and family who have just had a newborn baby. But, they are also amazing in your home for those cold winter nights. A cute tip to remember for the future for when you have your own family is to keep outgrown baby clothes. Use pieces of the material to create a beautiful patchwork blanket that could be a keepsake for years to come.

DIY Touches to Already Existing Items:

Sometimes we don’t have the time to create DIY items from scratch, but that doesn’t mean that your home interior can’t have that DIY touch. This is when you could get creative with existing items in your home.

Twinkly Lights: Everything looks better by fairy light glow, am I right? Especially at this time of year where the twinkly lights are out in full force. But, this kind of lighting doesn’t have to be reserved for Christmas. Adding some cute fairy lights to a bed headboard makes a bedroom feel cozier and more inviting. You could even add some twinkly lights to shelves, plants (my dad put lights on a fern this year, lol), or large pictures that hang on the walls.

diy6

 Pixabay Image

Embellishments: If you love having a bit of bling to shine through your home, then get a little handy with gems and a glue gun. Add some gems to an existing lampshade, a shelf, or even a desk area. Hot glue guns and adhesives are easily purchased online and can be very simple to use. You could also add embellishments to clothes or other DIY projects you are making like blankets or cushion covers.

Add Some Personalized Artwork to Your Home:

Finally, nothing is more personal than art. We all have our own taste, ranging from textured paintings, canvas drawings, or real life photographs. Use this in abundance and create your own DIY projects to decorate your home with art.

DIY Canvas Prints: If you have a talent for art why not use it? Blank canvases are easily purchased, giving you that chance to create something from the heart. Perhaps you love bright and vibrant brushstrokes of paint, or something a little more delicate like a portrait or a painted landscape. Using your talent to create a piece of artwork for your home is satisfying (Especially when someone might compliment you on it!). It’s a great way to continue a theme or color scheme in any room decoration.

Photo Montage Wall: If you prefer the real life side of art and you have a passion for photography, then why not get a little snap happy with your camera more often and take those pictures. Create a photograph montage wall in one of your favorite rooms. You could use a theme of black and white prints with matching frames, or just go a little crazy and place random shots in no order. It’s such a personal thing and should invoke happy memories every time you look at it.

diy7

 So sweet.

Think About the Lighting: Finally, one last thing that you can do is open up your curtains to let the natural light in. It can transform a room. Even on the darkest of days that we are getting this winter, you will still be able to make the most of the midday light.

I hope this has inspired you to add a bit of a DIY touch to your home decoration! How do you DIY? What was your biggest DIY epic fail? I want to hear from all of you, so leave me a comment and let’s chat! Much love. -Sarah

Featured Image By: Pexels

Must-Have Tools For The Serious DIY Lover

Standard

DIY enthusiasts can be found all over. Some people start doing DIY out of necessity but soon find that they love it. Others try their hand at some tasks because they think it will be fun and they discover that it is. Some people do a bit of casual DIY, but a few can get really into it. Serious DIYers will start with fixing a few things but will soon find themselves coming up with their own projects that they carry out. They will happily invent something to make or improve upon if they get to do some DIY. These people need to make sure they have the right tools. They need something a little more powerful than the standard items to make sure that they are making the most of their DIY. Like some of these, for example:

Power Sanders: Any DIY enthusiast worth their salt who likes to work with wood needs to have a power sander. Sure, using sandpaper is excellent for finishing something off, but you don’t want to do everything by hand when you have a huge project to tackle. If you want to take on a big project, you’ll need something more powerful to help you out. Sanding will help to prepare a surface or finish it off at the end of a project. There are different types of sanders to consider, though, so it’s important to get the right one. They include belt, disk, pad and random orbit sanders.

diy2

 Handy is dandy!

Impact Drivers: If you’re a fan of DIY, you’re likely to have a power drill or screwdriver. However, if you’re serious about DIY, you should consider getting an impact driver. An impact driver is like a power screwdriver but with much more weight behind it. It has more force behind it, allowing you to drive a screw further into any surface. You can find out more about impact drivers on any good DIY or product review website.

Angle Grinders: Angle grinders are excellent because they will do several jobs at once. They can cut, sand, grind, and polish materials. If you’re a DIY enthusiast with a limited amount of space, this is the one tool that you should consider investing in. It’s one of the most recommended tools to have in your DIY kit so you might want to choose it over some other options. They don’t need to be expensive and you can find them at different price points from excellent brands.

Nailers: It may seem like a simple tool, but a nail gun should be in any DIY lover’s tool arsenal. Who wants to waste time with a hammer, pounding nails into various materials and surfaces? A nailer takes the pain out of the job, making putting in multiple nails quick and easy. It might be a relatively simple tool, but it can be one of the best for a dedicated DIY enthusiast. It can help out tremendously with tasks both big and small.

Odds & Ends: If you are gifting for a DIYer but a new piece of equipment isn’t in your budget, why not assemble a package of odds and ends? Those little somethings that people who DIY can’t get enough of. It could be a Socket Head Cap Screw, magnetic wristbands to hold nails, or even blueprint paper. Whatever you choose, it is sure to be well used.

Anyone who loves DIY should make sure that they have the best tools for carrying out their work. If you take it seriously, your tools should be serious, too!

Amazing DIY Tips Every Homeowner Needs To Know

Standard
Amazing DIY Tips Every Homeowner Needs To Know

Here’s a fun little post for all of my DIY-ers, Pinterest royalty, and crafting gods! As for me? I’ll stick to my handyman! 😉

Amazing DIY Tips Every Homeowner Needs To Know:

As a homeowner, you may have considered doing the odd couple of DIY projects. Even if you aren’t a very crafty person, you may have been swayed to dabble with some DIY just because it can be a major money saver! The world is your oyster in the world of DIY. You could simply fix some old furniture that needs repairing. Or you might have bought some shelves that need putting up. Once you get super confident in your DIY skills, you may even start to make your own furniture! However you want to use DIY in your home, here are some tips that can help you do a great job every time!

Invest In Top Quality Equipment: If you want to do a really good job in all of your DIY projects and tasks, you will need excellent equipment. This means that you might have to pay a bit more to get the best tools out there in the shops. It may be slightly expensive, but it will certainly be worth it! The better quality tools and equipment will also last for a lot longer compared to cheaper ones. Not sure which tools are the best to buy? See here for great benchtop bandsaw reviews. You’ll find plenty more reviews for other tools online.

Keep Your Old CDs: You may just stream your music online these days but that isn’t an excuse to throw out all of your old CDs. In fact, you should keep them and use them in your home decorating. You can break up the CDs themselves and create cool murals with them. These funky murals can be used throughout your home but will look especially good in a room that gets a lot of attention as a great conversation starter. Got a whole load of old CDs? Repurpose them as some dumbbells to use in your workouts! 😉

Sketch Out Plans: No matter what your latest DIY project may be, you should always sketch out a brief plan. This can help you envisage the finished result or product. The sketch doesn’t have to be too detailed or artistic. Just as long as it gives you a clear idea of how you plan on using all the materials. If you are simply redecorating a room, sketching can come in handy, too. This will give you a chance to carefully consider the use of space and lighting so neither affects your design too much.

Hang At The Right Height: Do you have some photographs or paintings that you want to hang on your walls? Then you need to make sure that these are hung at the right height. Otherwise, they might look odd compared to the rest of your decor. Ideally, the center of each piece needs to be at eye level. This is usually around sixty inches above the ground. If the ceilings in a room are particularly high, you can afford to hang your artworks slightly higher.

DIY should never be too tasking. And all of these tips should make it even easier! You may never have to hire a handyman to do your household jobs again!

Where are all of my DIY fans at? What was the latest thing that you have crafted? I want to hear from all of you, so leave me a comment and let’s chat! Much love. -Sarah

Featured Image Photo Provided By: Pexels

DIY Summer Festival Style

Standard
DIY Summer Festival Style

Hello everyone and welcome to an amazing arts and crafts guest blog by my talented friend, Emma, at Randomina. My guest blogger that was originally scheduled for today bailed on me and I was getting antsy as to what I would do since I promised a guest blog for every Sunday of May to my beloved readers. Luckily, an email from Emma shined like a beacon of hope and she was able to create a simply fantastic tie-dye tutorial post.

I am so appreciative to Emma for making this post on a time crunch and am so pleased to be able to house her on lifewithlilred for the day. I encourage all of you to check her blog out – I assure you that you won’t be disappointed! Now, take a look at the post that Miss Emma created special for all of my lifewithlilred readers:

DIY Summer Festival Style

Hello everyone! My name is E from Randomina, I do make up and clothing tutorials along with designing and manufacturing my own textile works while blogging part-time. I thank Sarah of Lil Red very much for having me as her guest blogger today as she is going away on holiday. This gave me the inspiration to teach you four fabric dying styles, three from the Japanese art called Shibouri, to have a fun and creative way to a Coachella Chic wardrobe at your fingertips!

This slideshow requires JavaScript.

 
You Need:
  • 1 bucket/container of water
  • 2 gloves (plastic or rubber will do)
  • Dye packets/tie-dye kits
  • Paint brushes
  • Elastics
  • A bundle of pebbles
  • A finished toilet paper roll
  • The garment you want to customize (in my case fabric samples)
Tutorial 1- Arashi/Pole Wrapping: Wrap the garment around the toilet roll and secure with elastics. Use as many bands as you please but when wrapping, scrunch as you go along to wrinkle it. Whatever dyes you are using PLEASE be careful as some dye packets can be harmful to the skin. And, of course, follow the instructions on how to make your color and how to store it. After you make your color, put a portion of it in your container (small doses makes the color pale) and mix it with your brush and then paint your color on your “pole” and leave to dry.
 
Tutorial 2- Kumo/Pebbles: Take the garment and the pebbles and place the pebbles in any way you like with the garment on top. Pull the pebble through and trap it in place with an elastic until the whole garment is covered in the “pebble pattern”. Get your brush and paint on the pebble silhouette and on the elastic around it. Take your time and when you’re done, leave it to dry.
 
Tutorial 3- Itajime/Folding: Fold your garment like an accordion until it becomes a small square or rectangle. Secure the bundle with elastics. With your container of dye you can (unless you want to have a delicate pattern) put the garment in the container and evenly coat it in dye. Take off the bands and  unfold when dried.
 
Tutorial 4- Twisty Stripes: Hold a corner of the garment and twist tightly and secure with bands as you go. You can submerge the garment in the container or you can paint as many colors as you wish sparingly. Wait until dried.
 
**Note: When washing your creations, rinse after the dying with cold water until it runs clear. Once it’s dried, it will be ready to wear. Wash it individually in a normal machine 2-3 times before mixing it in with the rest of your clothes.
 
Thank you for tuning in today! If you liked that tutorial, I also have a few other crafts that you might enjoy on my blog. See you later! Loads of love and happy crafting!
^^^ So. Much. Fun! I loved Emma’s cool new take on tie-dye and I hope that all of you enjoyed it, too. Again, please venture to Randomina for more from the lovely Emma! What is your favorite summer craft? Who plans on following the steps that Emma provided to create their own hand dyed fabrics? I want to hear from all of you, so leave me a comment and let’s chat! Much love. -Sarah