
Do you love trying your luck with some at home DIY? Perhaps you love sinking your teeth into a craft project and not stopping until you have a finished result that is both stunning and a major conversation starter. If that’s the case, it might be worth considering whether you can turn your love for crafts like sewing, knitting, or woodwork into a full blown career. If you love it that much, it’s never a bad idea to explore the possibility of basing your life and your earnings around it. Let’s explore how to get started with this idea:
Getting Set Up:
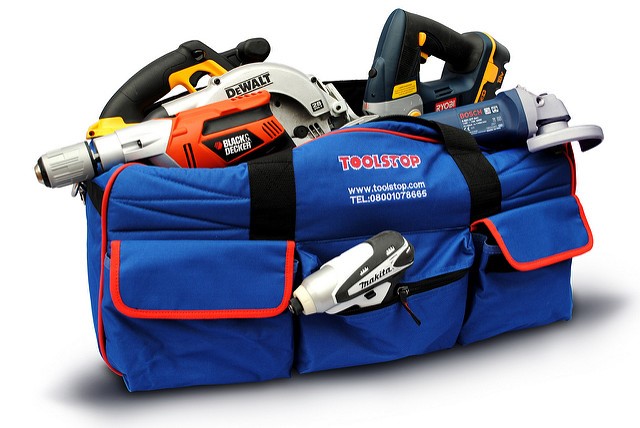
If you’re completing woodwork, at the very least, you’ll need a tuner and a few saws. You might also need a work table and, if you are operating in a small space, a piece of equipment to keep the air clean. Safety might also be a concern for this one, so make sure that you have goggles because if a wooden splinter gets in your eye… you’re going to cry. For some crafts, the set up is a tad simpler. If you are sewing clothing, for example, you just need something like an embroidery machine. You can get an affordable embroidery machine for your business on the market at a price that you should easily be able to fit into your budget. Once you have this, you can get started producing gorgeous products.
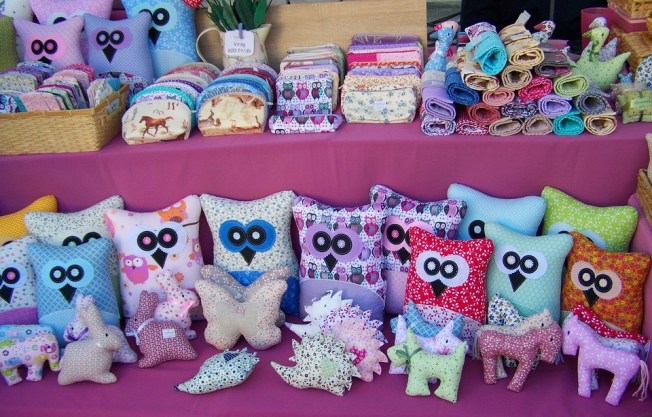
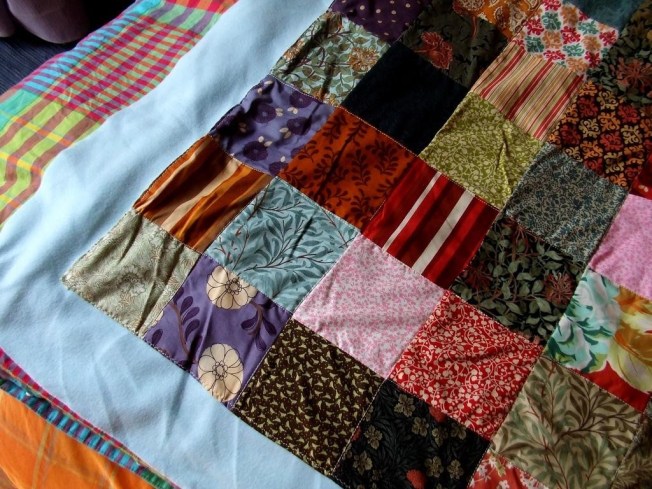
It is worth pointing out that at this stage, you should not be focused on making money. Instead, you should put all of your time and effort into producing items that are of high quality and will interest a few buyers. But quality should always be your top priority.
How To Sell:
Once you have a few products ready to sell, you should think about the source that you’re going to use to sell them. The easiest option here would be to set up a website. That way, you will be able to sell all of the products you want without any trouble at all. If you don’t want to invest a lot of money into this idea just yet, it’s worth just starting with a free blog using a basic template. As your business grows, you’re going to need to be a little more clever with marketing. But for the first few weeks, you’ll probably only be selling to family, friends, and acquaintances anyways.
Finding The Right Price:
When you start your business, it doesn’t matter what price you sell your products at. You don’t even have to make a profit, because it’s all about finding your footing on the market and gaining the interest from target customers. But eventually, you will need to focus on making money, and to do that you need to have the right price to make a profit. You will need to take into account production costs, the price of materials that you use, and deliveries. When all of this is taken into account, you might find you need to sell your items at a tad more than you expected.
If you use these steps, you will find yourself with the starting blocks to turn a passion for crafts into a money making career. Good luck, you beautiful, crafty genius!
Featured Image By: Pexels


.jpg)