
Hi! Our beloved downstairs neighbor, Tony, passed away last month and we miss him terribly. I always would tell Tony that Timber Top wasn’t the same without him and that sentiment is SO true. My days are not the same without our morning and afternoon chats when he would be outside smoking. I would give anything to smell those cigarettes again! I still say hi to him every time I pass his place, though, because I just know that he is there. I wish so badly that it was in a physical sense but his memory lives on every single day.
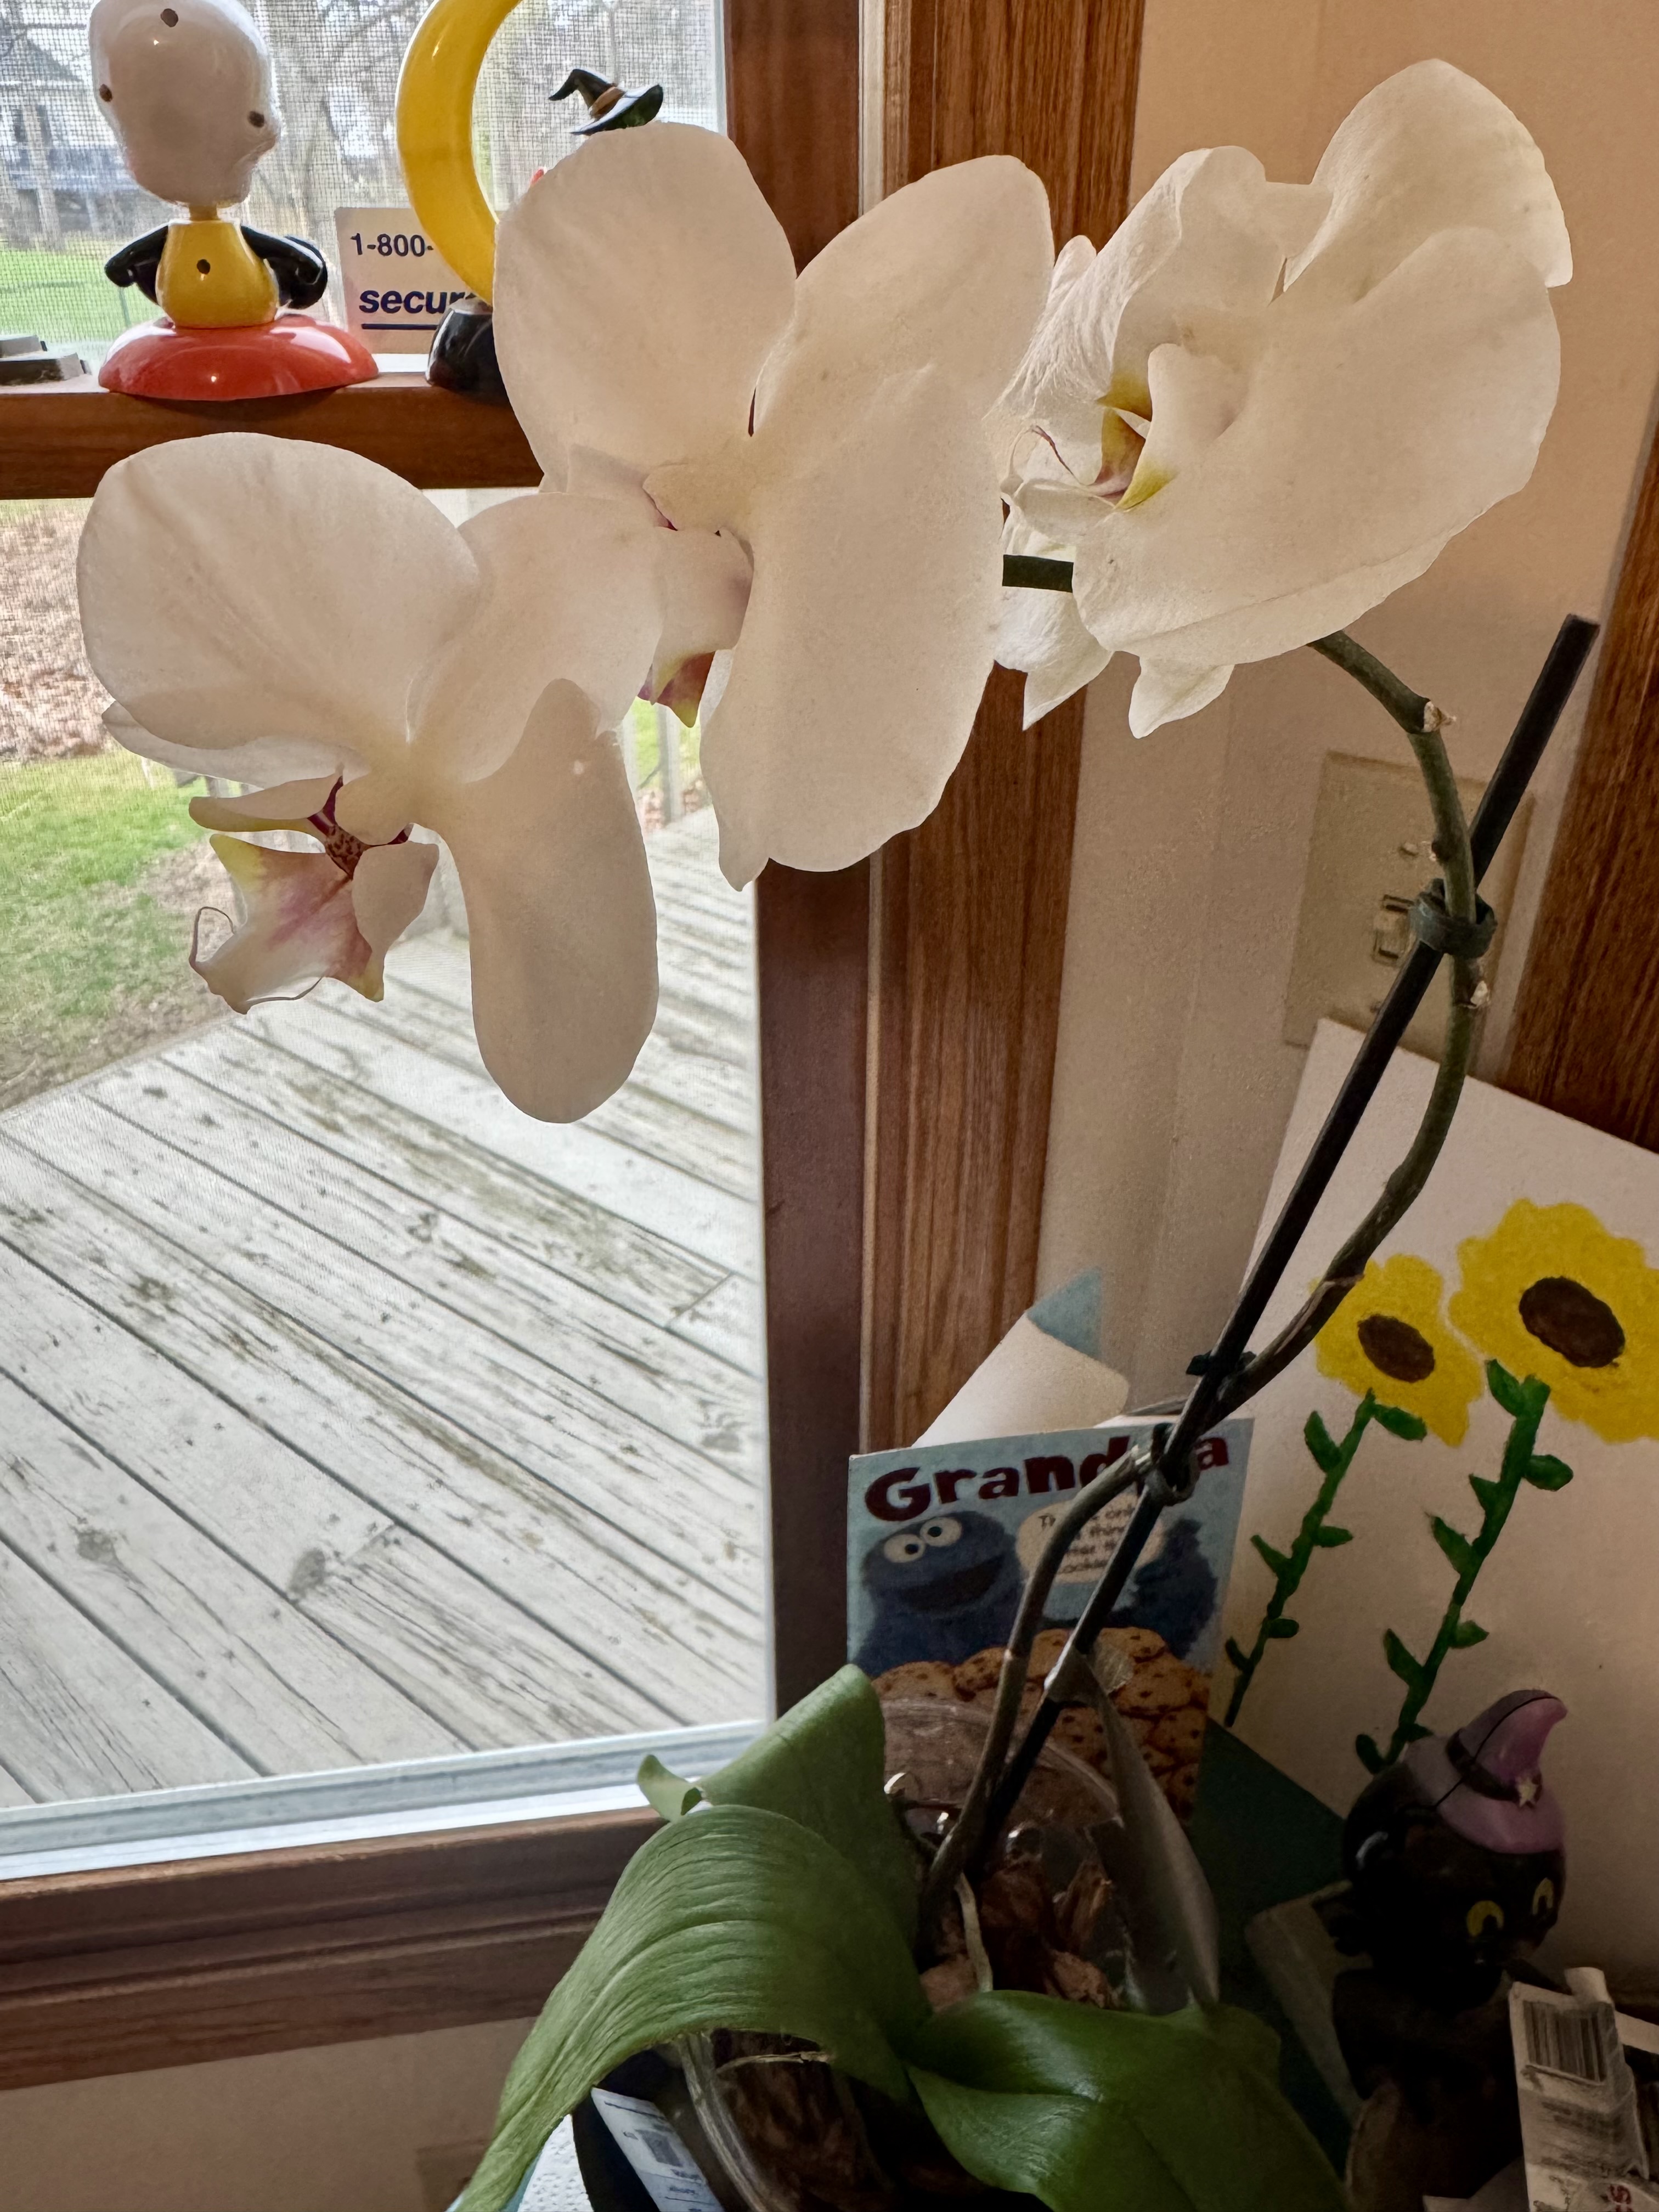
The day after his celebration of life, Tony’s daughter dropped by a beautiful orchid that served as centerpieces at the gathering. As touched as I was by this gesture, I have to admit that it made me nervous. When Johnny and I moved into our bigger apartment, we received several plants as housewarming gifts and I promptly killed them all lol. Clearly, I have no green thumbs! I wanted my orchid to thrive and I knew that there was only one thing left to do… Call my dad. 🙂
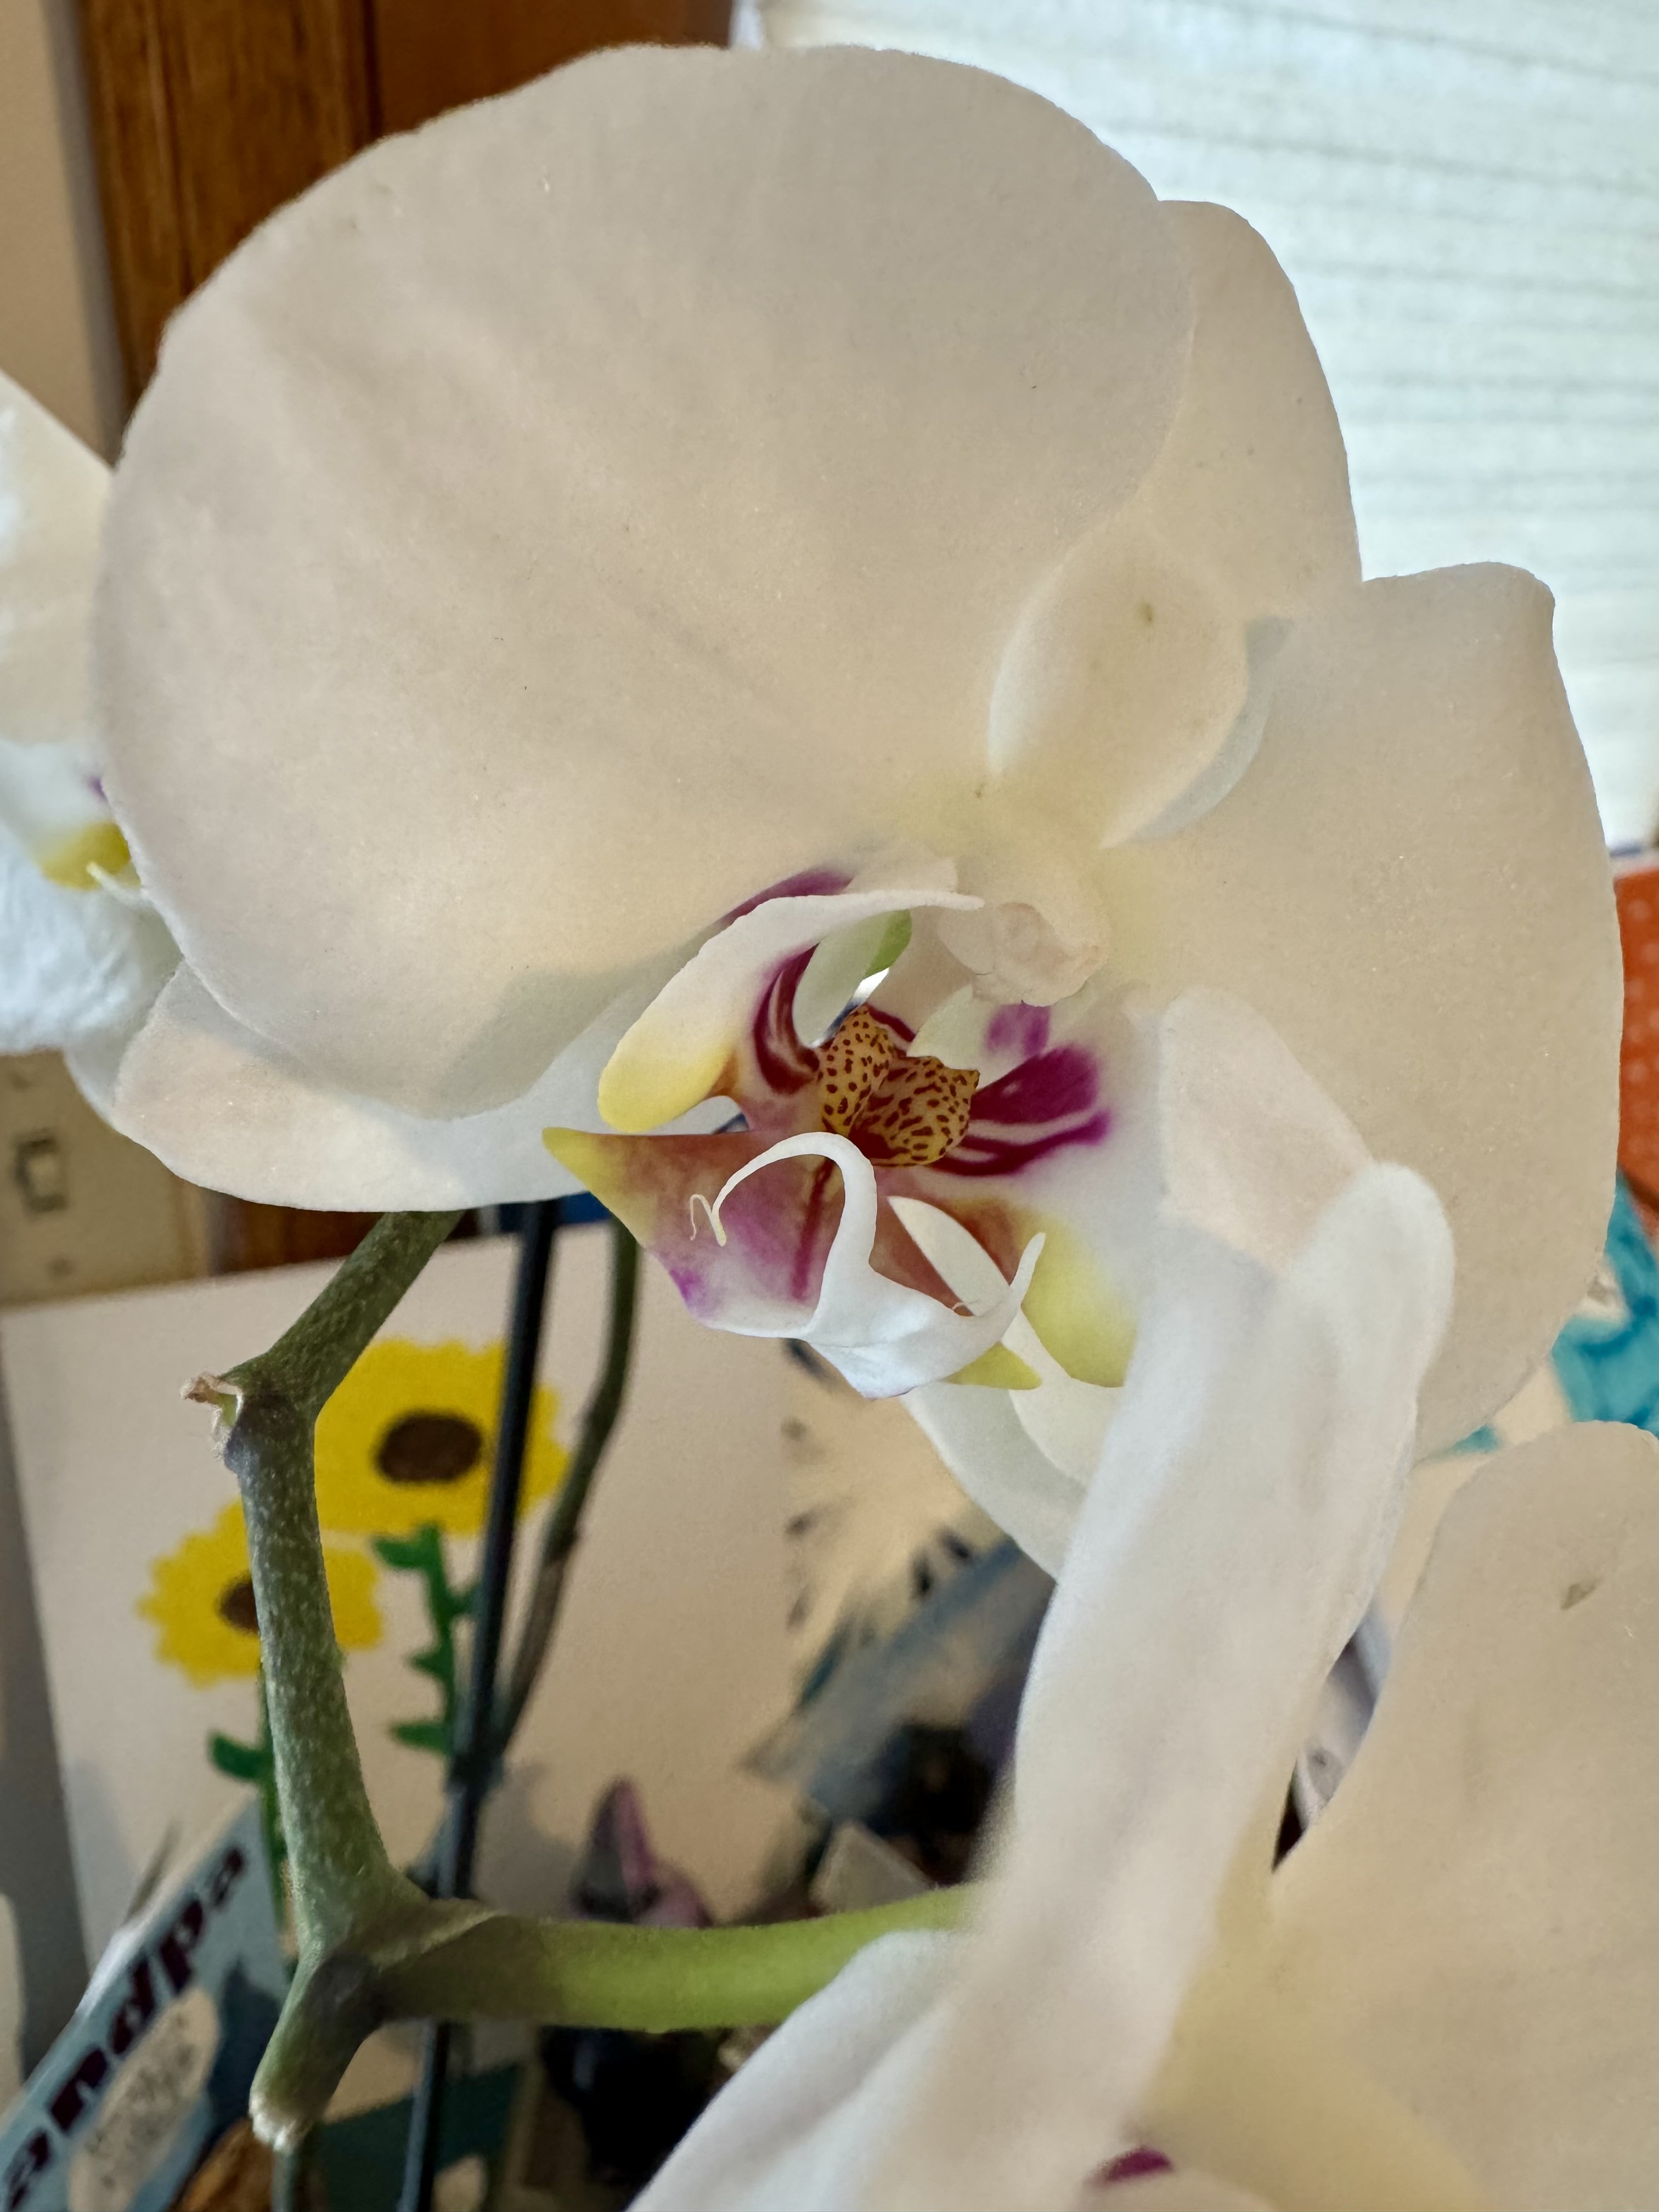
My dad is an excellent gardener and is incredibly knowledgeable on the care of flowers and plants. I called him to tell him about the orchid and requested that he adopt it. He agreed and I was so thankful as I knew my orchid would be in the best, most capable hands. It most certainly was because the day I dropped it off, my mom texted me that he went to the store to get special plant food for it. My dad has been tending to the orchid for the past month and I am so lucky that I get to see it almost every day. It is doing wonderfully:
Indeed, life is not the same without Tony because he changed our lives so much. We were lucky enough to have a neighbor who turned into our best friend. Someone who we could always count on for a chat, an afternoon movie, or a Friday Night Dinner Club meeting. We really did have so much fun together and I miss going to his place to make plans and mark it in both of our calendars with a heart. When I see my flower or say hi to him when I get home from work, it’s like he’s still here with me. He’s here with a smile, a kind word, and the lingering scent of cigarette smoke like always. ❤
Huge ups to my dad for caring for my orchid and giving it the best chance of survival lol because it definitely wouldn’t have had it with me!
What is your favorite flower? Are you good at taking care of plants? I want to hear from all of you, so leave me a comment and let’s chat! Much love. -Sarah


