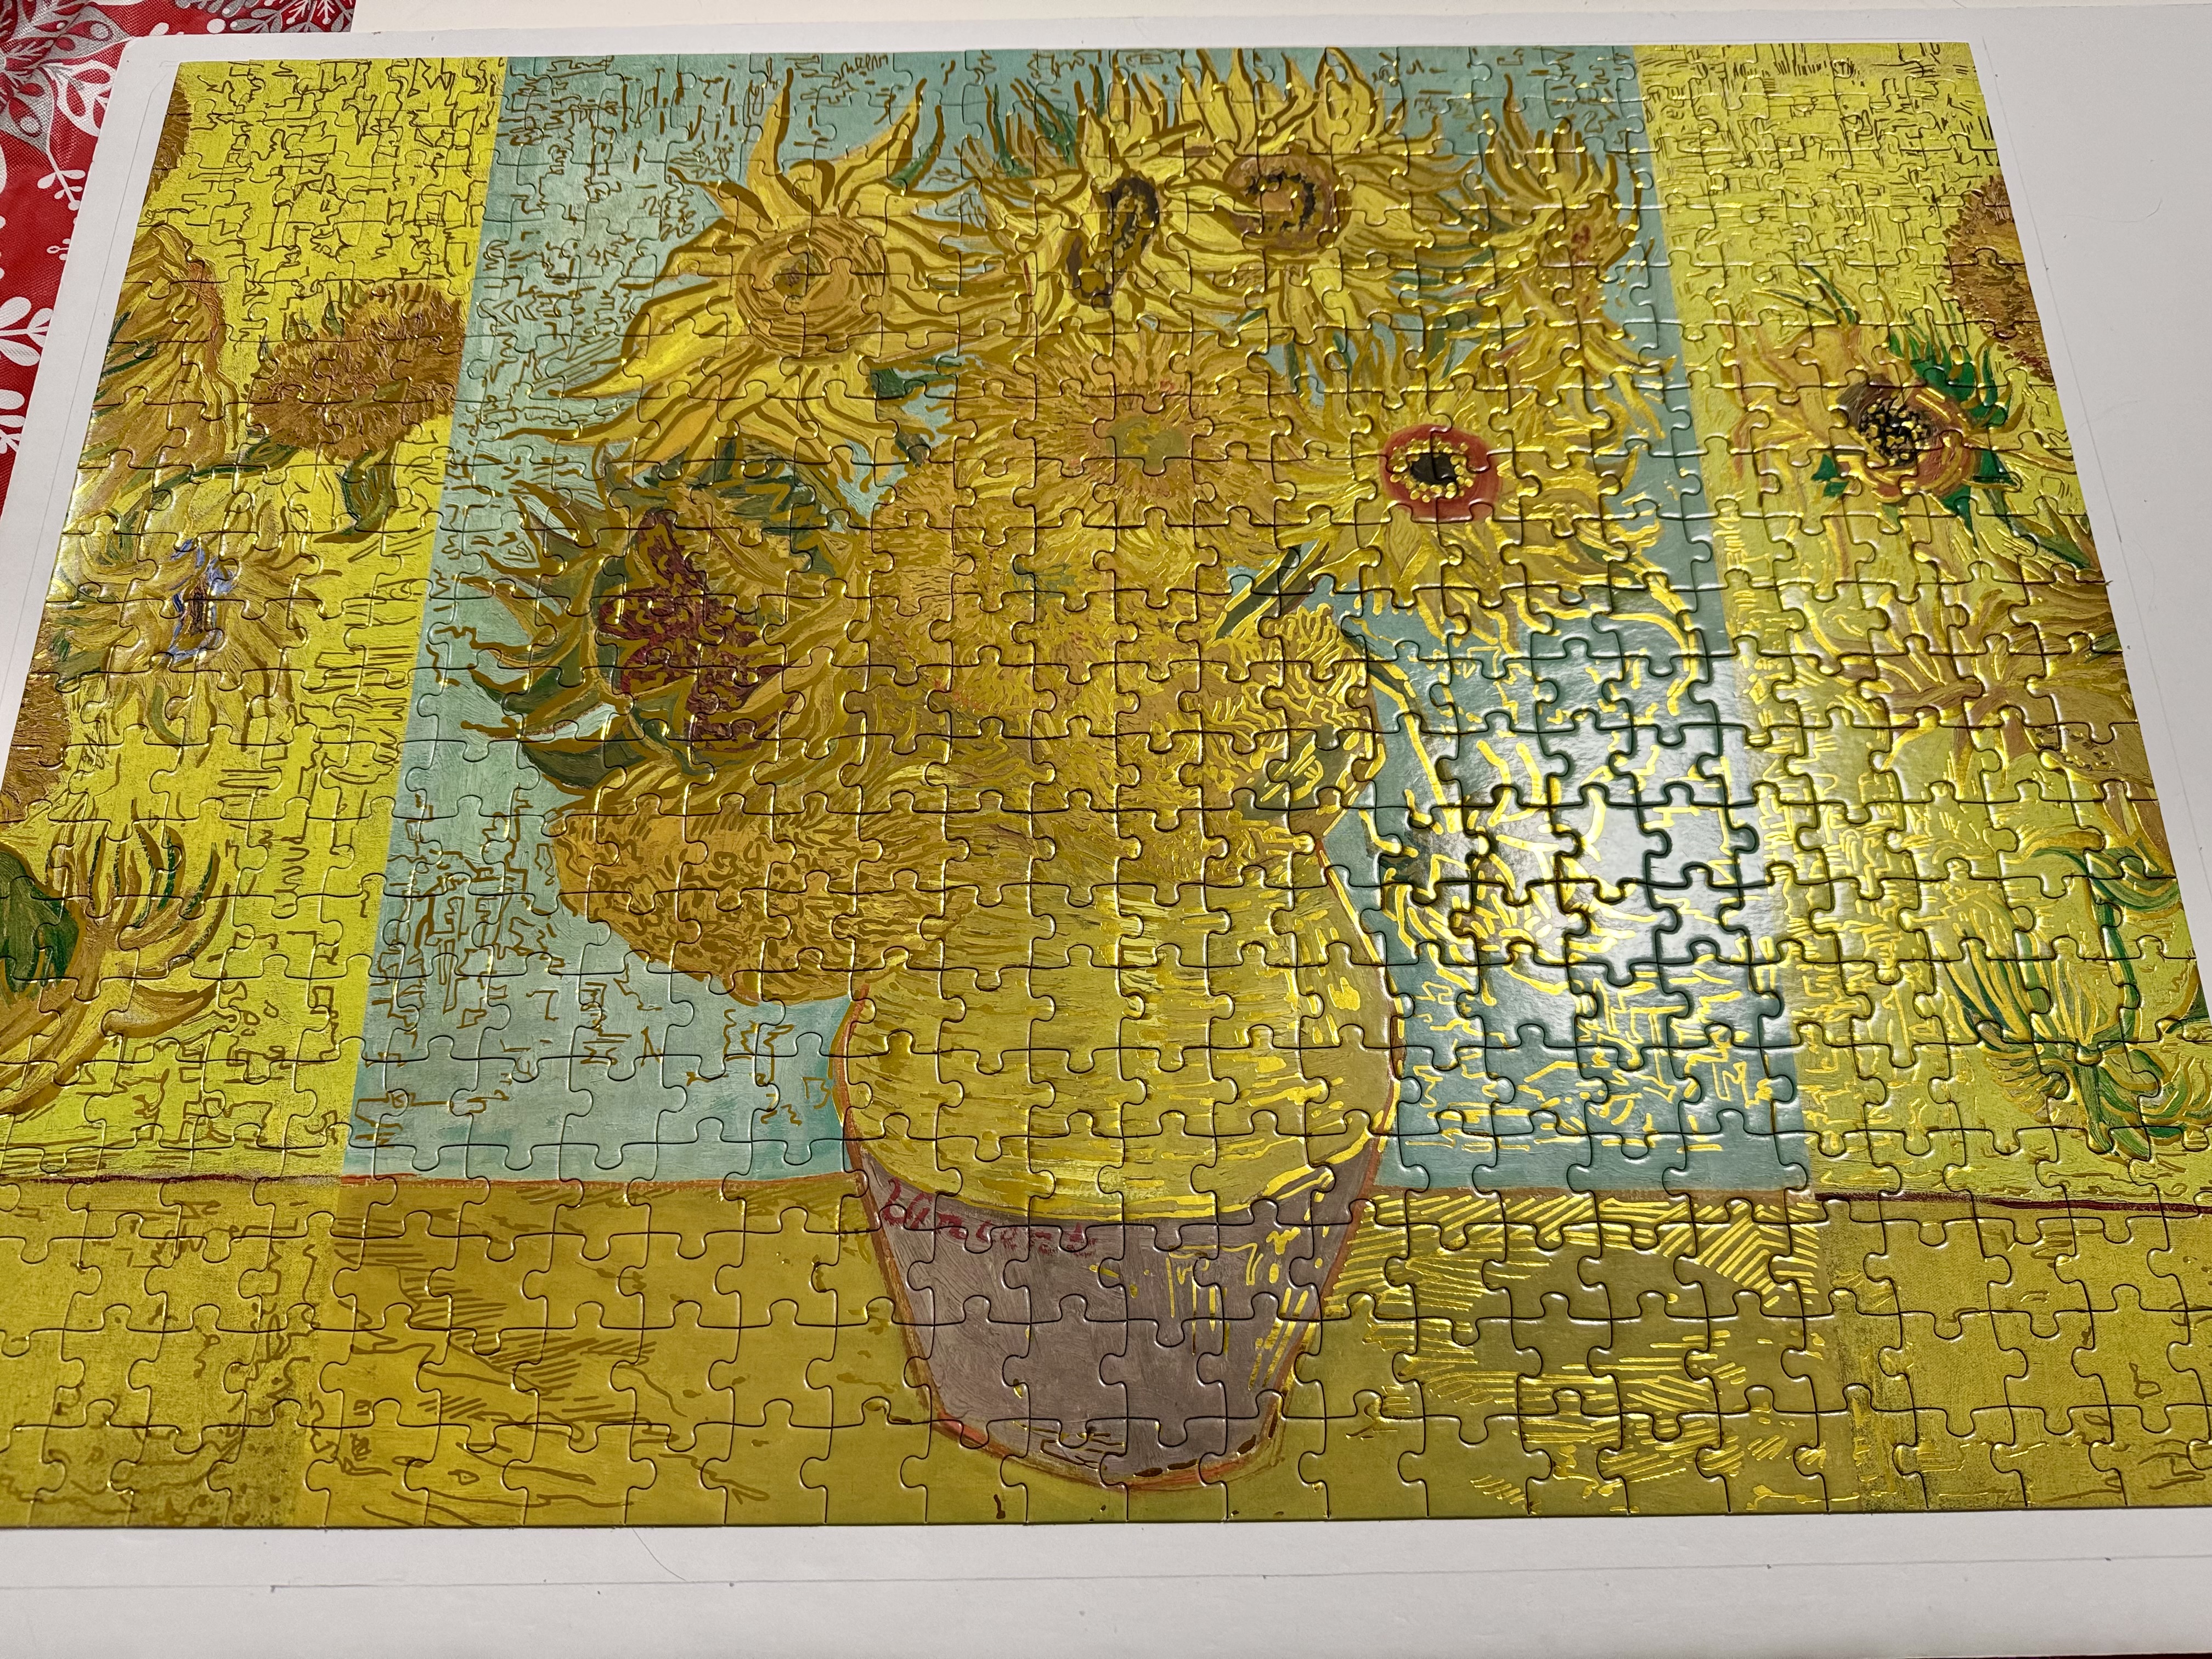
Hello! I got my parents hip to 5 Below as it’s the perfect spot to pick up little treats for the grandkiddos. About a month ago they took a trip there and my dad returned with two puzzles. One of Van Gogh’s Starry Night and Sunflowers. Although they were very challenging, it was such fun to complete them with my dad! I had a vague recollection of 5 Below carrying a puzzle of one of my personal favorite paintings, The Great Wave off Kanagawa by Katsushika Hokusai, and was so happy when they still had it available. We just finished it this week and it looks fantastic! Check it out:
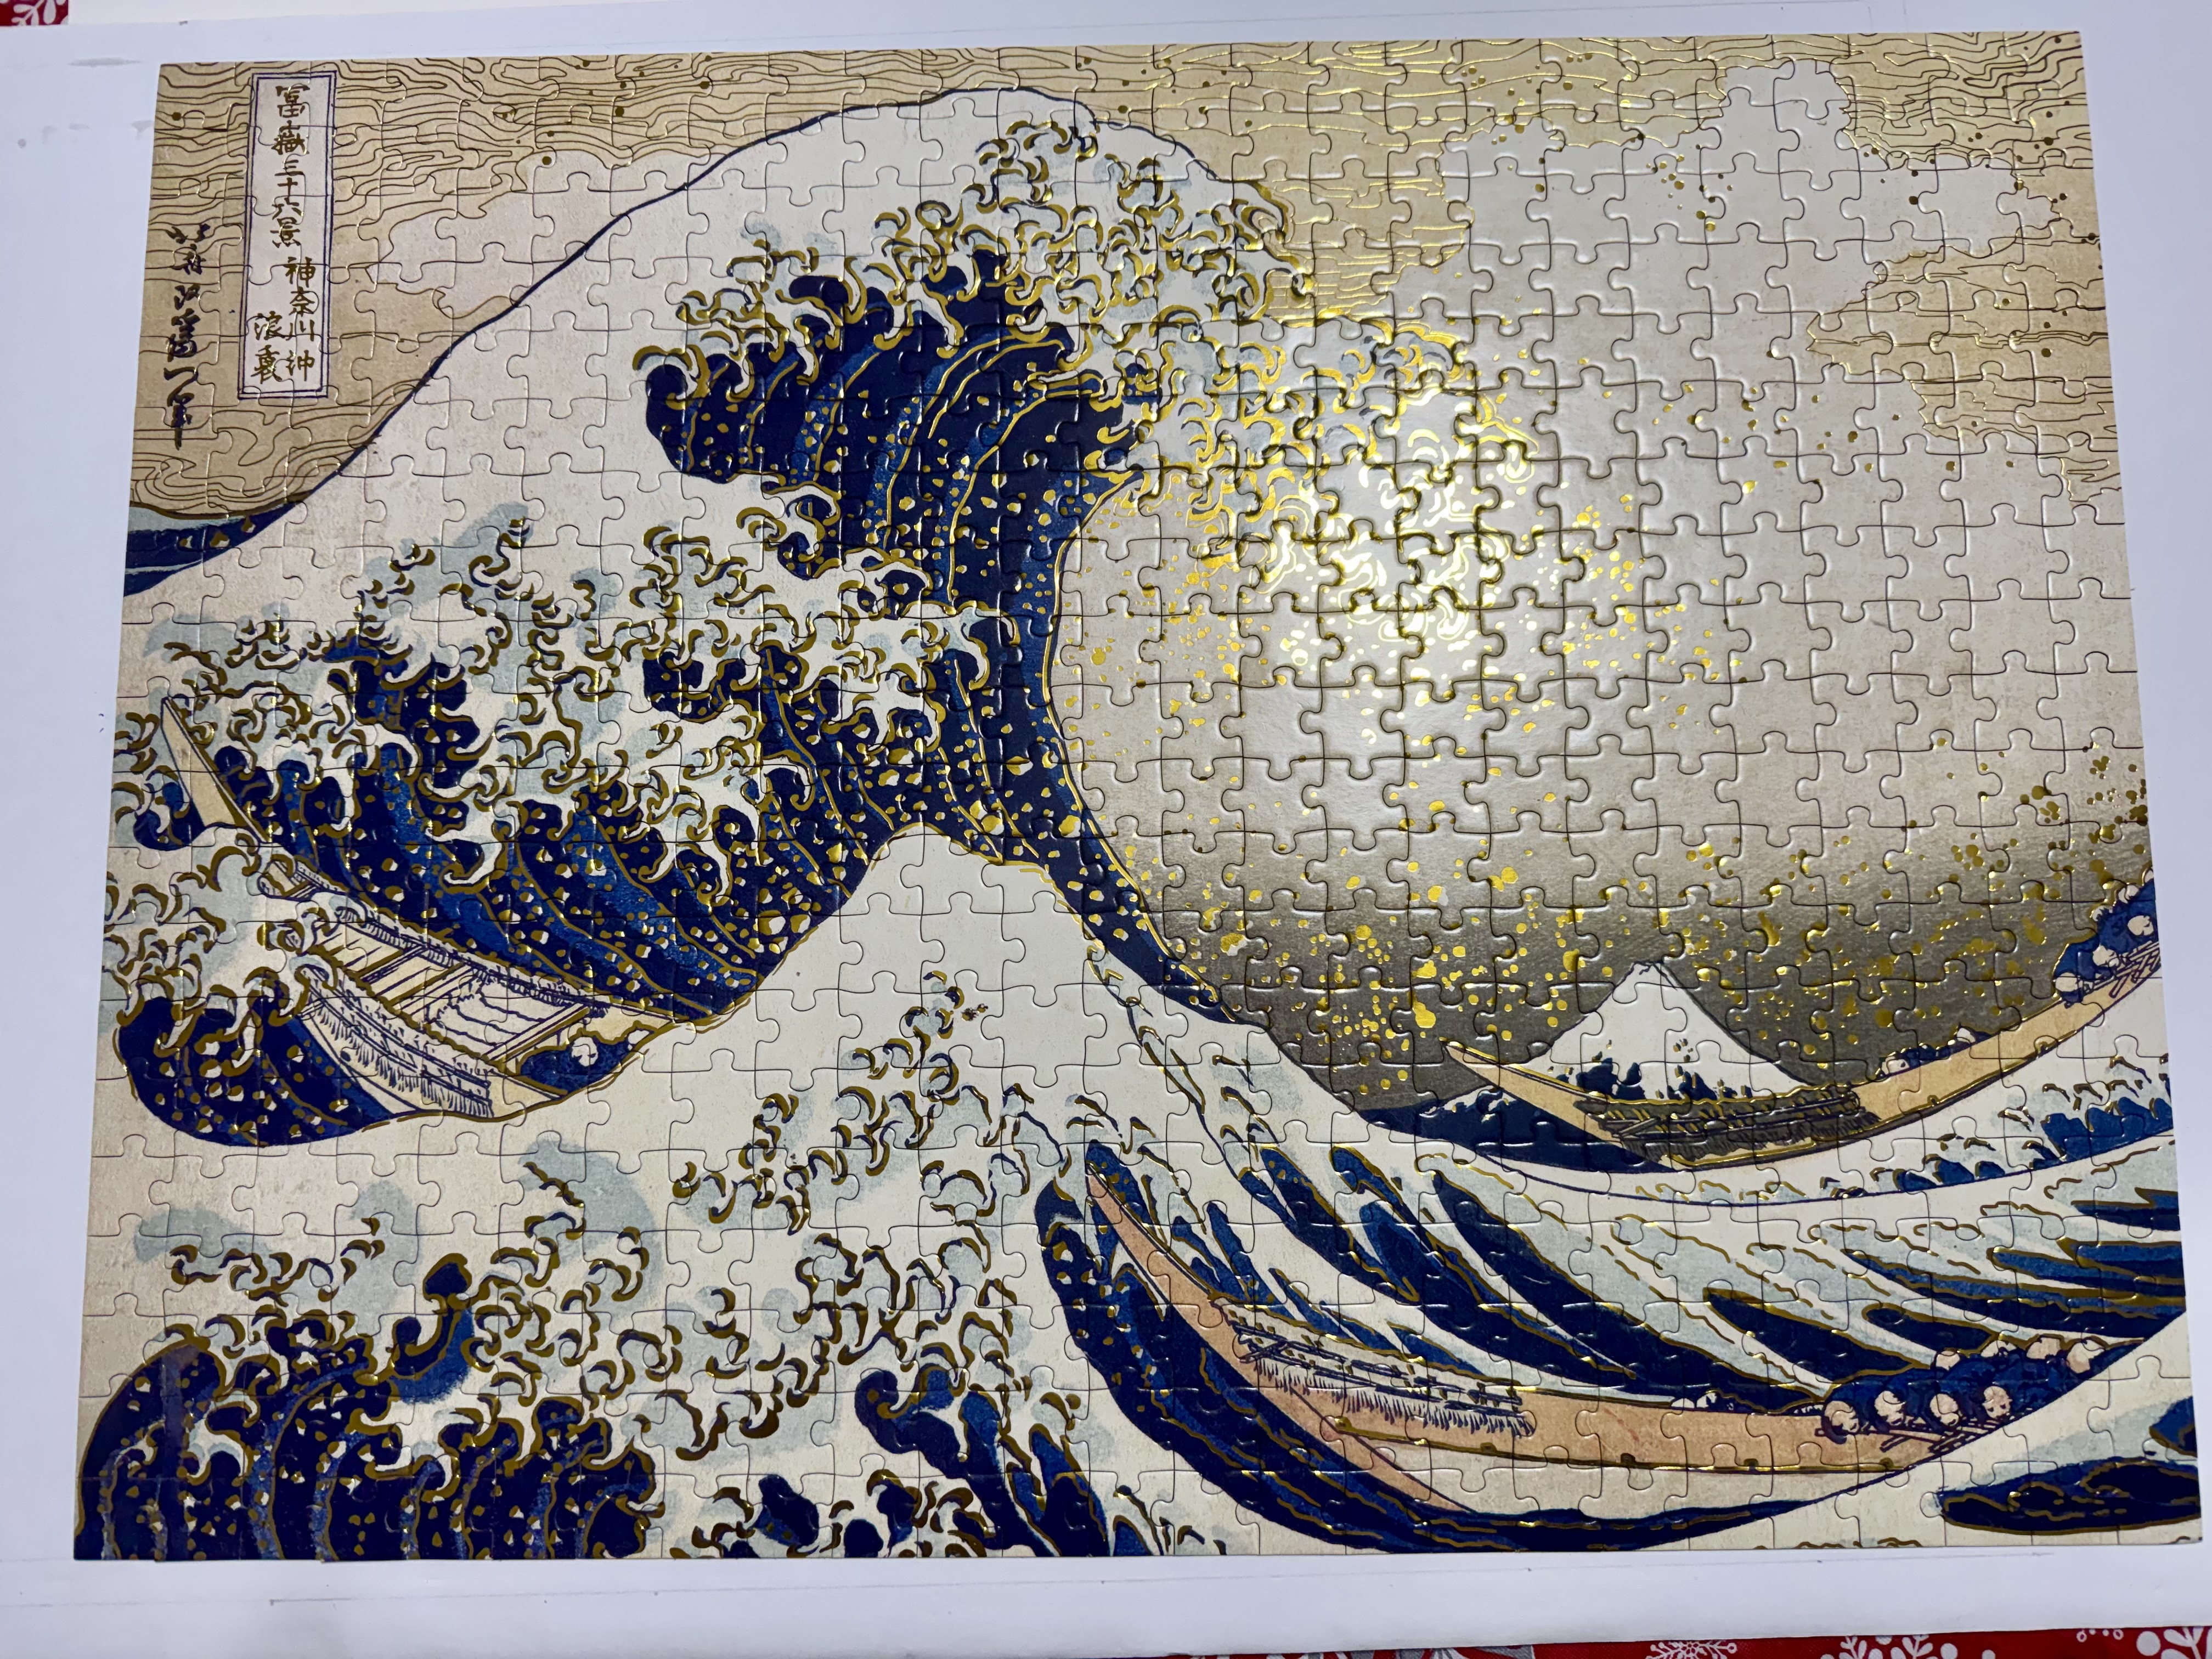
Between the three puzzles we have just completed, I would rank them in difficulty with Starry Night being the easiest, The Great Wave coming in second, and Sunflowers being the hardest. Sunflowers was a massive pain in the nads because the color palette was so limited. While The Great Wave does feature a minimal palette, it still provided a lot that we could work with like the squiggly lines, speckles, boats, and the gold tips on the waves. We tackled this puzzle in sections with my dad starting on the boats. Then, I tapped in to work from the top down on the tan areas. All that was left was the wave smack dab in the middle which is where we ran into trouble because all of the remaining pieces looked like they could fit anywhere. It took a lot of twisting and turning of the pieces to find their happy home and it felt amazing to put that final piece in!
There truly is nothing like that last piece of the puzzle feeling and it was exciting because the next step is easily the best. My dad glues it, frames it, and hangs up the end result as wall art. Of course, I wanted this puzzle painting simply because I love it but I thought it would look so nice next to Starry Night! As anyone in my family can testify, my dad is a total and complete hoverer when puzzles are involved and I sometimes had to shoo him away lol! However, it has been a blast to have these puzzle projects to tackle as a team. With three under our belt since the end of January, I’d say we make a pretty damn good one. ❤
I’m not sure what puzzle is next on our agenda, maybe some Monet? Whatever we go with, I am already looking forward to it!
What is your favorite hobby? What is the maximum size of puzzles that you can do (Anything over five hundred is a hard no from me!)? I want to hear from all of you, so leave me a comment and let’s chat! Much love. -Sarah