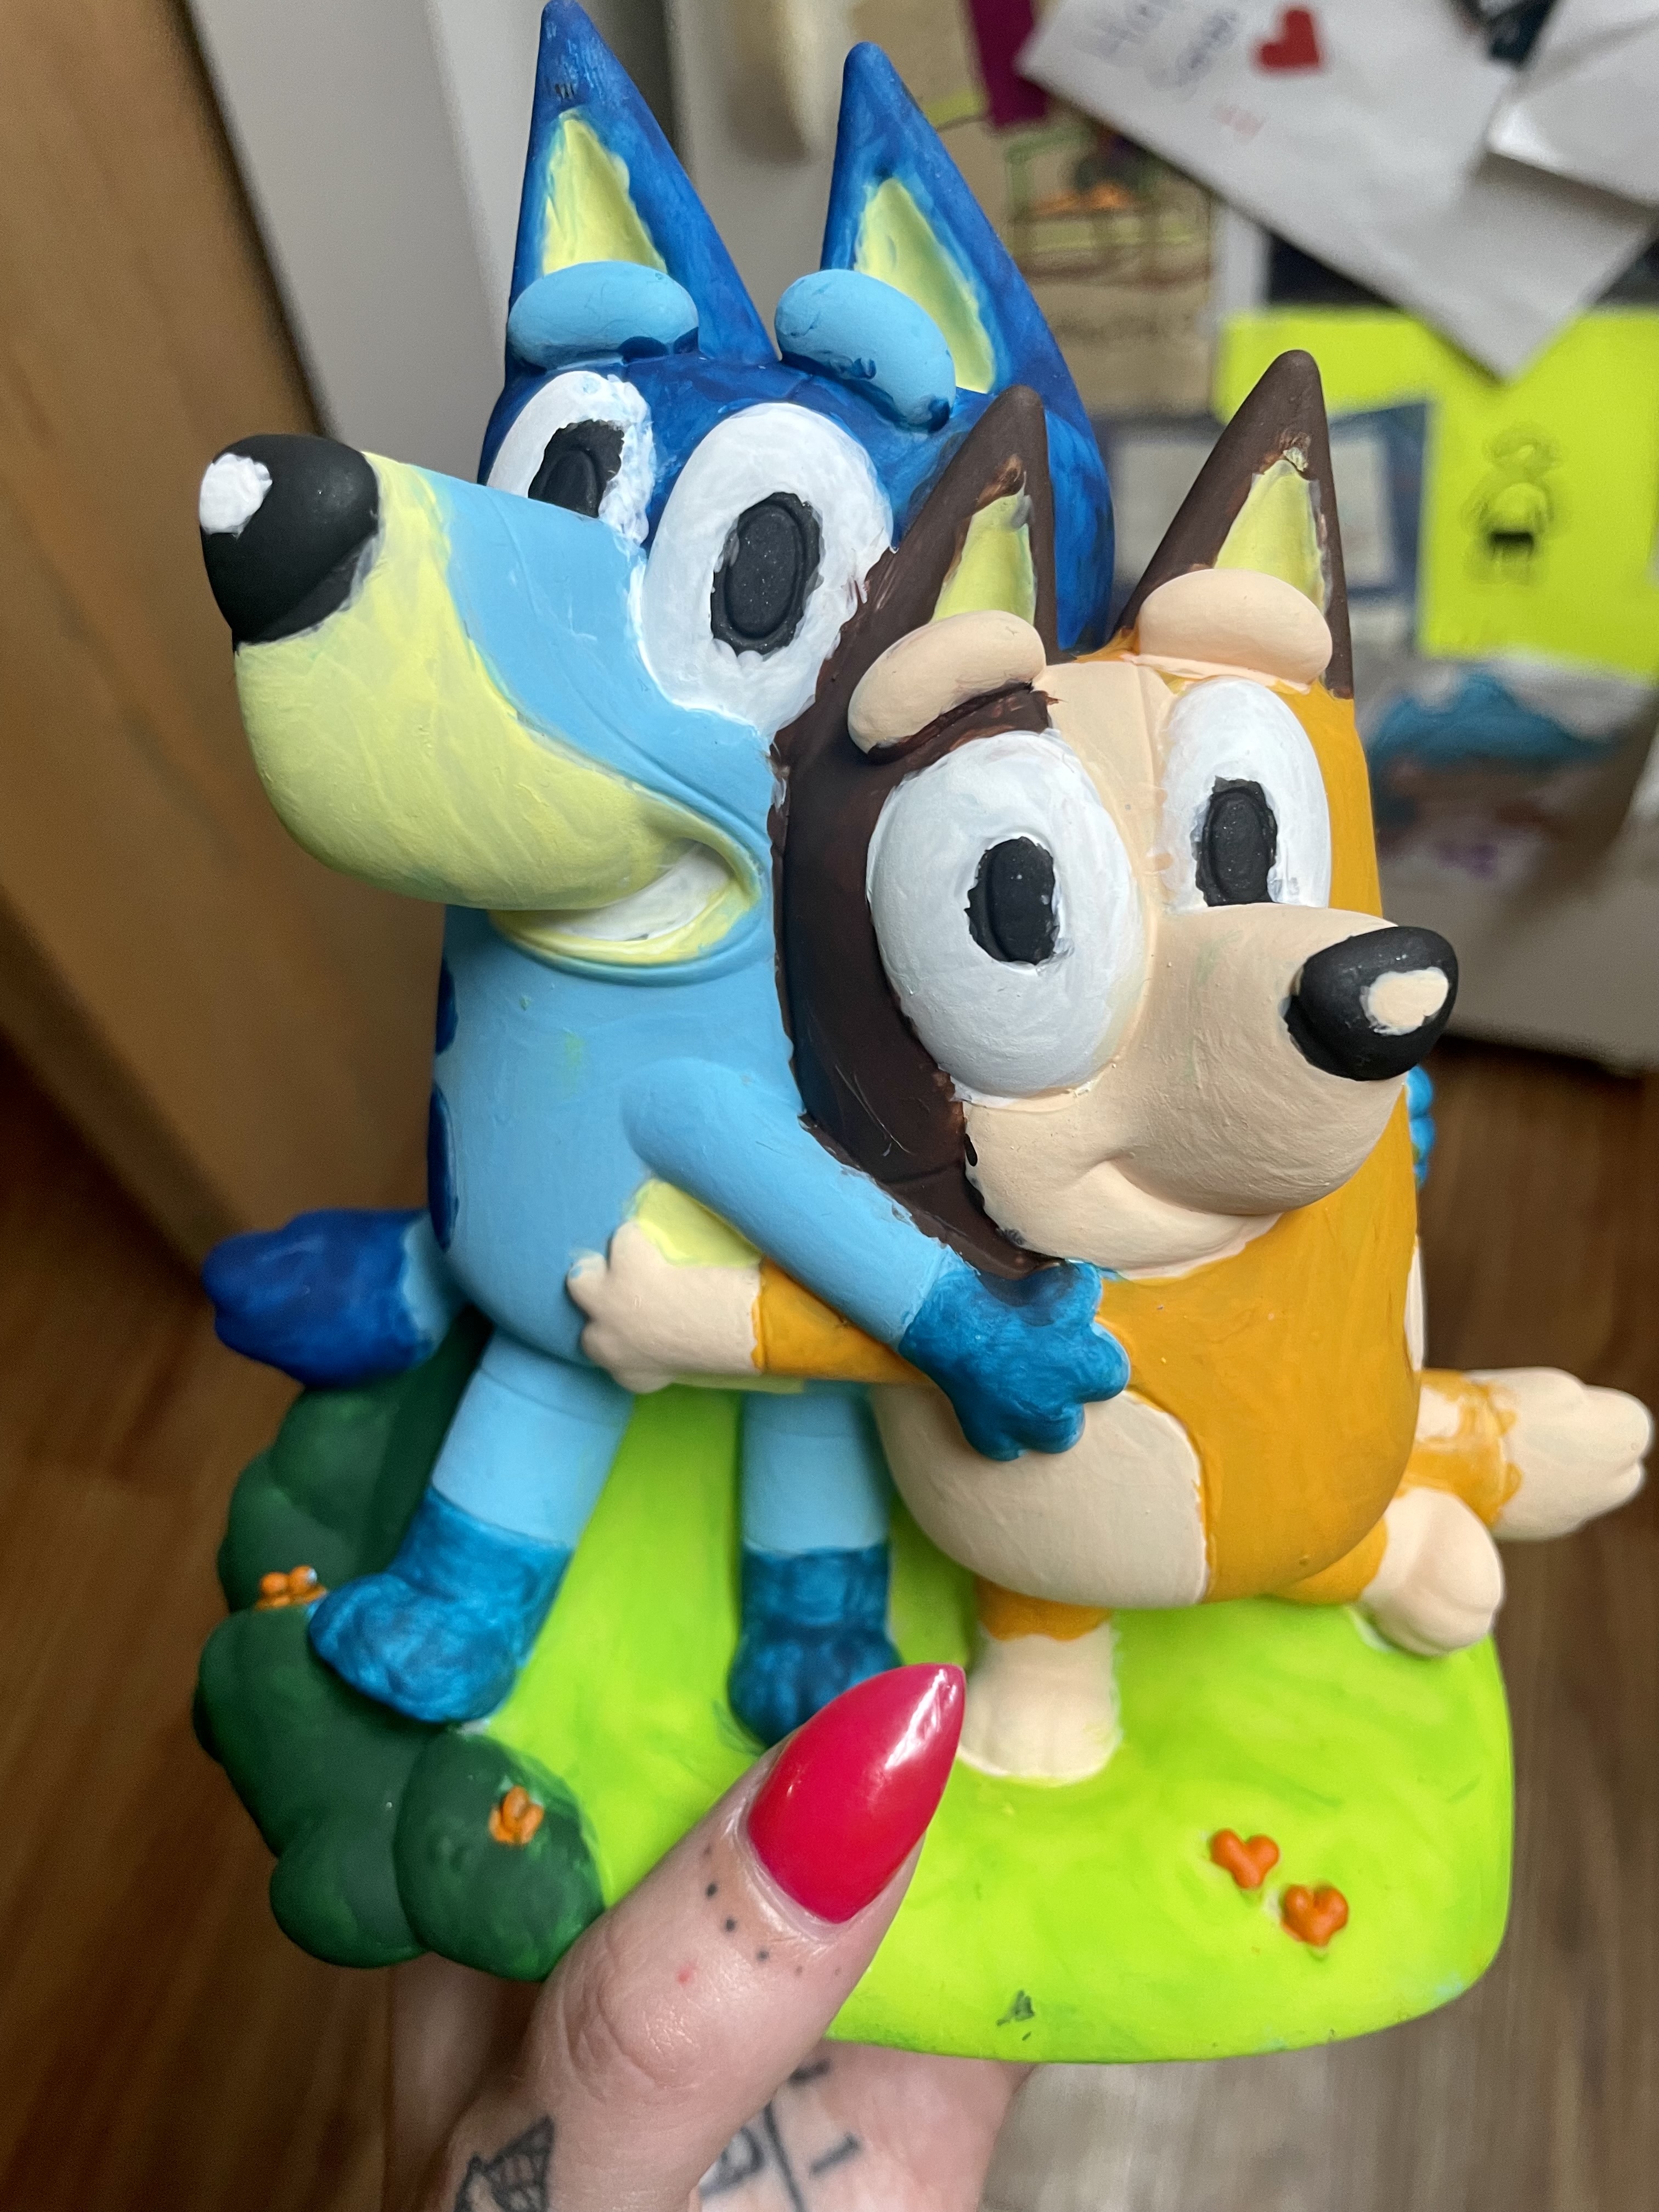
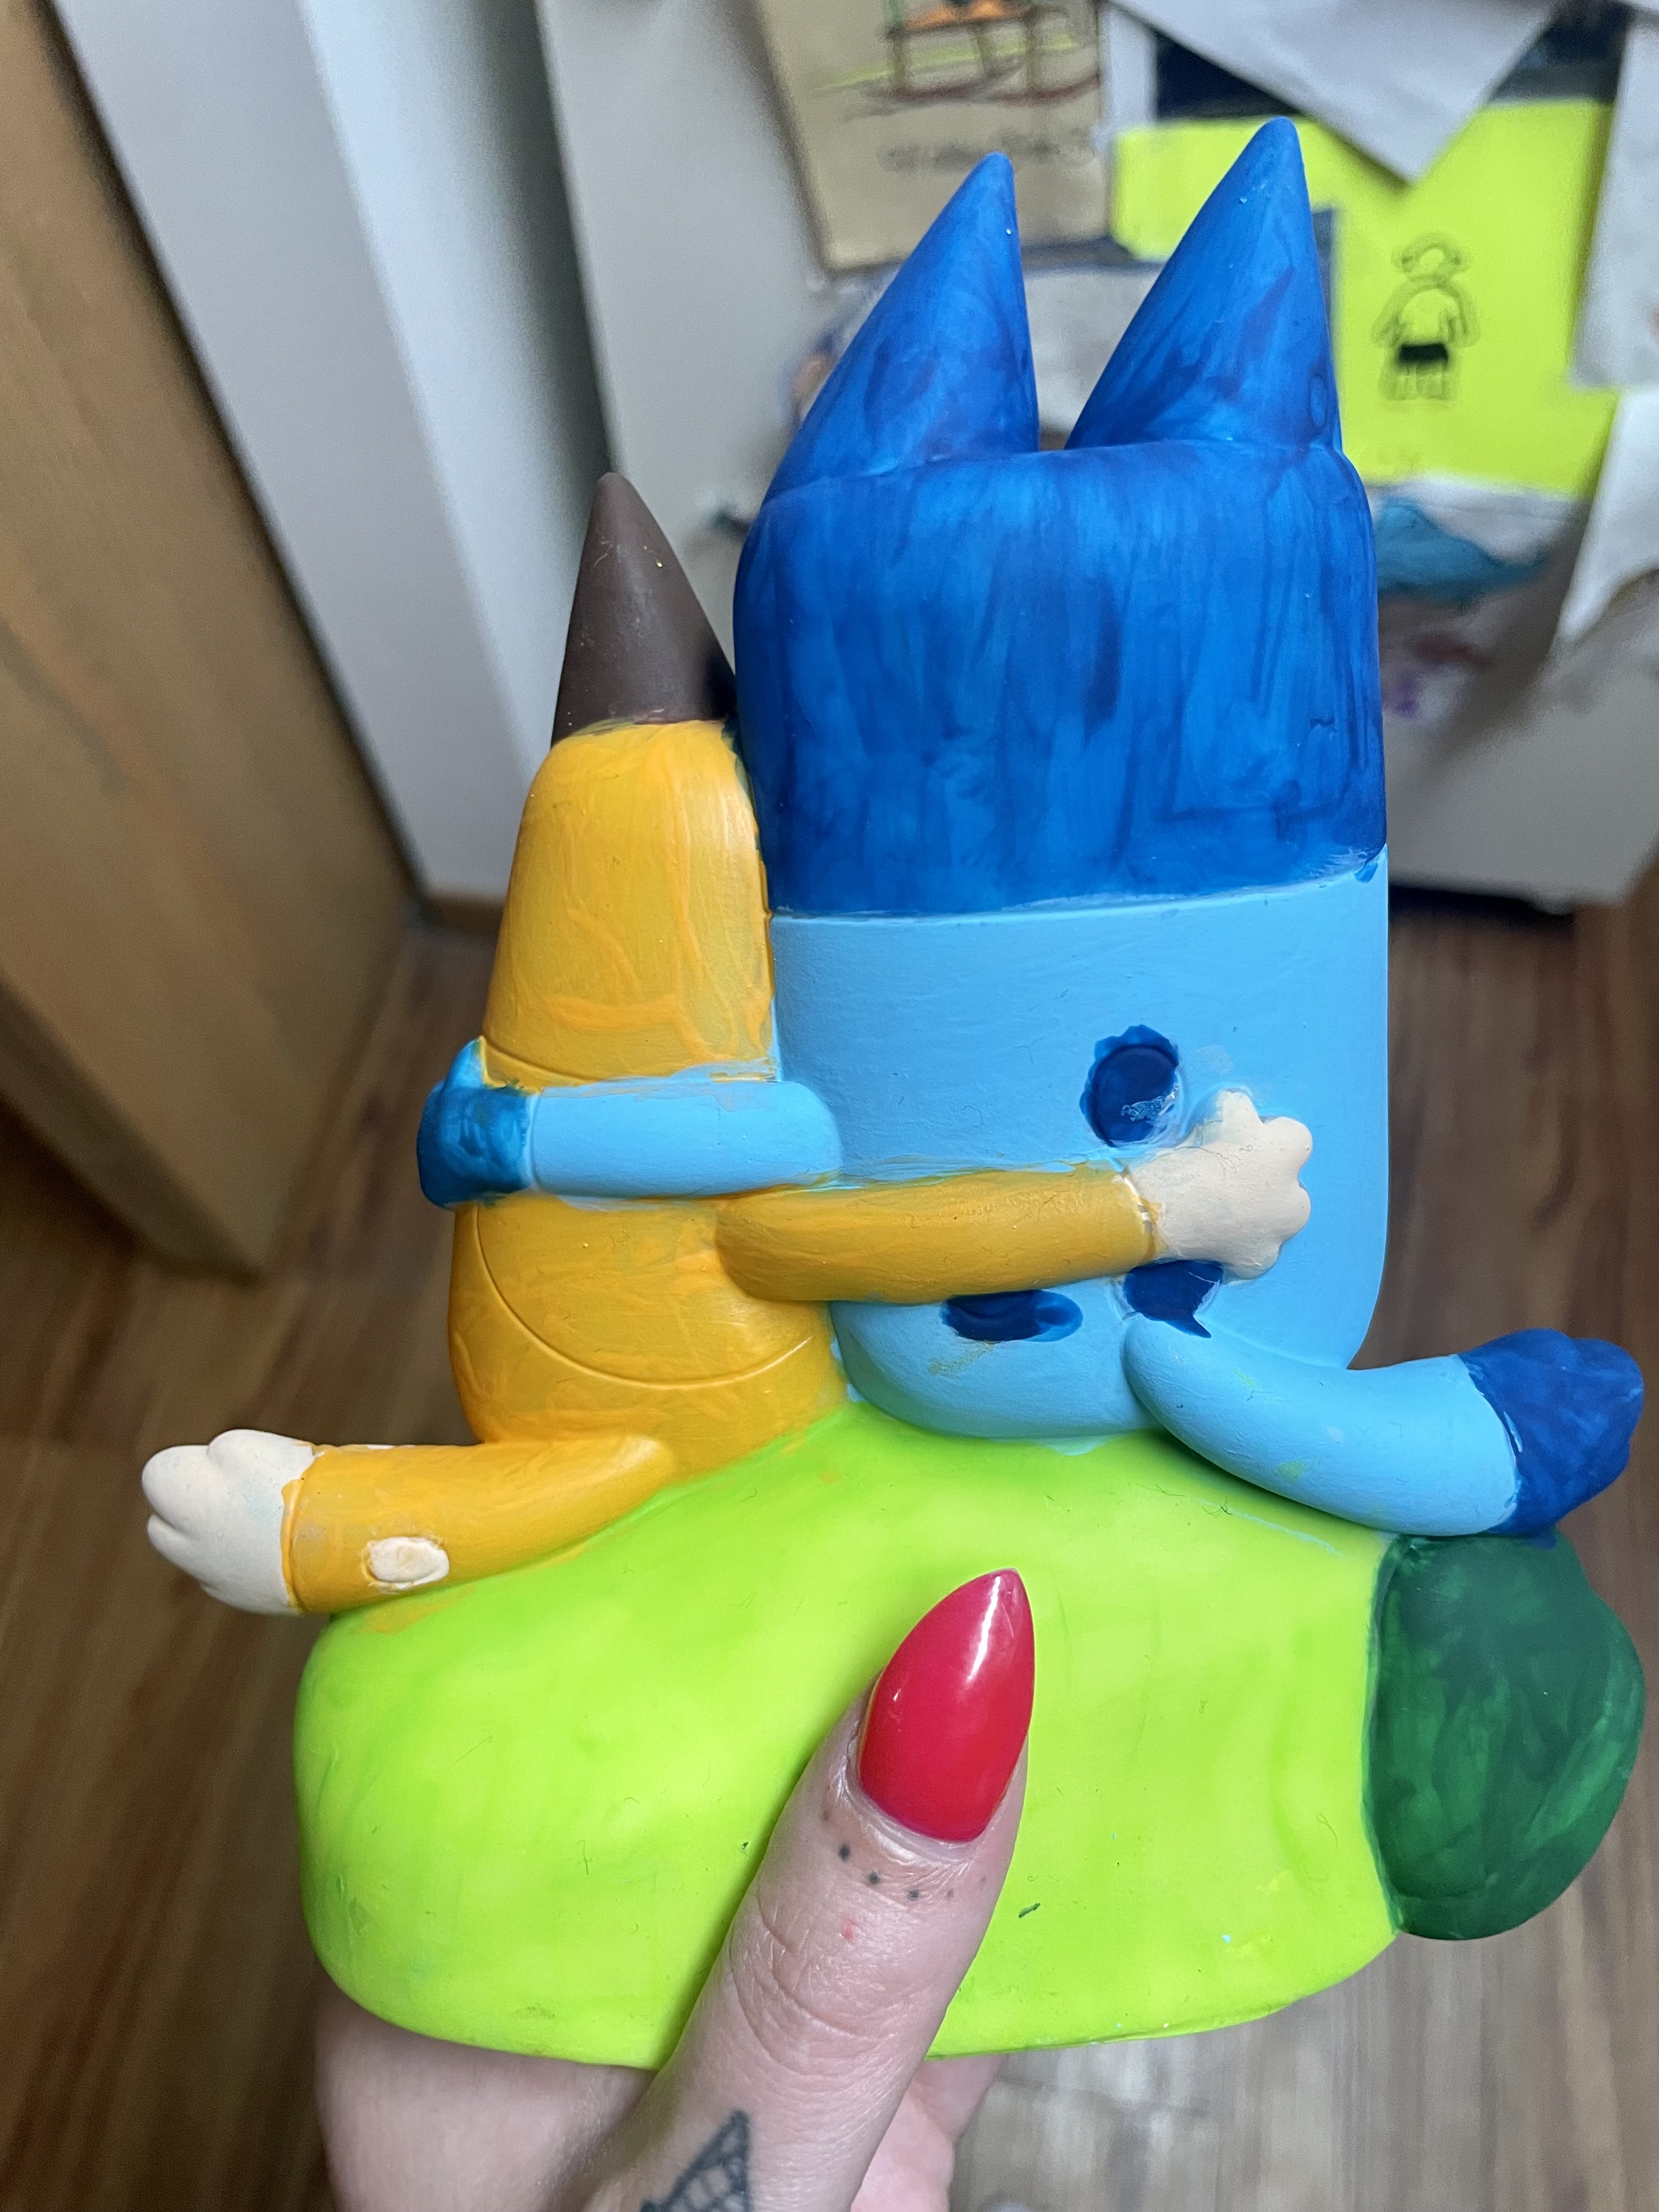
Hello!! My mom recently read a book in which one of the characters enjoyed wool felting. She was intrigued by this craft and decided to order a starter kit so she could try her hand at it. The kit that she got provided the materials and instructions for six beginner wool felt animals to make and she has steadily been working her way through them. She made a frog, penguin, owl, and fox and I can definitely see her improvement with each attempt. In fact, I think the bumblebee that she just made me is her best one yet!
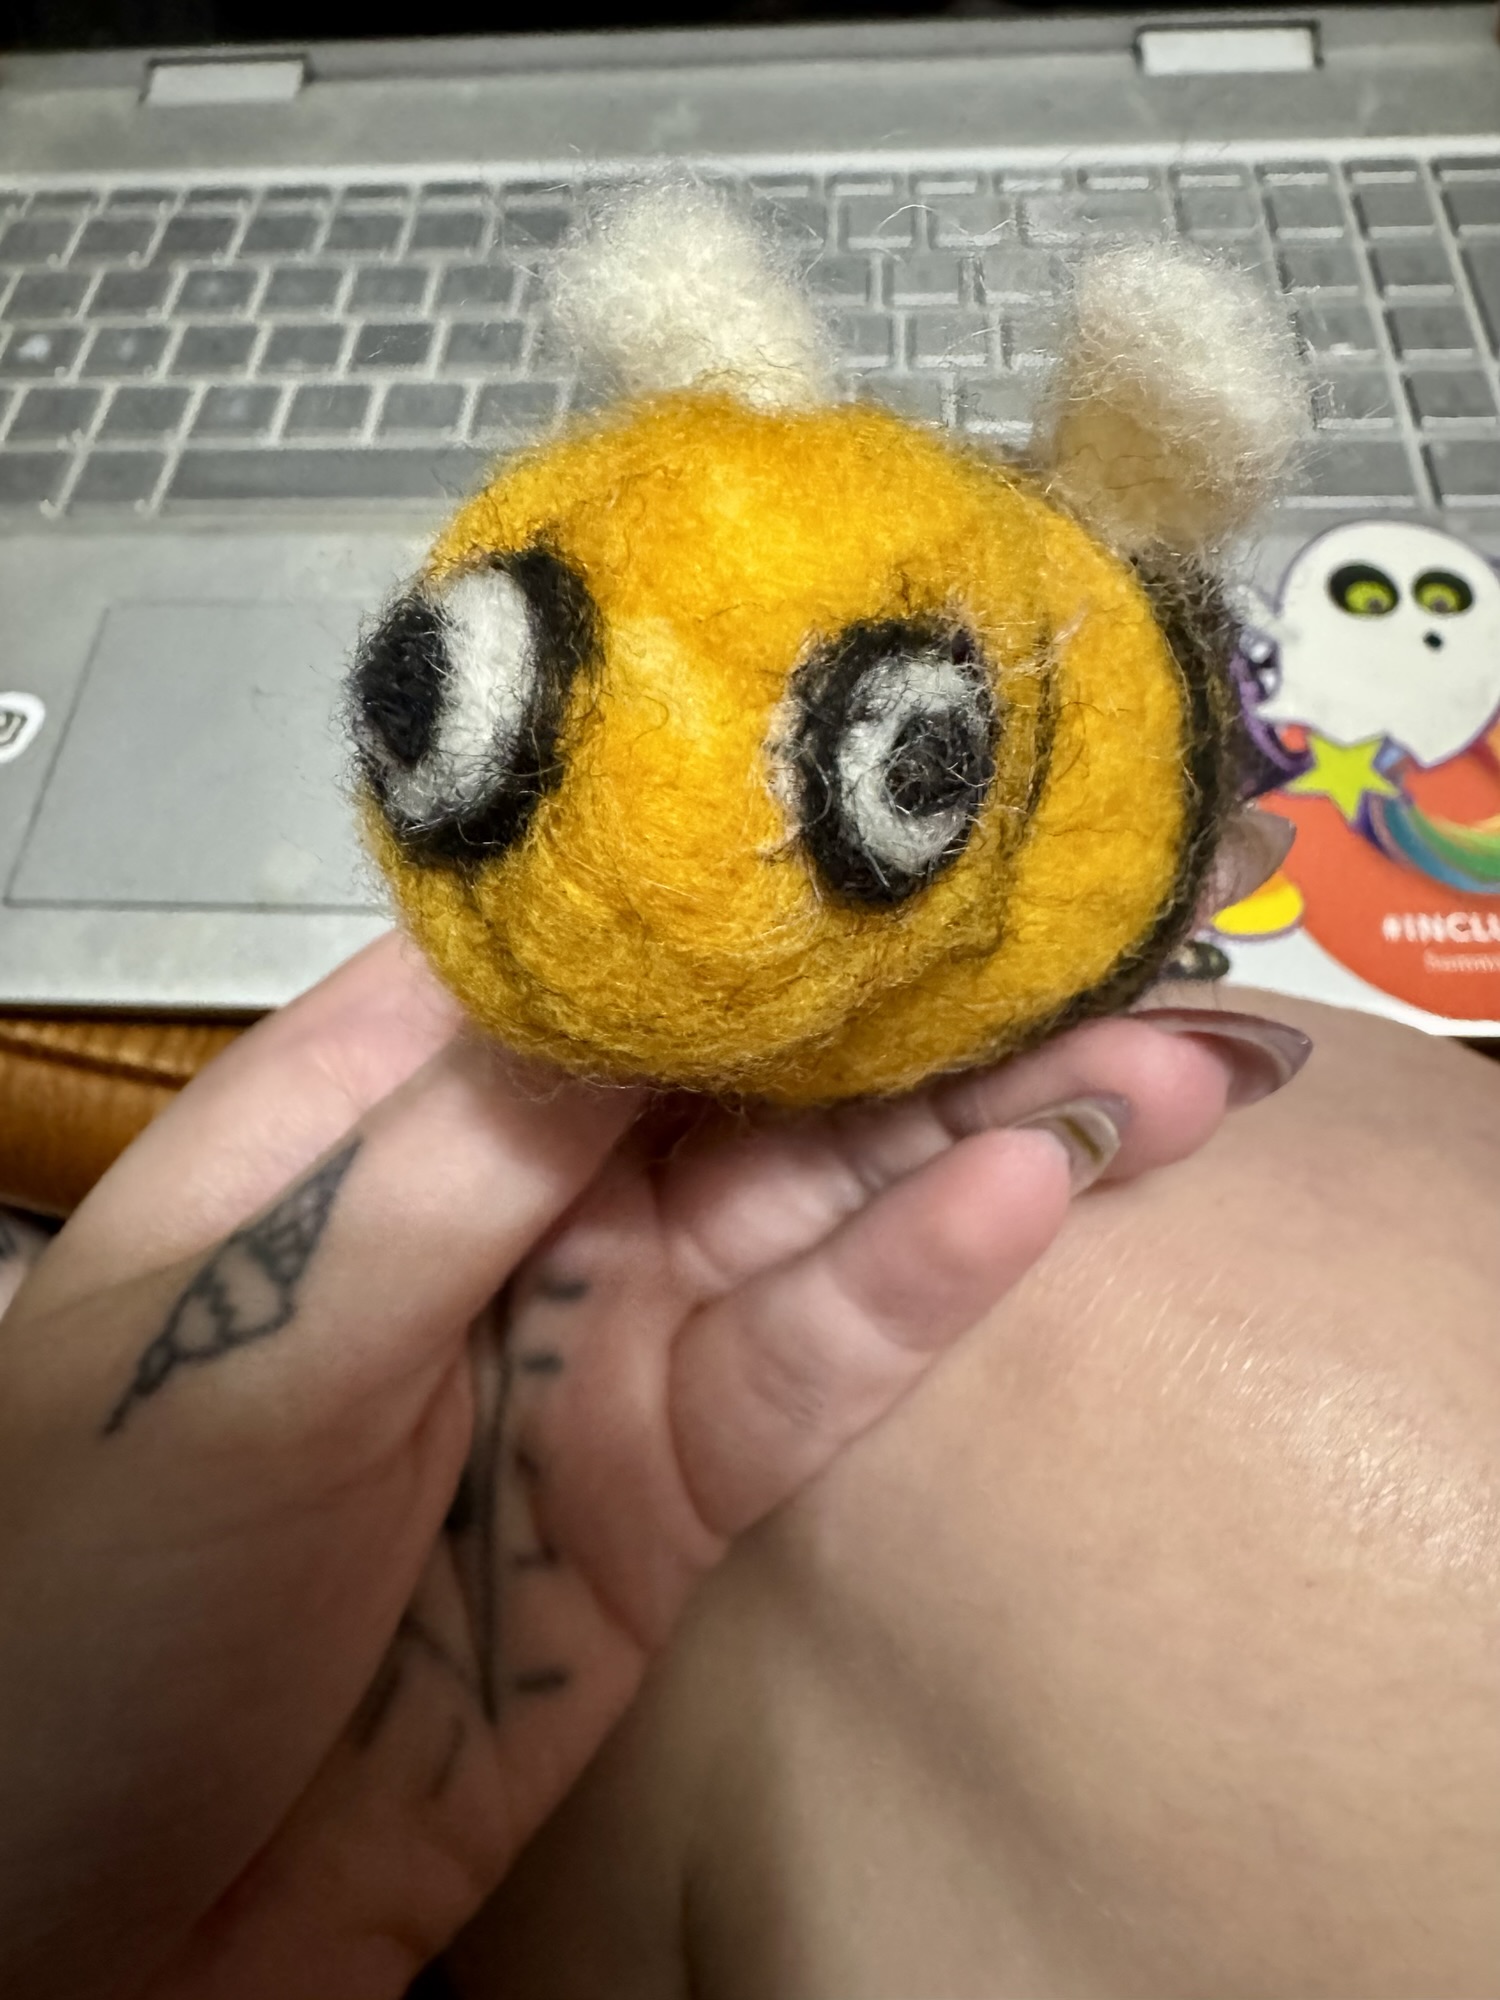
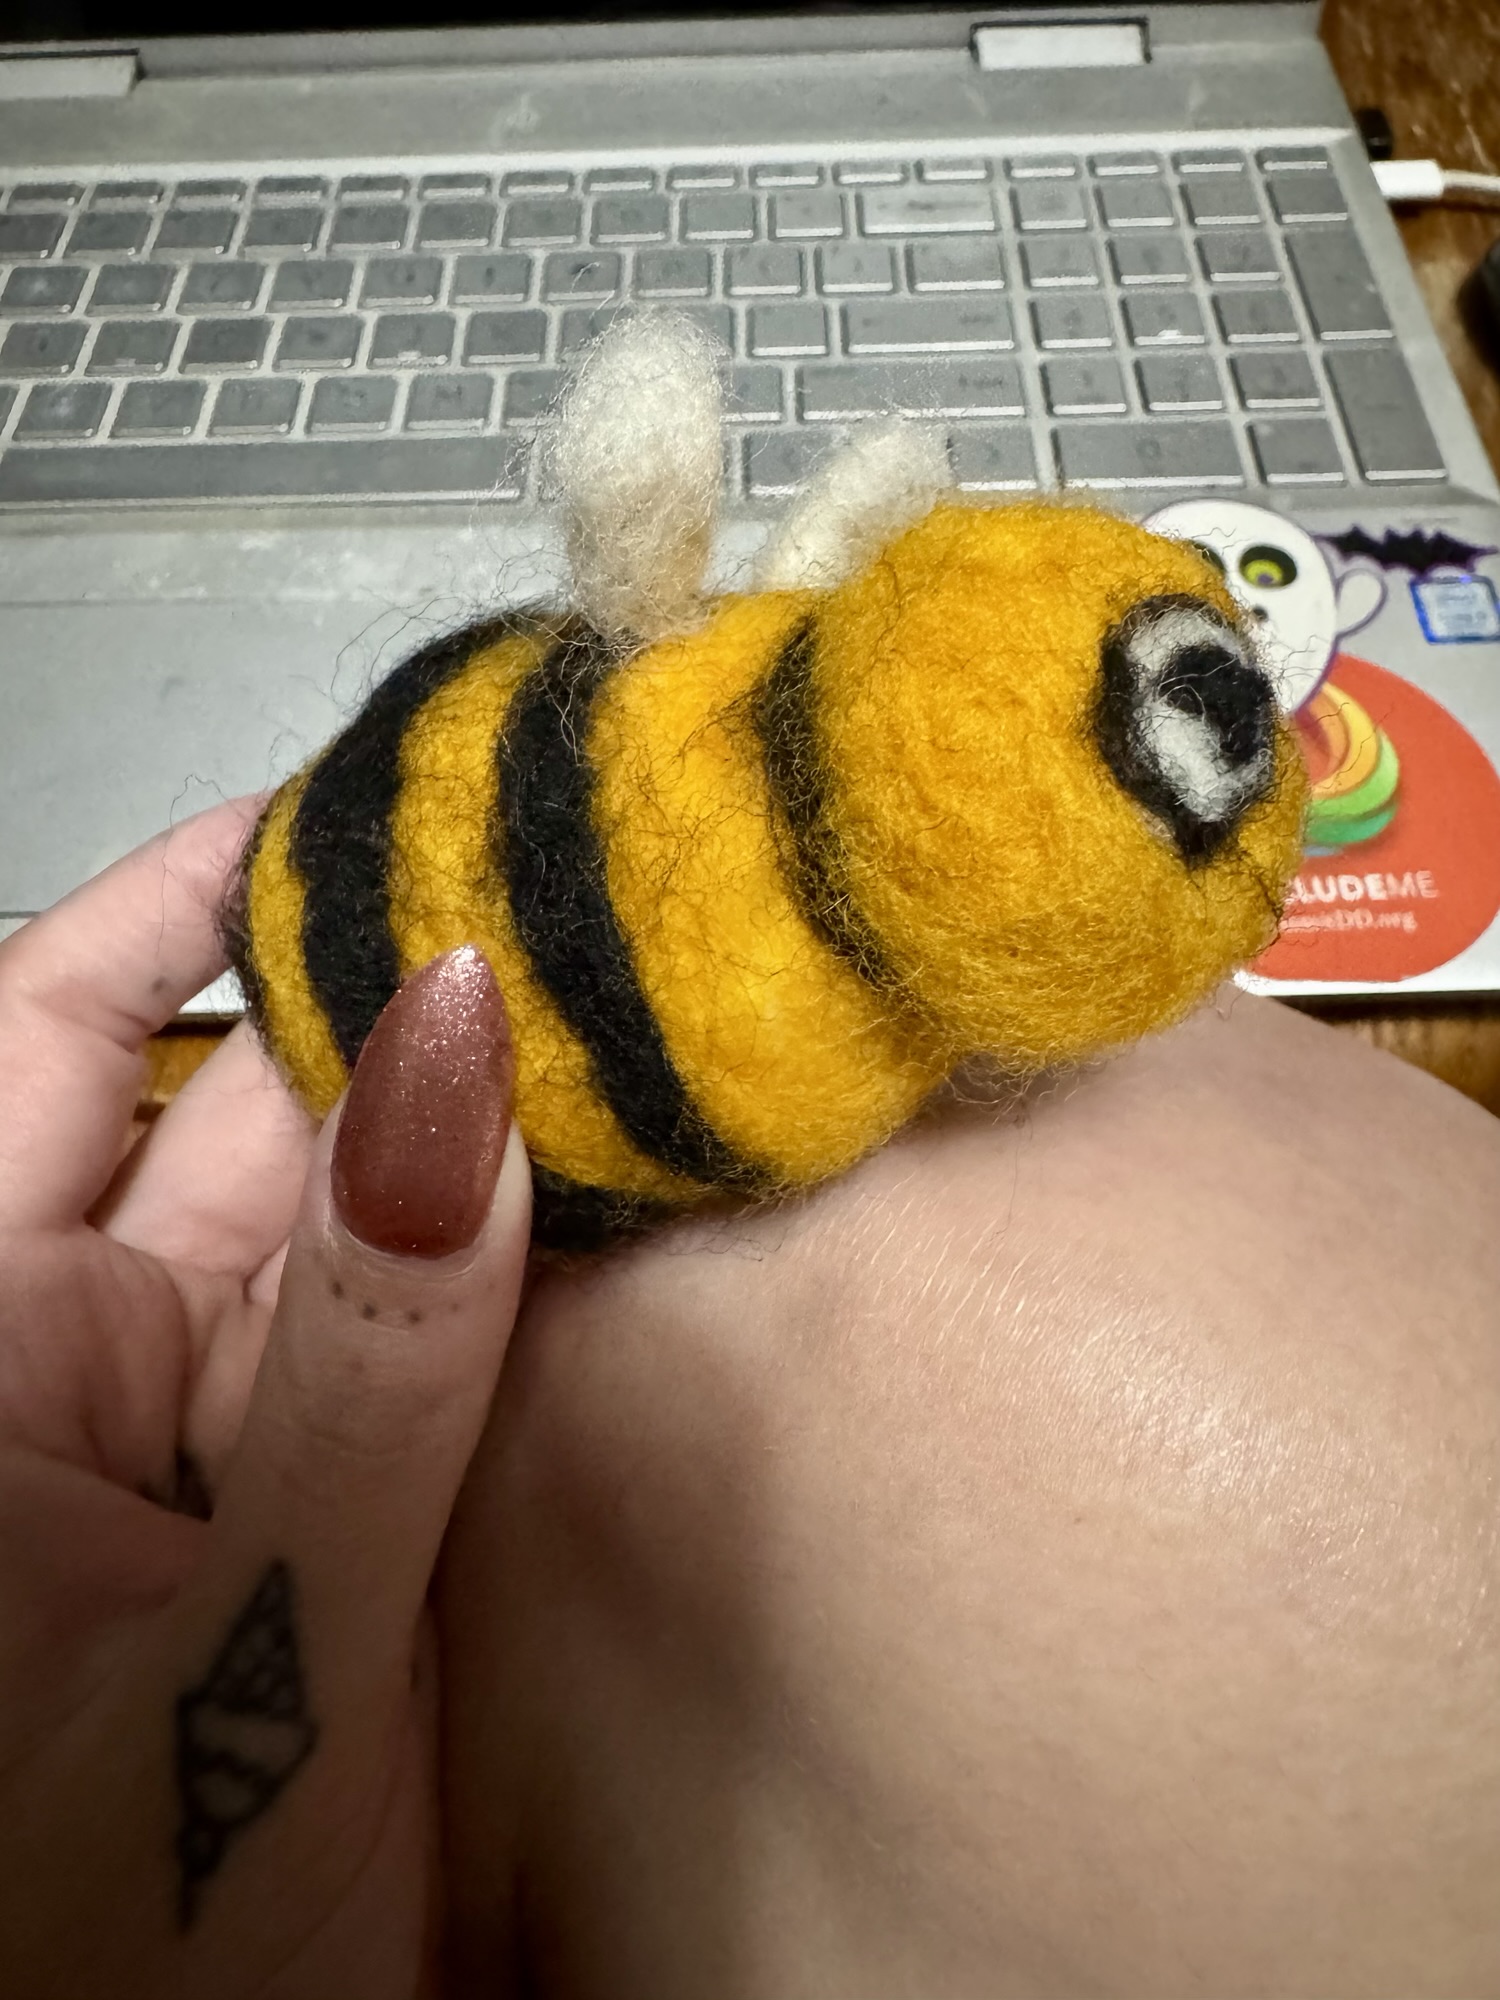
Let’s be honest and call a spade a spade here… The eyes on my bee are, admittedly, a tad wonky lol. BUT, I think the body looks great and it’s perfectly obvious that this is supposed to be a bee whereas some of my mom’s earlier work was left up to interpretation! Regardless of the outcome of her wool felting, I am genuinely proud of my mom for trying something new! Starting anything from scratch as a beginner can be a daunting task and is sure to feel overwhelming. However, my mom has been practicing and even if it isn’t perfect yet, she is still having fun doing it. That’s the most important thing!
Whether it’s my dad’s biweekly guitar lessons with Johnny or my mom giving wool felting a go, I think it’s an awesome testament to keep trying new things no matter your age. All you have to do is start! There is nothing wrong with being a beginner because that means you are stepping out of your comfort zone and learning something new. And it’s exciting to see the progress! My dad practices guitar daily and my mom makes a new wool buddy per week. I would say that both of their skills have improved tenfold and I love seeing their hard work pay off. Being a beginner means you have the opportunity to keep getting better and both of my parents most certainly have. Yay for them! ❤
I cannot wait to see the next Wool Buddy my mom creates. The last one in her kit is a shark and she is a bit worried about making the teeth but I know she can do it!!
Have you tried a new hobby recently? How often do you participate in your favorite hobby? I want to hear from all of you, so leave me a comment and let’s chat! Much love. -Sarah