Being able to make something out of practically nothing is pretty awesome isn’t it? There’s nothing more satisfying than starting out with just a few chunky pieces of wood and ending up with something super awesome to fill your home or garden with.
Furniture and decor these days is so stupidly expensive that it makes sense to do it yourself. Even the pieces that are supposed to look old and shabby cost a fortune these days, if not more, so why bother forking out all of those extra dollars when you can do it for a much cheaper price yourself?
DIY projects aren’t just great for the final result, either. You’ll have something to fill your time with, a new set of skills, and, of course, the patience of a saint afterwards. If you’ve got some spare time on your hands (or little to no spare cash), then try these DIY projects and kick start your new year in style.
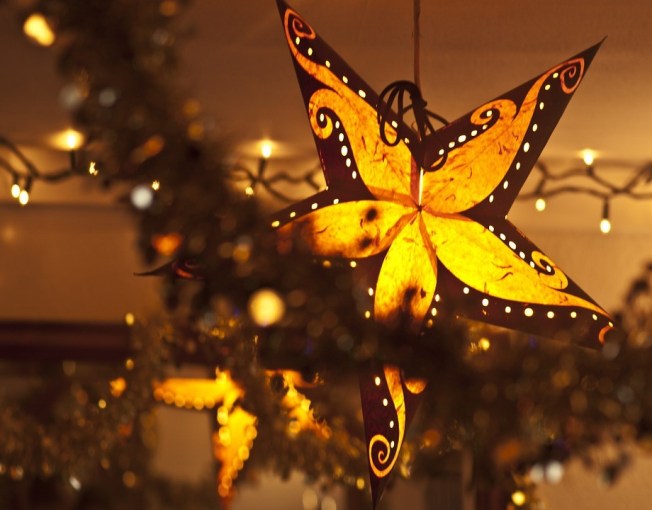
- The Most Stylish Table Lamps You’ll Ever See: This one is actually amazingly cheap as well as super easy. If you have some spare wine glasses around the house and a few paper shades (if not, both of these items are easy to find and can literally be purchased for a few dollars), drop an LED tea light into the wineglass and cover it with a paper shade. These make the perfect dinner table lampshades that are both safe and stylish to use.
- A Side Table With Style: If you have some old window shutters in the garage that haven’t been used in years, then why not put them to good use? You’re clearly not going to use them for their original purpose again so, instead, make a table from them and have an amazingly quirky looking table in one of your rooms for little to no cost.

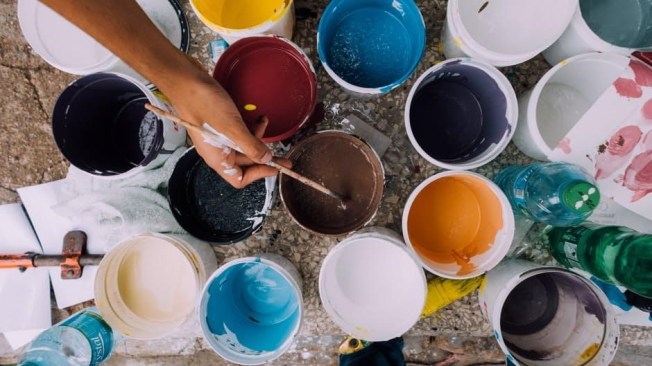
- A Lick of Paint Never Did Anyone Any Harm: If you’ve opened a tin of paint recently and got all of your walls finished, then you don’t need to throw the leftovers in the bin. Paint is expensive these days so you don’t want to waste a drop! Use what’s left to freshen up the furniture around the house. Chairs, tables, display surfaces – whatever is looking a little downbeat, spruce it up in the simplest, cheapest, and easiest way possible.
- A Little Woodwork Knowledge Goes a Long Way: If you’re not much of an expert where woodwork is concerned, then don’t worry because that doesn’t need to stop you from having great wooden furniture in your home. Simple projects like a stowaway bench will bring character to the kitchen or garden play area. For tips on what sort of equipment you’ll need to get the job done properly, check out Straight Kerfs’ homepage.
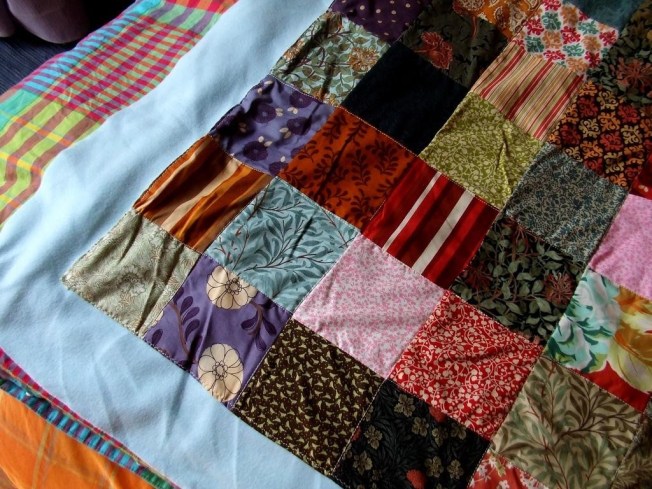
- Make Your Decor Pop With Mini Bursts of Color: If you find that your all white furniture leaves your home looking a little boring, then there’s no need to go out and spend a fortune on replacing it all. Simply cover the metal or wooden handles with patterned fabric swatches. You can mix or match and have your home looking far more colorful at the cost of just a few dollars.

How do you DIY? What is one DIY project that you’re really proud of? I want to hear from all of you, so leave me a comment and let’s chat! Much love. -Sarah


.jpg)