Tag Archives: arts and crafts

Airbrush Plush Review

Standard
Airbrush Plush Review

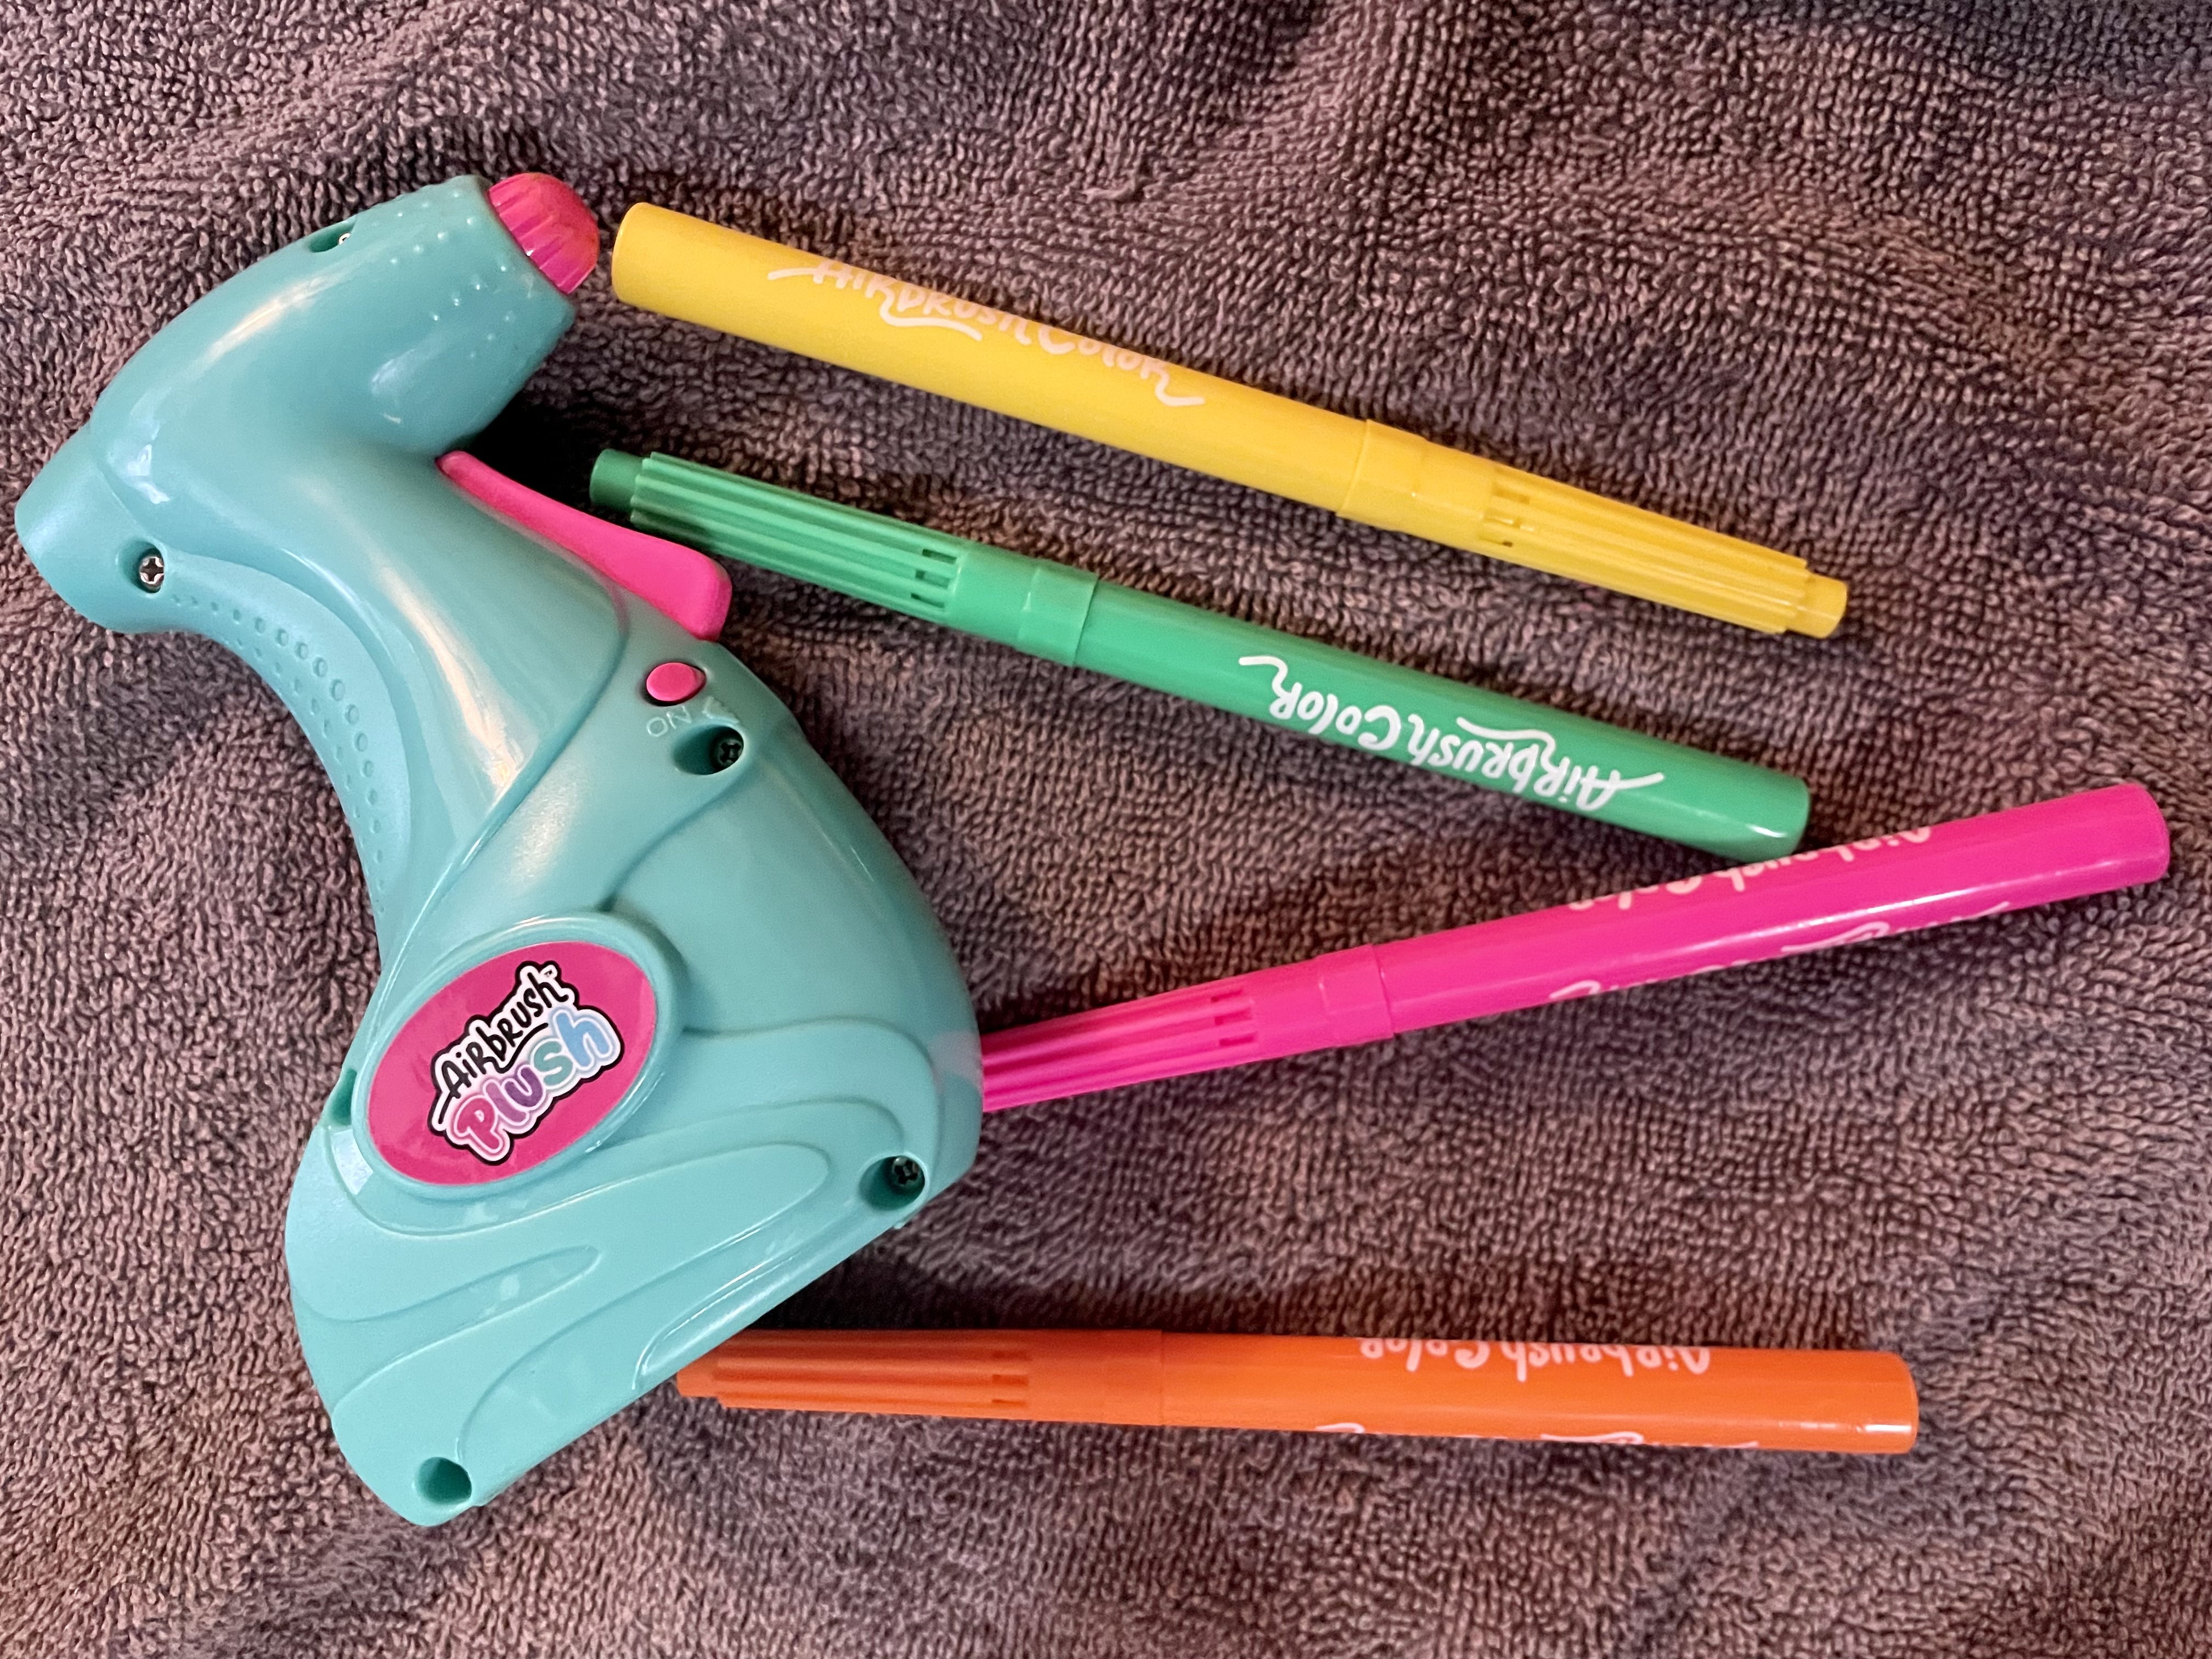
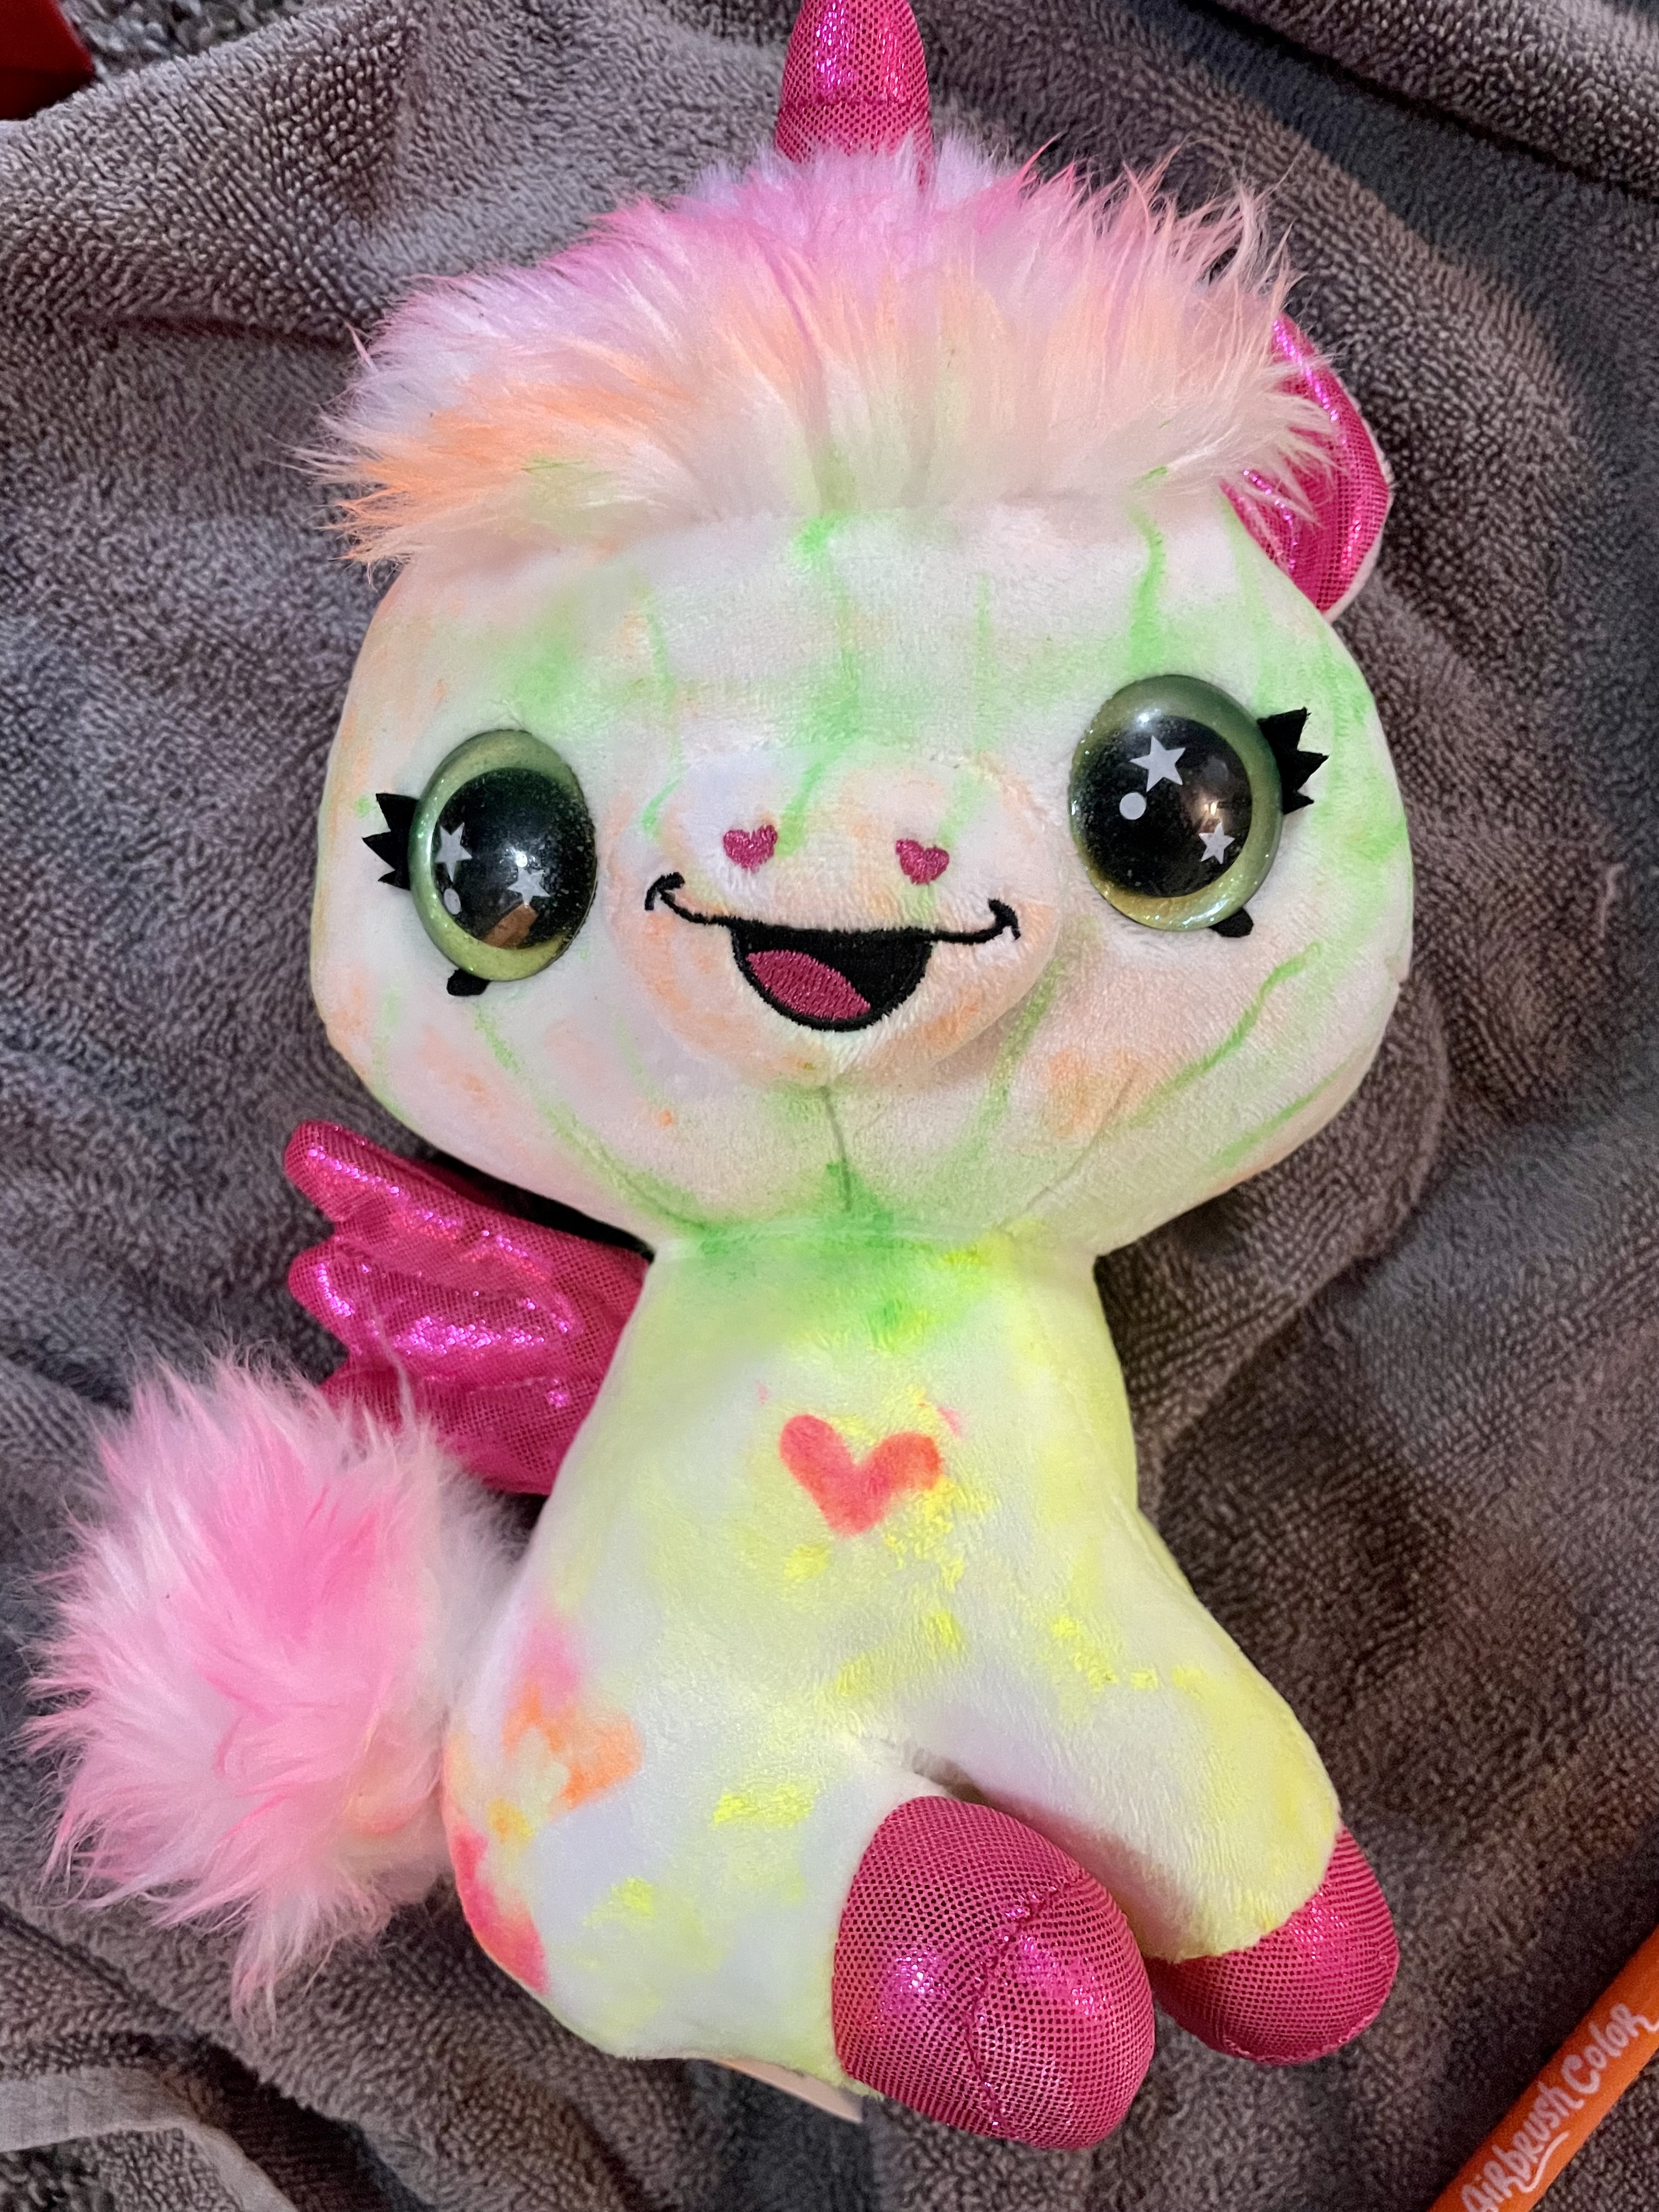
Hello! This past Friday, Johnny and I had the most amazing time celebrating our eldest niece for her sixth birthday. We wanted it to be the ultimate Treat Day for her and she gave us a grand plan of what she would like to do: Dinner at Chipotle, a shopping spree at Target, and a slumber party at our apartment. So that is exactly what we did!! After noshing at Chipotle, we shopped till we dropped at Target. Our niece picked out plenty of toys and a couple of crafts and it was so sweet that she wanted to play with everything and complete the crafts with us. On Saturday morning, we broke out the Airbrush Plush craft kit and it was seriously the cutest little project and the kiddo loved it. Check it out:
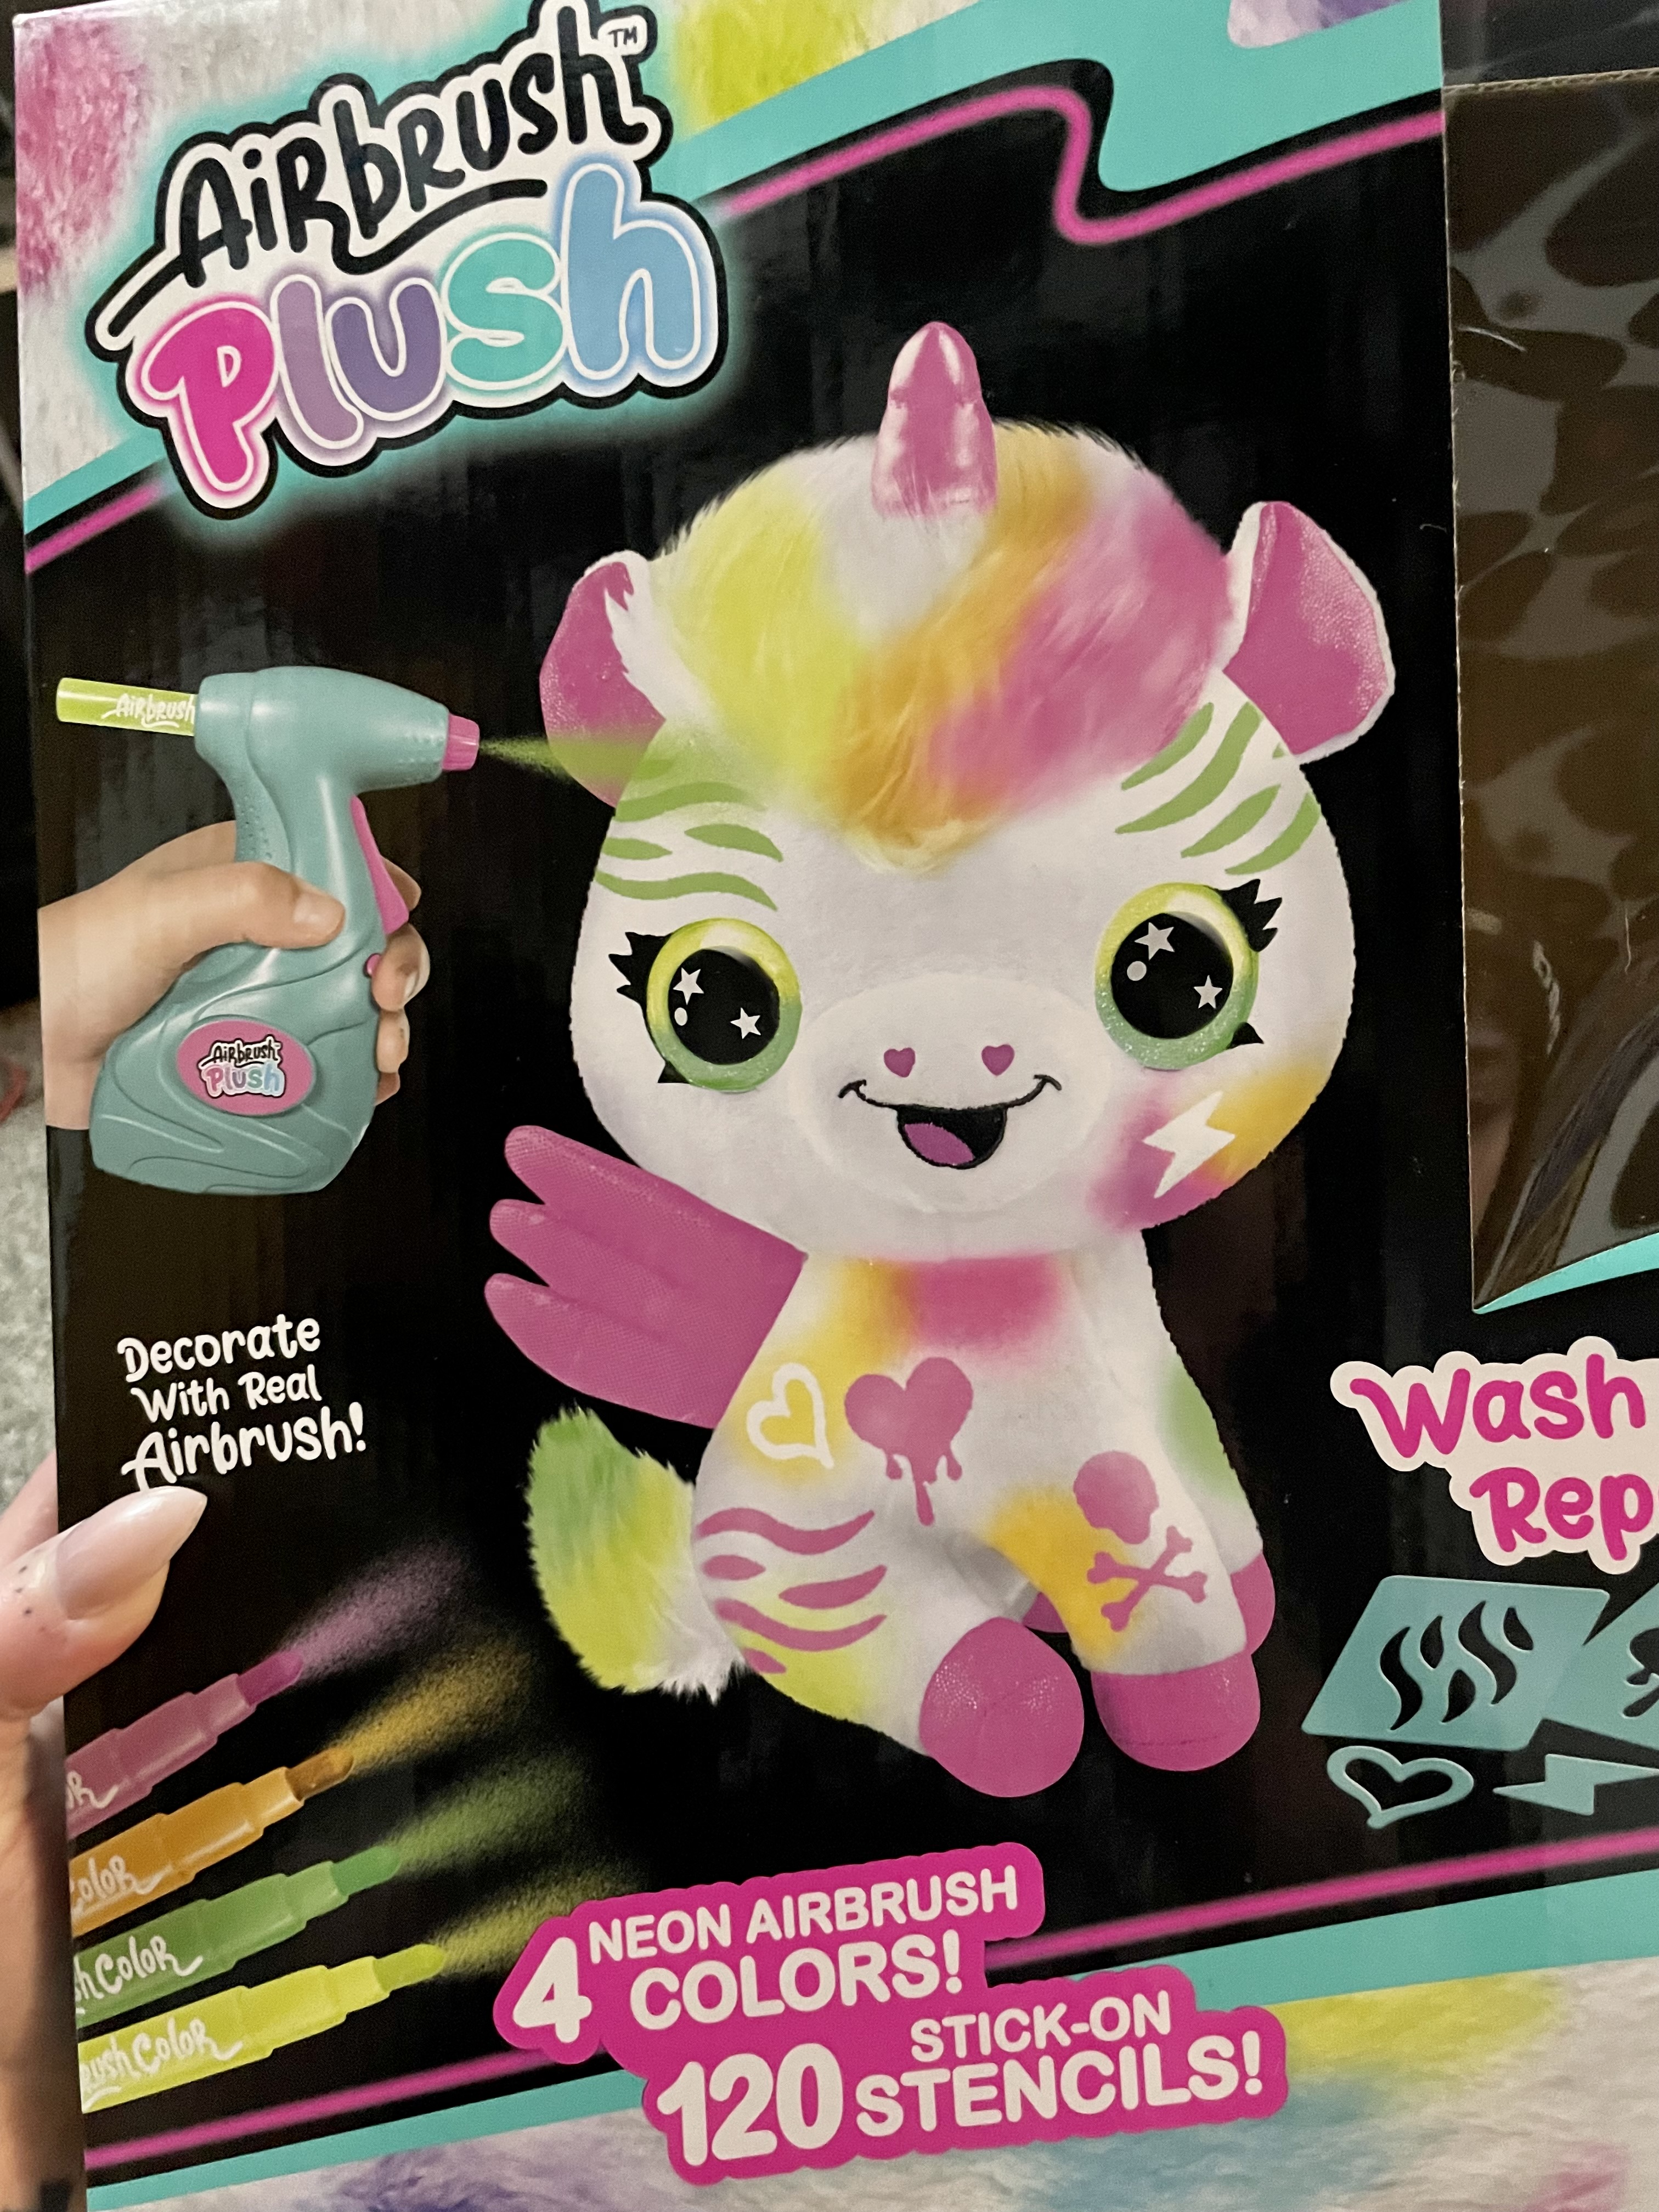
As soon as our niece locked eyes on the Airbrush Plush kit, she was all about it lol. Anything that comes with a unicorn plushie is an instant yes so into the cart it went! I was really excited to help her with this craft because it was so delightfully reminiscent of the DoodleBear. The DoodleBear was a toy that I had as a child and it was basically the OG version of the Airbrush Plush. It was a teddy bear that came with markers, you could color all over it, and then wash it and do it again. The Airbrush Plush had all the same sentiments and my niece couldn’t believe I played with something so similar when I was little too.

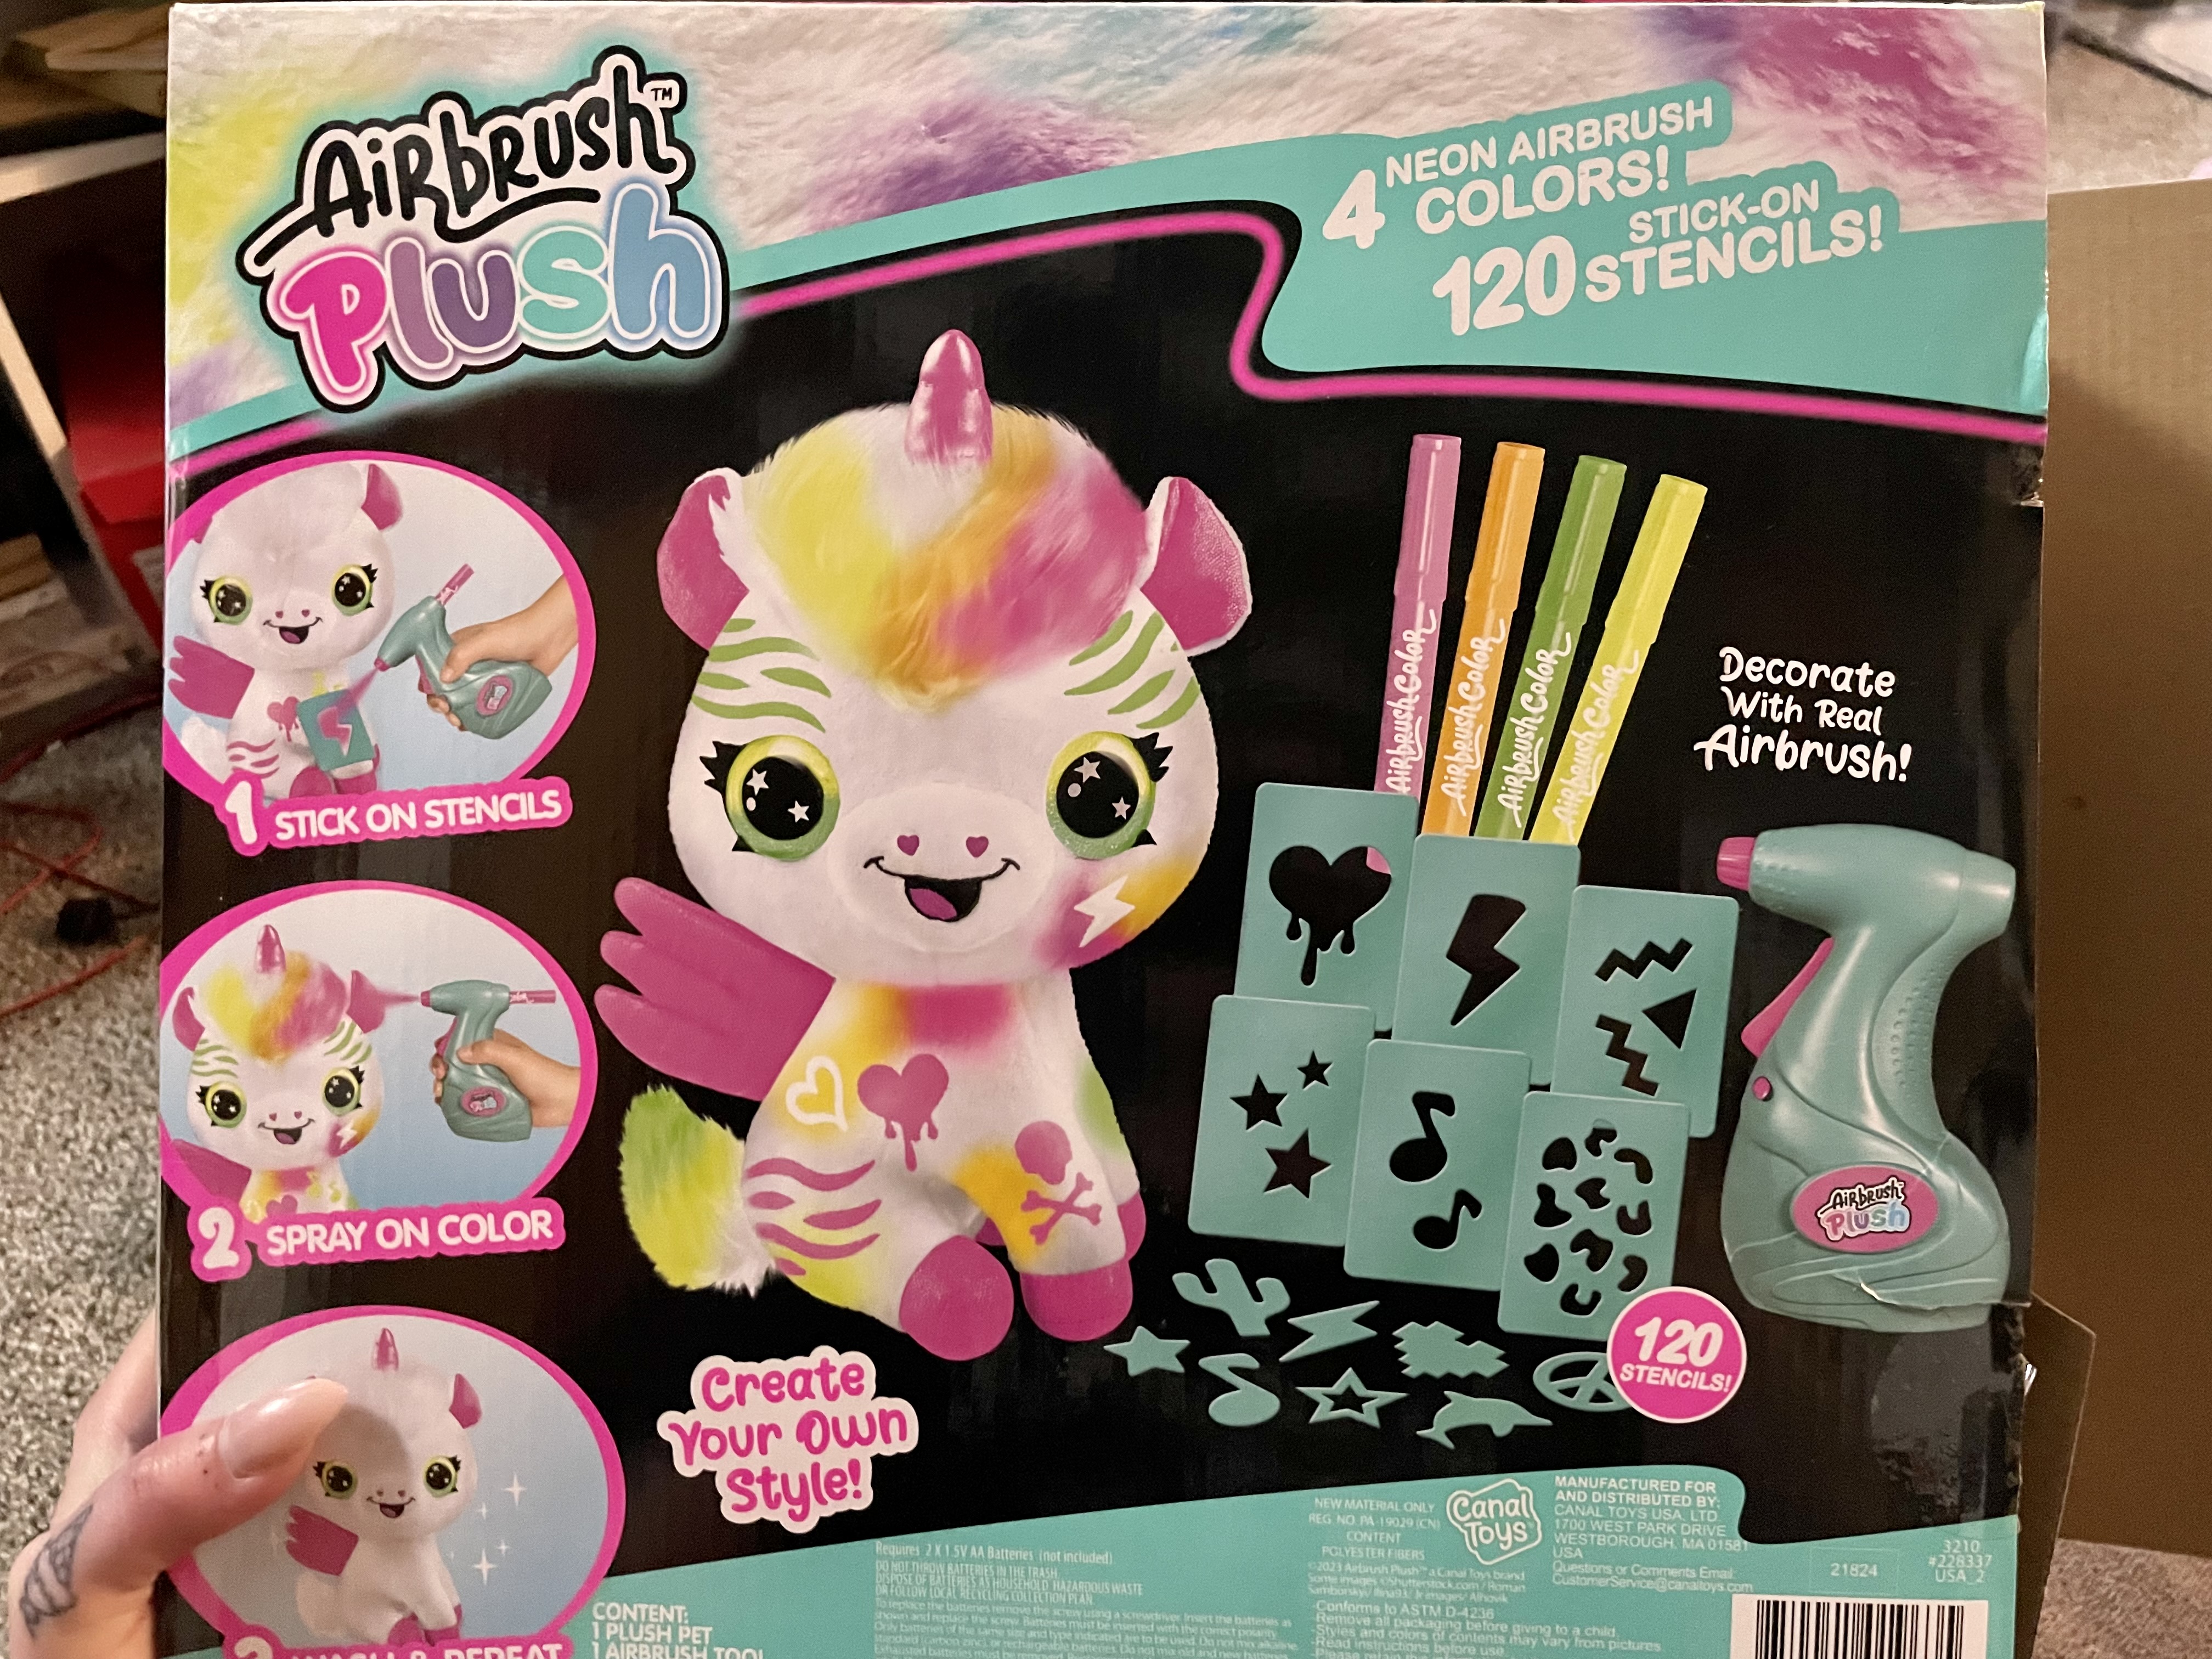
This kit cost twenty bucks and I consider it to be money well spent based on the fun factor alone. The ease of use and the fact that you can rinse and repeat the process only solidified that and it would be such a great gift or a craft to pick up for a rainy day. The Airbrush Plush kit came with an airbrush, four markers, and plenty of stencils in a wide variety of patterns. All Johnny and I had to do was put two AA batteries in the airbrush and our niece was able to handle the rest completely on her own. She had a solid idea of how she wanted her plushie to look and airbrushed away until she was satisfied, then added stencils to give the unicorn magic powers lol. Our hearts exploded when she said she was giving the plushie “rock n roll” hair!! We have taught her well. ❤

The Airbrush Plush fully dried in under twenty minutes, the cleanup was nonexistent, and I think we were all very happy with this purchase. If you were a 90s kid and unlocked a core memory with the DoodleBear mention, you will enjoy it just as much too. Highly recommend!

What was your favorite toy as a child? What is a really cool toy that your kiddo has? I want to hear from all of you, so leave me a comment and let’s chat! Much love. -Sarah
Craft Night!

Standard
Craft Night!

Hello!! One of my New Year’s Resolutions was to make more time for fun over the weekend. I am pleased to report that I have been doing great on this goal and the best thing of all has been having lots of hang outs with my three niece girl squad. With Valentine’s Day right around the corner, I thought it would be fun to get some craft supplies to make Valentines together. I went to Michael’s for the craft fest and was pleasantly surprised! All of their Valentine’s Day items were already marked down to forty percent off and the whole store was almost entirely Easter. It was a total score and I ended up with plenty of projects to keep my big girls occupied. I even got the fixings for the littlest baby to make a Valentine too with help from her big sisters!

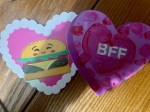
This past Friday, my sister and girl squad joined me at Chez Mom and Dad for our crafting extravaganza. My big girls love to paint so I got them a pottery cake and cupcake to decorate, foam hearts to make cards with, and children’s paint and construction paper so baby sis could make a footprint heart. It was such a blast to get situated at the kitchen table and see what the girls dreamed up! After their pottery was to their liking, the girl squad began making Valentine’s Day cards for everyone and anything lol. Of course, they made Valentines for their parents and grandparents but they also made cards for their pets and our family dog! They also each made one for TT too:

My heart absolutely burst when the girls presented me with their creations and I have them proudly displayed in my apartment. We wrapped up our crafting jamboree with another fantastic surprise. My oldest niece decided she FINALLY wants me to teach her how to figure skate!! It was a joy to teach my big girls some jumps and spins off ice and they kind of got the hang of it lol. I can’t wait to hit the rink together!

Have you made any Valentine’s Day crafts? Do you decorate for V-Day? I want to hear from all of you, so leave me a comment and let’s chat! Much love. -Sarah

Fun Valentine’s Day Crafts For The Kiddos

Standard
Fun Valentine’s Day Crafts For The Kiddos

Hello!! Is it just me or has January felt like an entire year? Lol, every time I look at the date, I assume it’s the fifteenth or something yet here we are nearing the end of the month! And, of course, this means that Valentine’s Day is just around the corner. I am so excited to celebrate with Johnny by seeing our all time favorite musical, Hadestown, in Akron. I also plan on having a Valentine’s Day craft party with my three niece girl squad, which is going to be a total blast! I’m arranging to do a few of the following with them and thought I would send some inspiration your way too:

First and foremost, I am sure that my girls would love to make a special Valentine’s Day card for their parents. I am going to get some construction paper as well as pink, red, and white paint. They can make their cards however they would like, but I thought it would be really cute to make some hand and foot print hearts. If your kiddo isn’t opposed to messy hands or the sensation of cold paint on their feet, this is such a sweet and simple way to make a memorable keepsake. My big girls will probably want to do their own thing, but I just know they would be happy to help their new baby sister make some hand prints for her first craft!

When it comes to crafting with the girl squad, it is all about easy projects that are relatively quick to complete. Pipe cleaners are always a good option because even if they don’t make anything at all, they are still fun to play with! Whether you are making hearts, flowers, or even animals with the pipe cleaners, it is an opportunity to let creativity shine. If you are going the bouquet route, you might even want to pick up a a vase to paint or decorate with tissue paper and make your pipe cleaner flowers look like the real deal.

My best girls really enjoy looking through photo albums and seeing pictures displayed throughout the home. One of their options is going to be picking out their favorite picture of themselves and painting a wooden picture frame to house it in. This is a perfect gift for parents to display on their desk or on the mantle and gives the kiddos the chance to see their handiwork front and center.

It wouldn’t be Valentine’s Day without a sugar rush! My big girls are the best helpers for cookie and cupcake decorating and are always so proud of what they baked with their mom. If they would prefer to bake on our craft day, we will make a trip to the grocery store so they can pick out whatever sprinkles, frosting, and cut outs that they like. Then, they can have homemade Valentine’s Day treats that they designed for their parents and grandparents. Chocolate making is also a fabulous activity for littles and something different from the norm. Should they want to go this route, we will be making a trip to my in laws house instead of the grocery store! My mother-in-law is an amazing chocolateer and has molds and chocolate wafers for days to come in with the assist. ❤

Every holiday is infinitely more fun when I have three little minis to celebrate with. I can’t wait for our crafting jubilee!

What are your Valentine’s Day plans? What are some other ideas for V-Day crafts? I want to hear from all of you, so leave me a comment and let’s chat! Much love. -Sarah
Paint Night

Standard
Paint Night

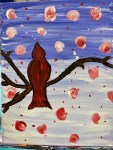
Hello!!! I don’t know about all of you, but I had a great weekend!! After spending an entire week being sick AF, I rallied hard and it couldn’t have came a moment too soon because I had big plans. On Friday, I attended a paint night with my brother and on Saturday, Johnny and I took our birthday girl niece out for a treat day. It felt so good to have some fun after feeling like death warmed over and I enjoyed every minute of it. Check out what I created at paint night:

image_50398721(11)image_50751233(1)

On Friday evening, my brother Andrew and I went to the Solon Rec Center for a paint class hosted by the wonderful Melinda of So So Artsy. This is the second time Andrew and I have been to one of her events and she is just the best. Melinda owns a paint and sip studio, but she also teaches classes at community centers. Of course, this was a no sip class but that doesn’t mean that Melinda didn’t bring the party anyways. She has the brightest personality, is hilarious, and made our experience a million times better.

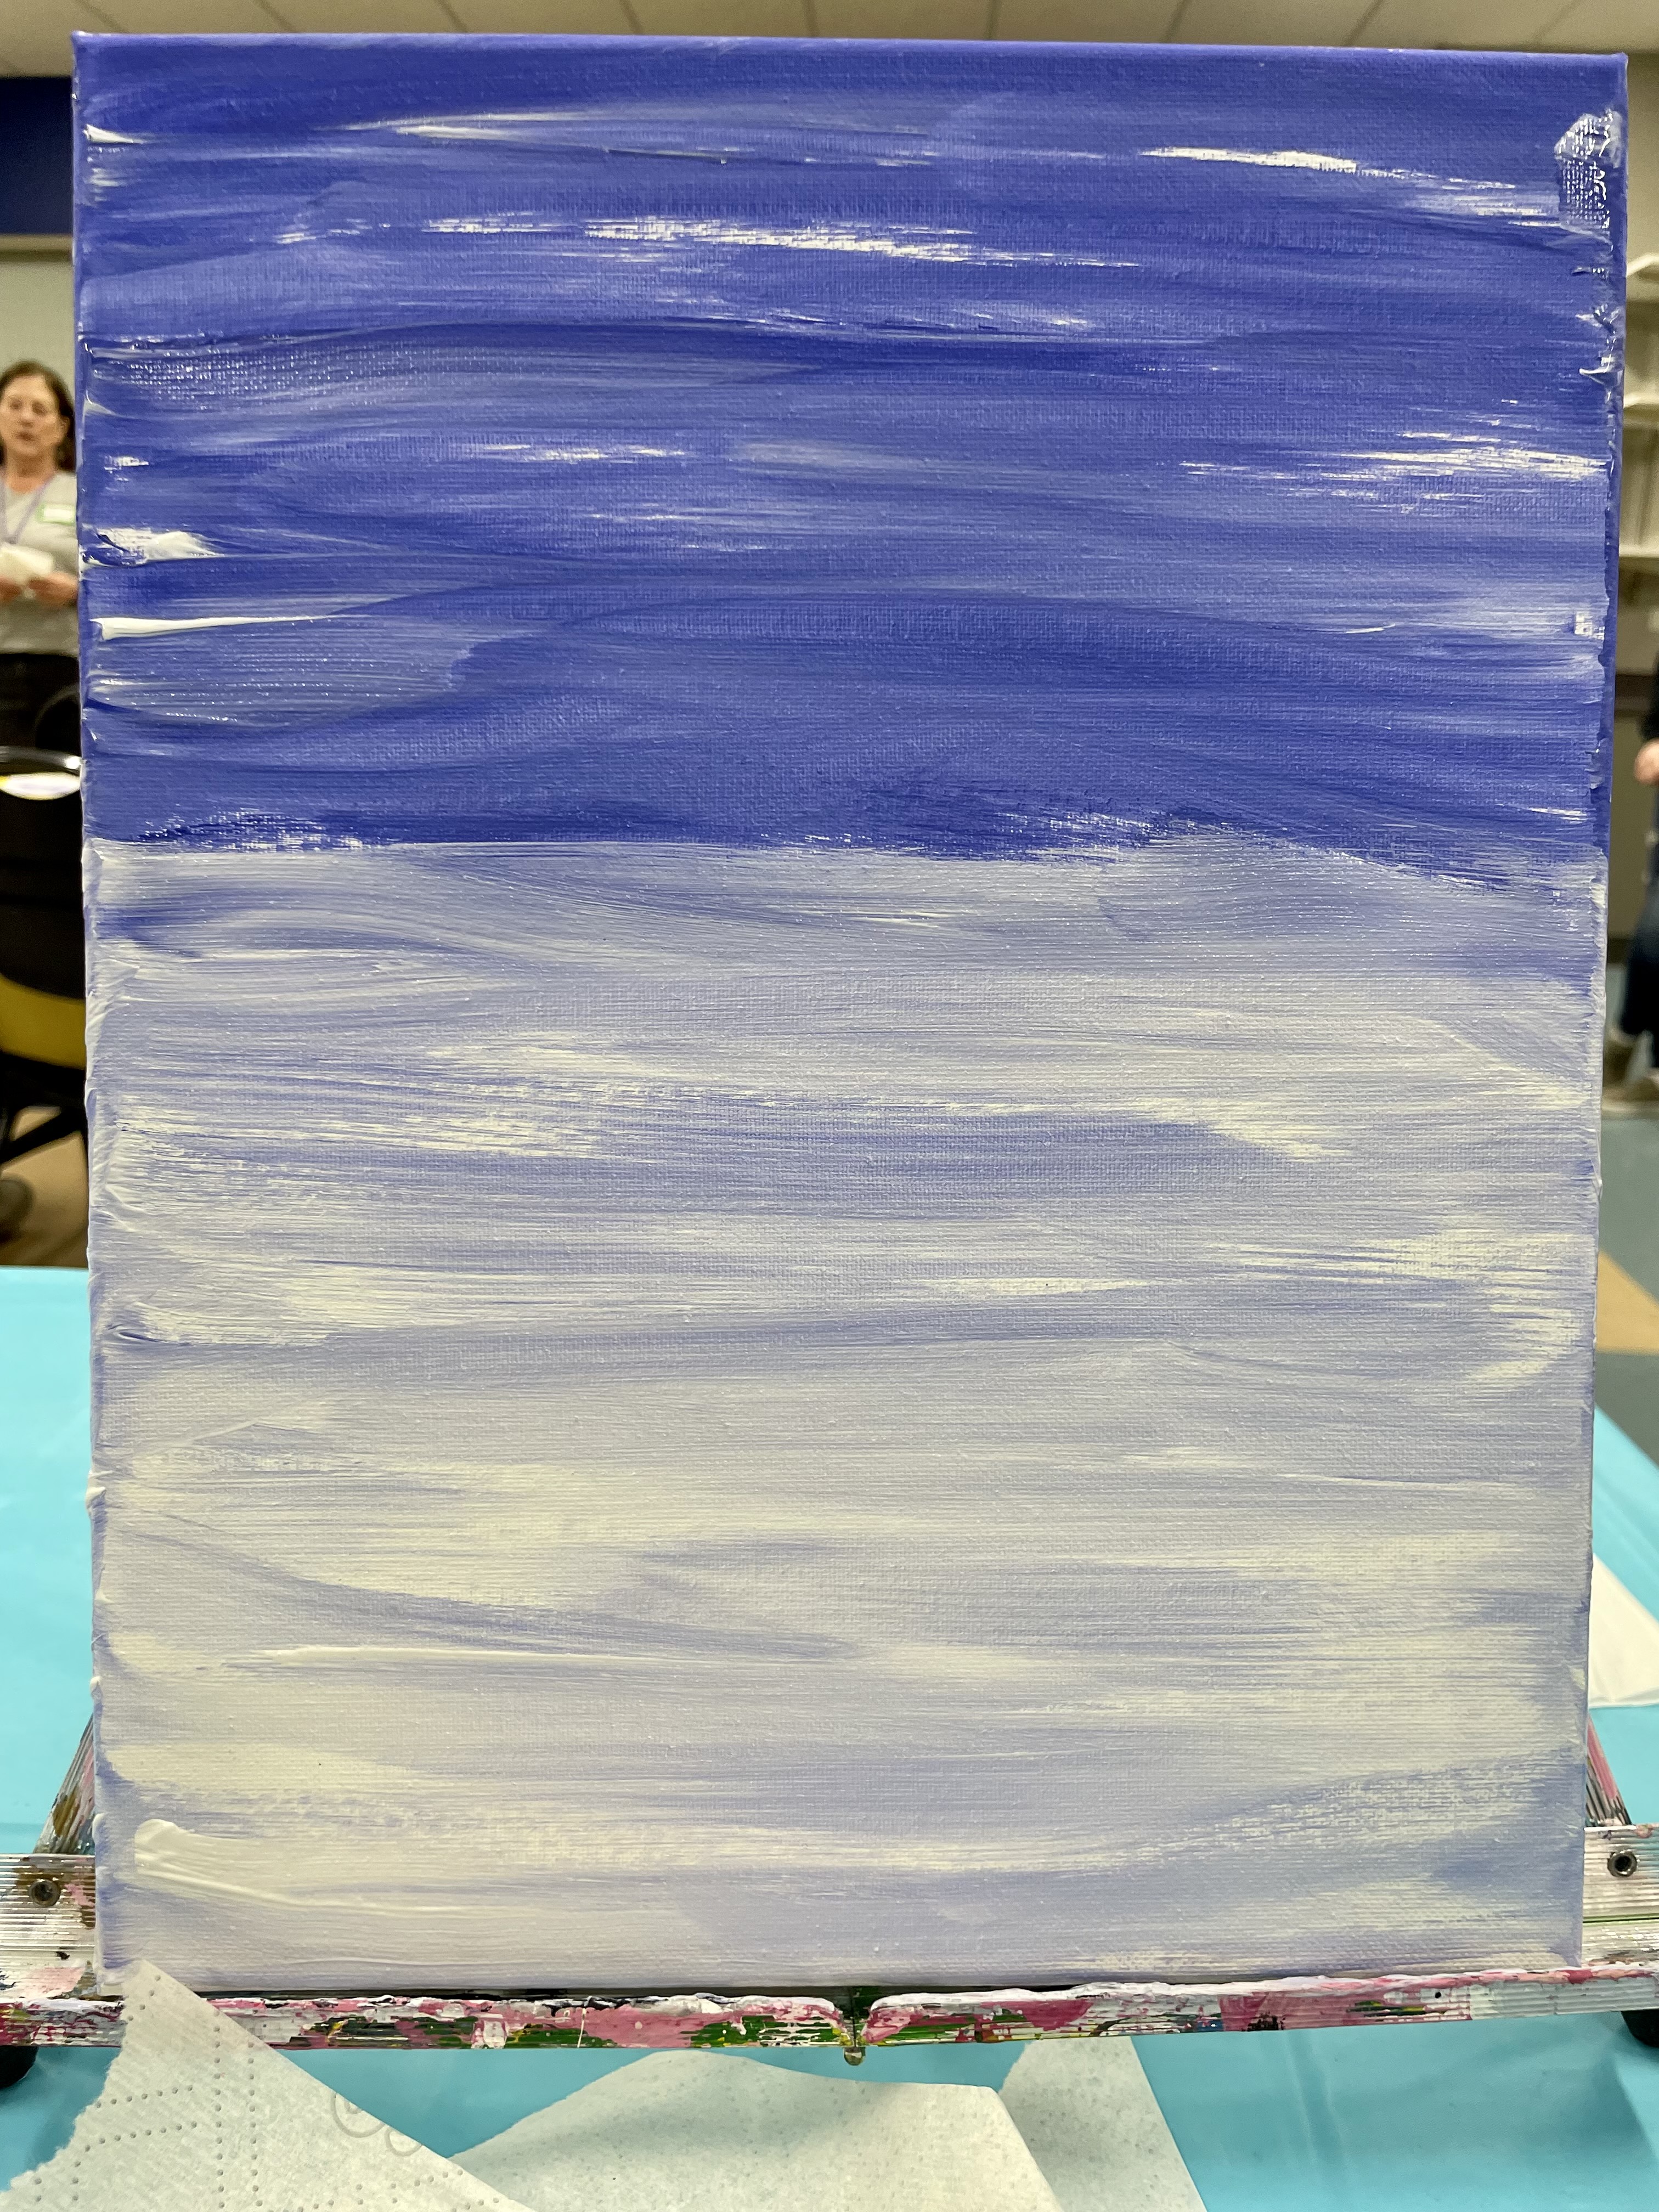
For our canvas art, we were painting cardinals and began with the background. For the top half, we mixed blue with the smallest touch of white and did the reverse for the bottom. To keep things moving full steam ahead, we blow dried the wet paint and began the next part. Step two was making the branch and the bird and we started that by making our outlines with chalk. I was surprised by how easy Melinda made the process for the bird’s outline. All we did was make a big set of parenthesis for the body, a small set for the head, and drew the tail by making a number eleven branching out at the bottom.

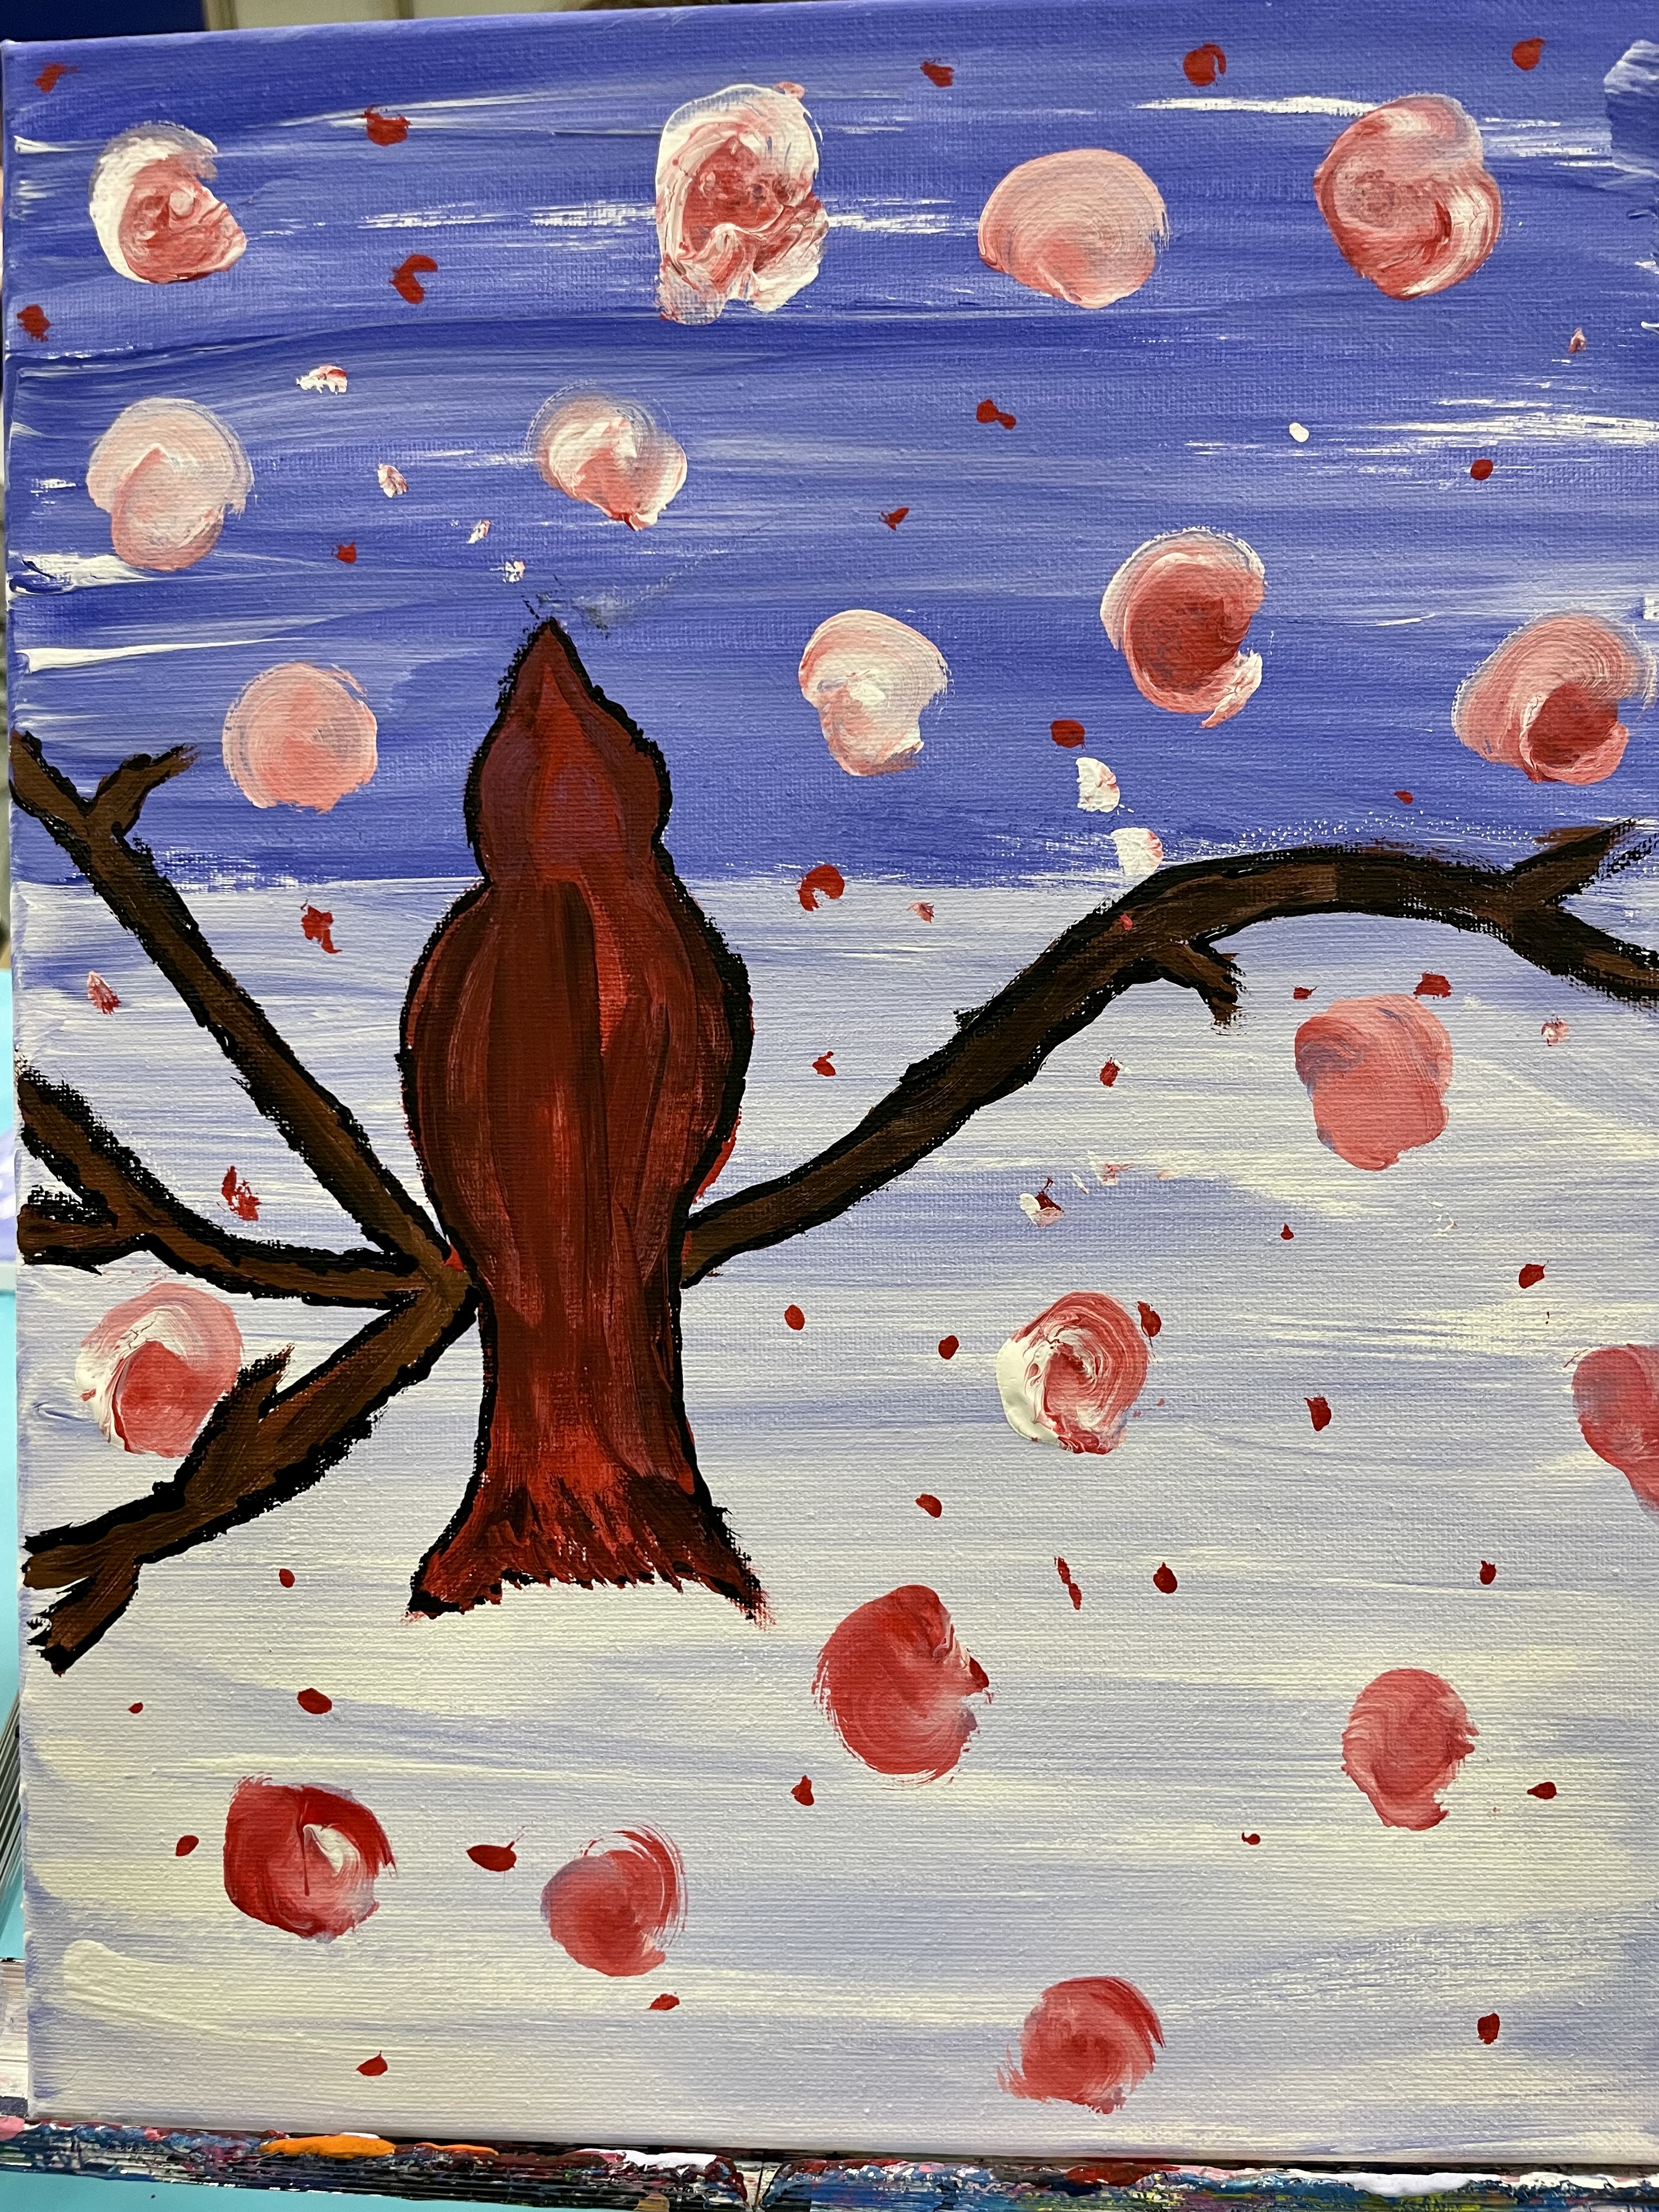
Once the outlines were complete, it was time to paint again. For our branches, we used brown with a hint of red and black and for the birds we used red and black. Before I knew it, all of the canvases were filled with sweet red birds perched on their branches. The last thing to do was add some more to the background. Melinda’s example used snow, but I was feeling inspired by cherry blossoms and used red and white instead. Once again, Melinda showed us a quick fix for painting the snow or, in my case, flower petals: Load up your brush with paint, place it flat on the canvas, and twist the brush to make a circle. Afterwards, we blow dried the canvases again and were on our way home with two freshly painted masterpieces!

Andrew and I had an absolute blast at Paint Night and I am looking forward to going to another class with him soon. I wonder what we’ll create next! ❤

Have you been to a paint night before? What did you paint? I want to hear from all of you, so leave me a comment and let’s chat! Much love. -Sarah
Sweet Surprises: Knitted With Love Edition

Standard
Sweet Surprises: Knitted With Love Edition

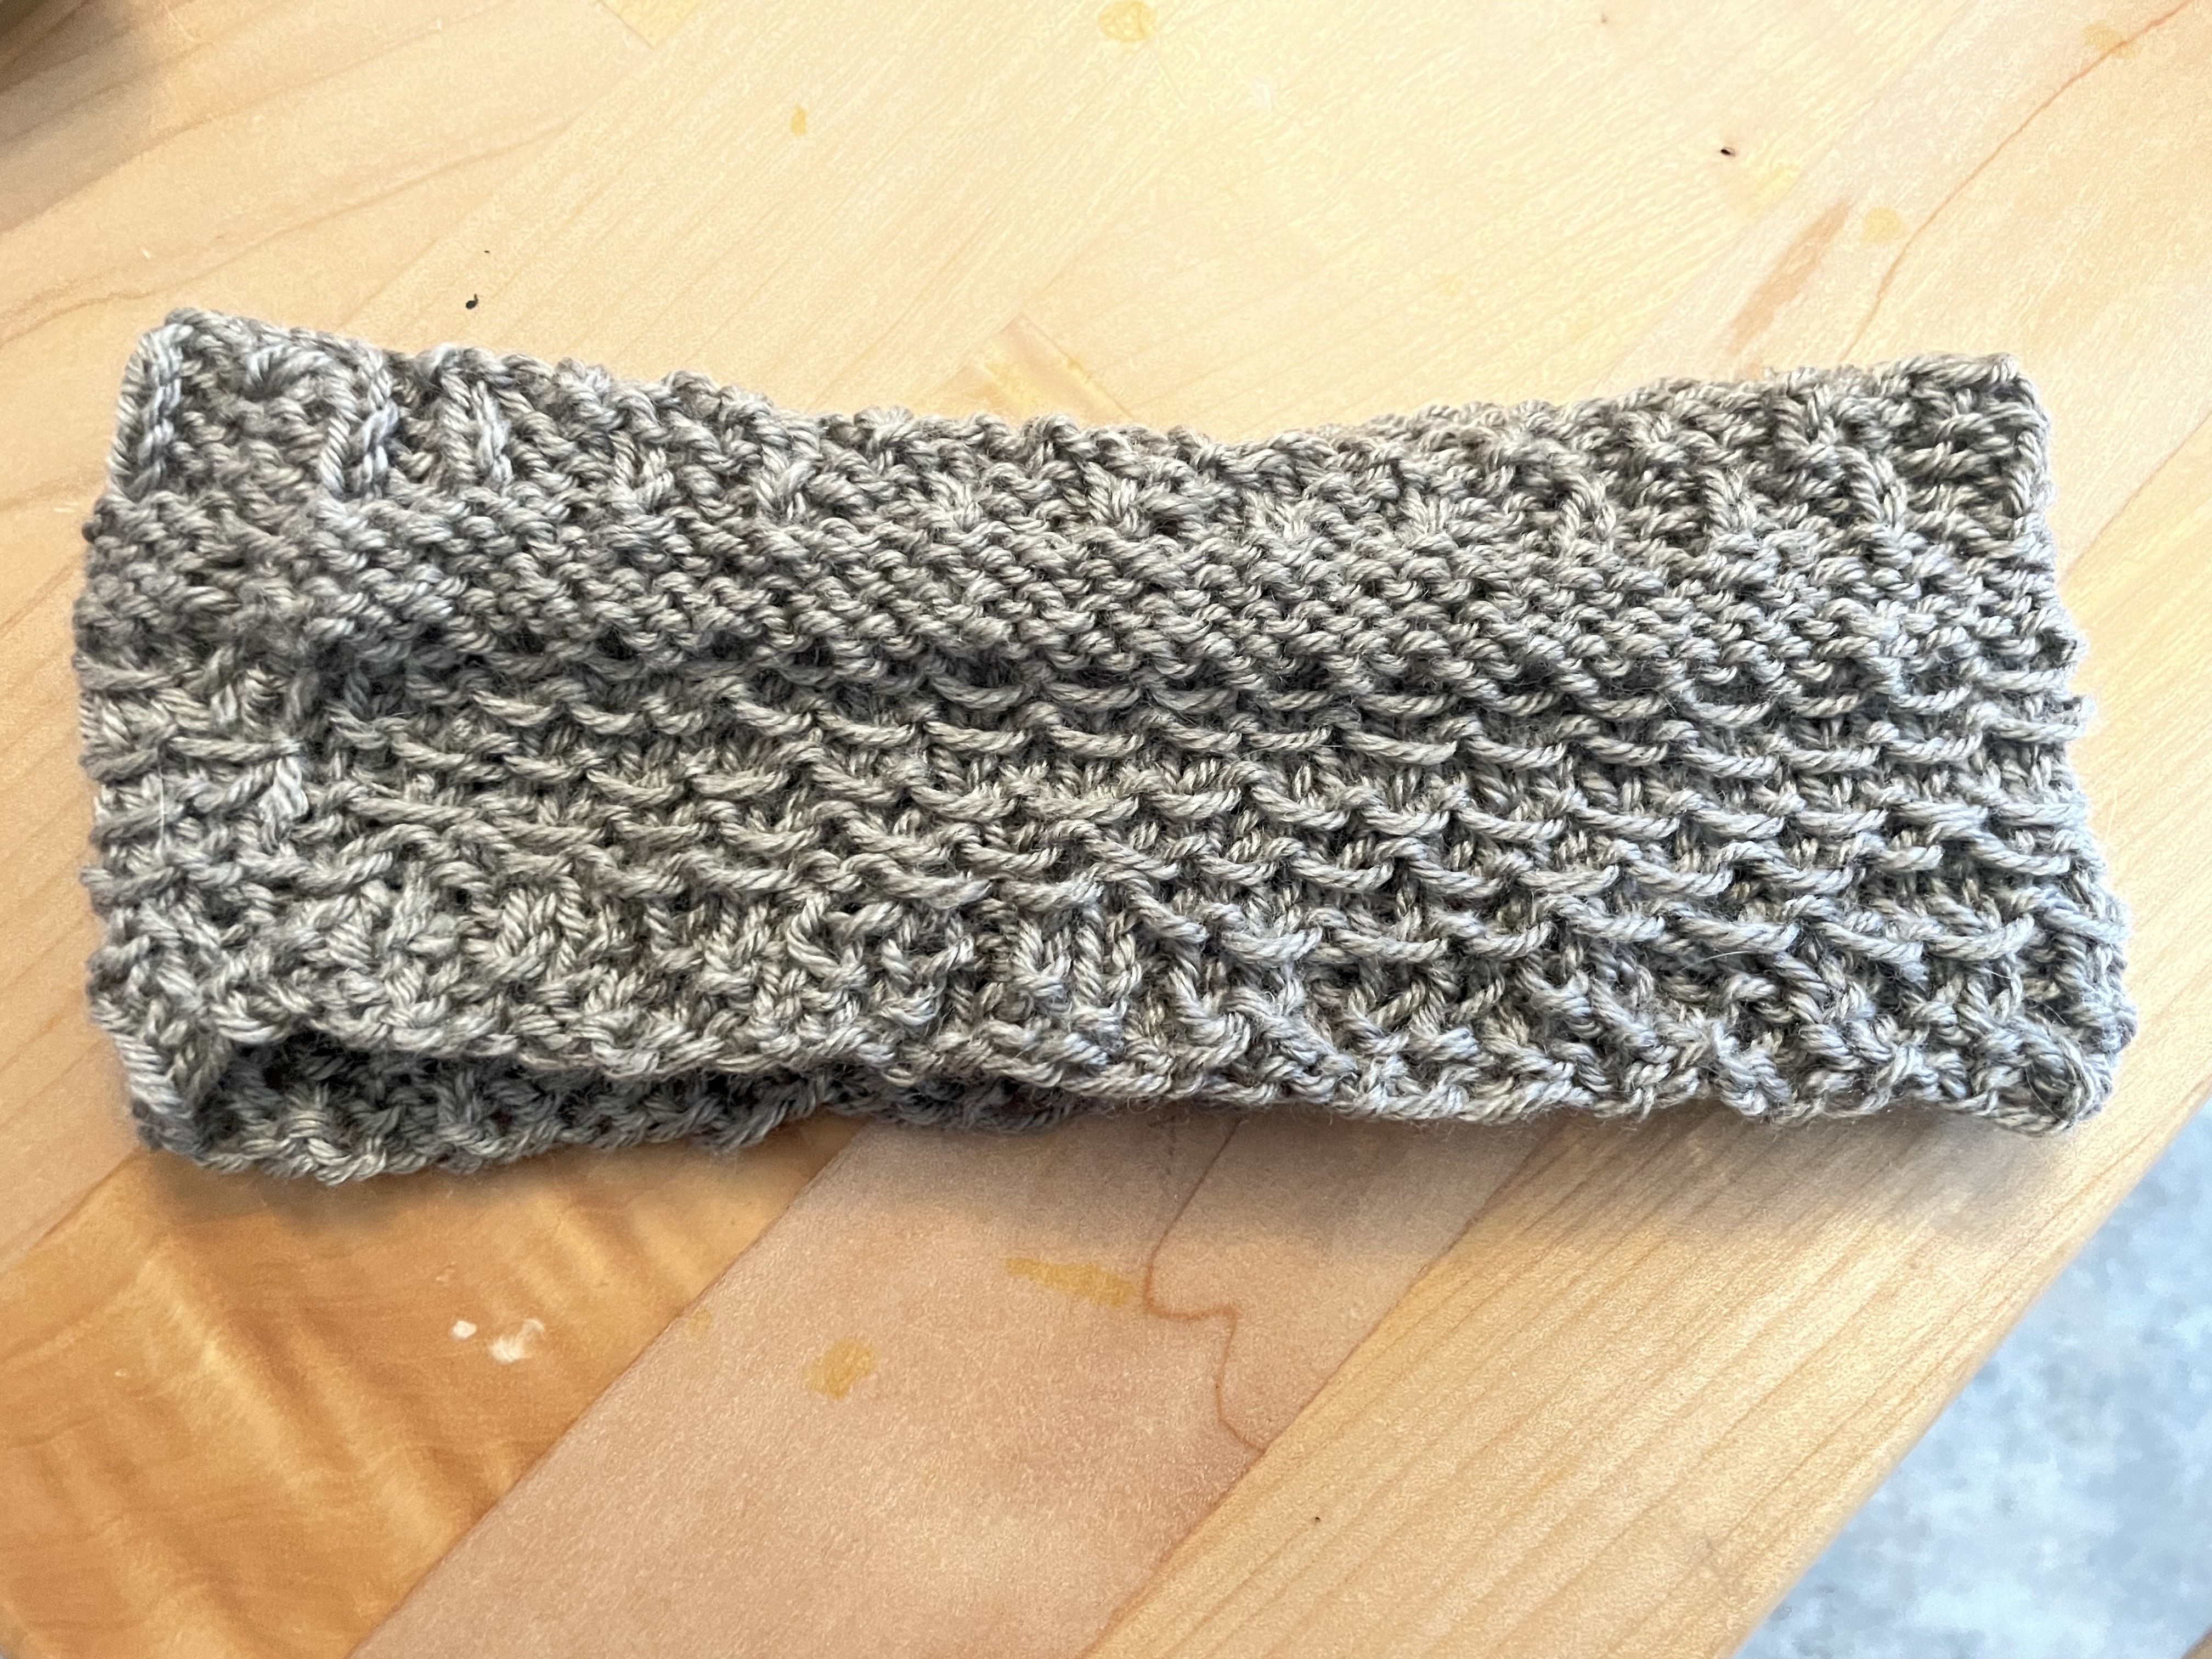
Hello!! My mom is my number one girl. She is my absolute best friend and I just love being around her. Everyone who crosses her path will tell you the same thing too – she is simply amazing! One thing that my mom and I like to do together is watercolor painting. However, there is one hobby that my mom has that I can’t wrap my head around and that is knitting! My mom has knit the most precious sweaters and baby blankets for my sweet nieces and nephews. She makes a mean scarf and has recently added a new item to her repertoire – headbands! This past week, my mom gifted me with one that she whipped up in no time at all. Check it out:

image_50402305(8)

I knew that my mom was making a headband for me, but it was still a huge surprise when she presented me with the finished product. She literally just started it and I blinked and it was done! I was beyond thrilled with my prezzie and it’s far better than anything that I could buy at the store because my mom made it. I love the soft grey color she picked out for me and it is the perfect neutral to keep from clashing with whatever my hair color is at the time. My new headband also fit like a glove and was just right – not too tight or too loose. She did an excellent job!

Anything that my mom gifts me is instantly very special to me and my handmade headband took the cake. It made me feel so good to know that she made it just for me. In fact, it actually has me hoping for a few more cold days so I can wear it! Knitting is a craft that makes zero sense to me and I think it’s so impressive that my mom can make something beautiful out of a skein of yarn. She is making a headband for my niece next and I know that she’s going to love hers just as much as I do mine. ❤

Huge thank you to my mom for this most wonderful Sweet Surprise. I know that every single stitch was Knitted With Love and I’ll cherish it for always! I love you!!!!

What is your favorite craft? Do you have any knitted with love clothing or accessories? I want to hear from all of you, so leave me a comment and let’s chat! Much love. -Sarah
Sweet Surprises: Painted Parrot Edition

Standard
Sweet Surprises: Painted Parrot Edition

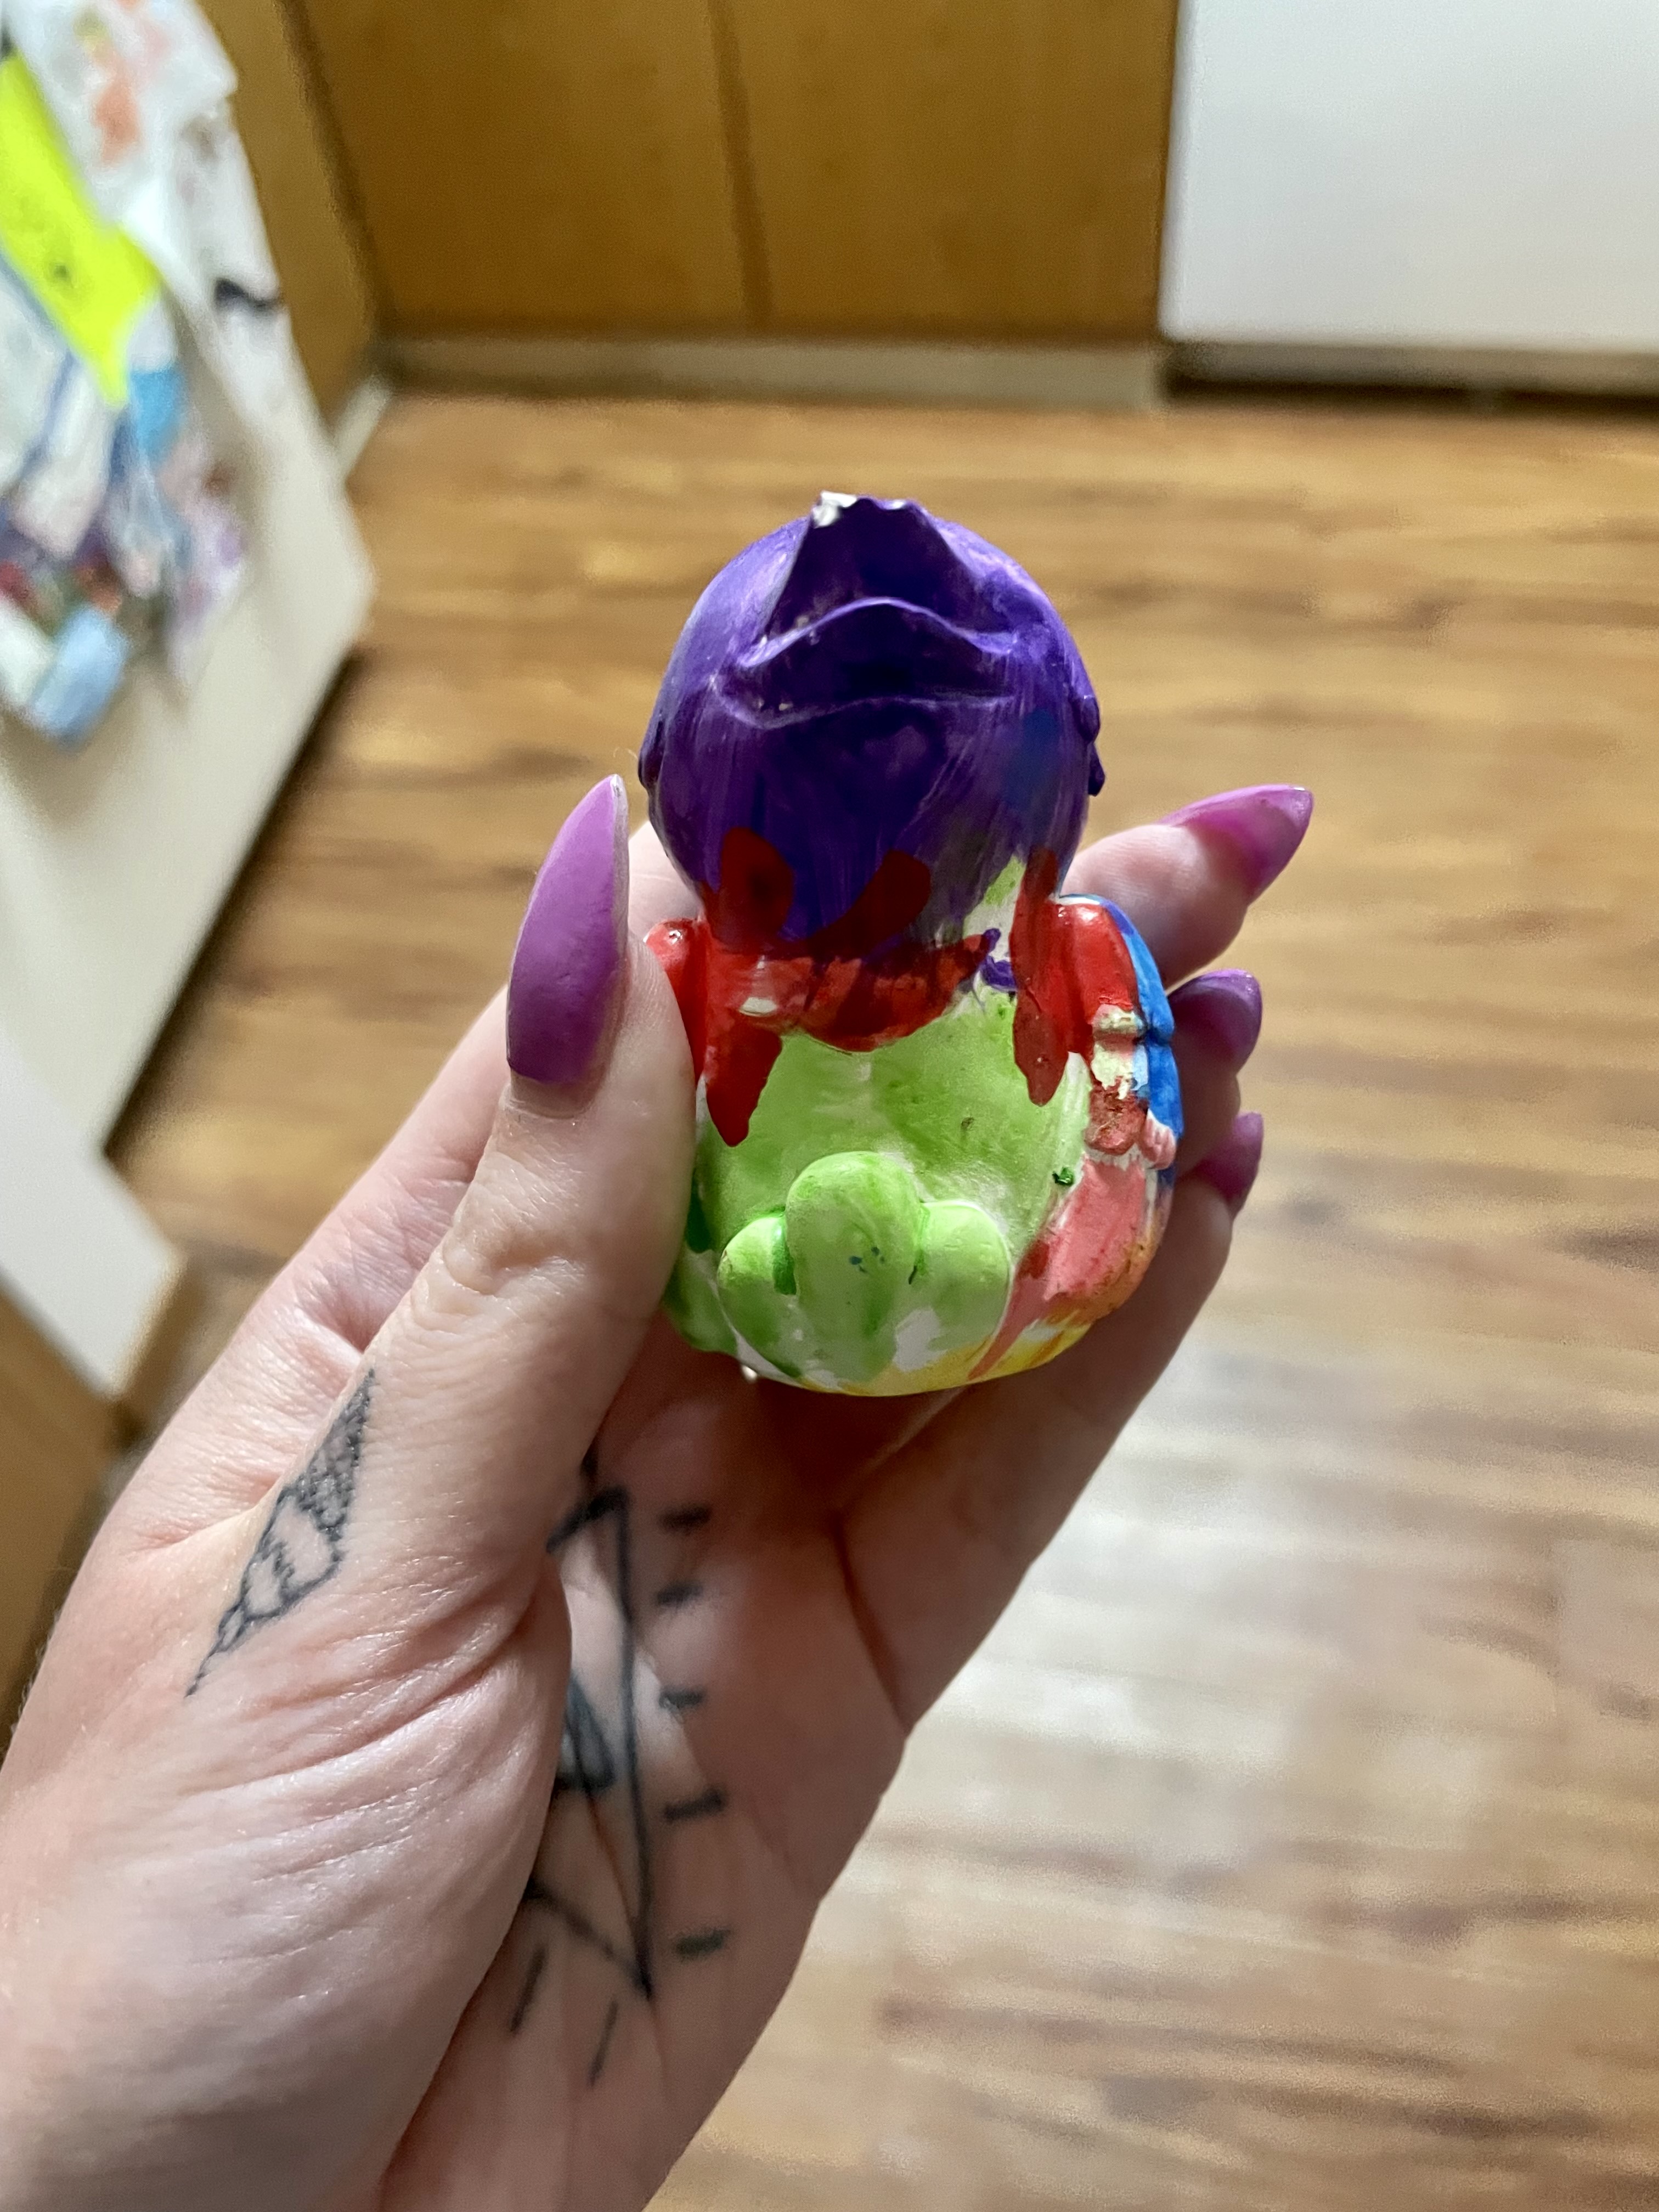
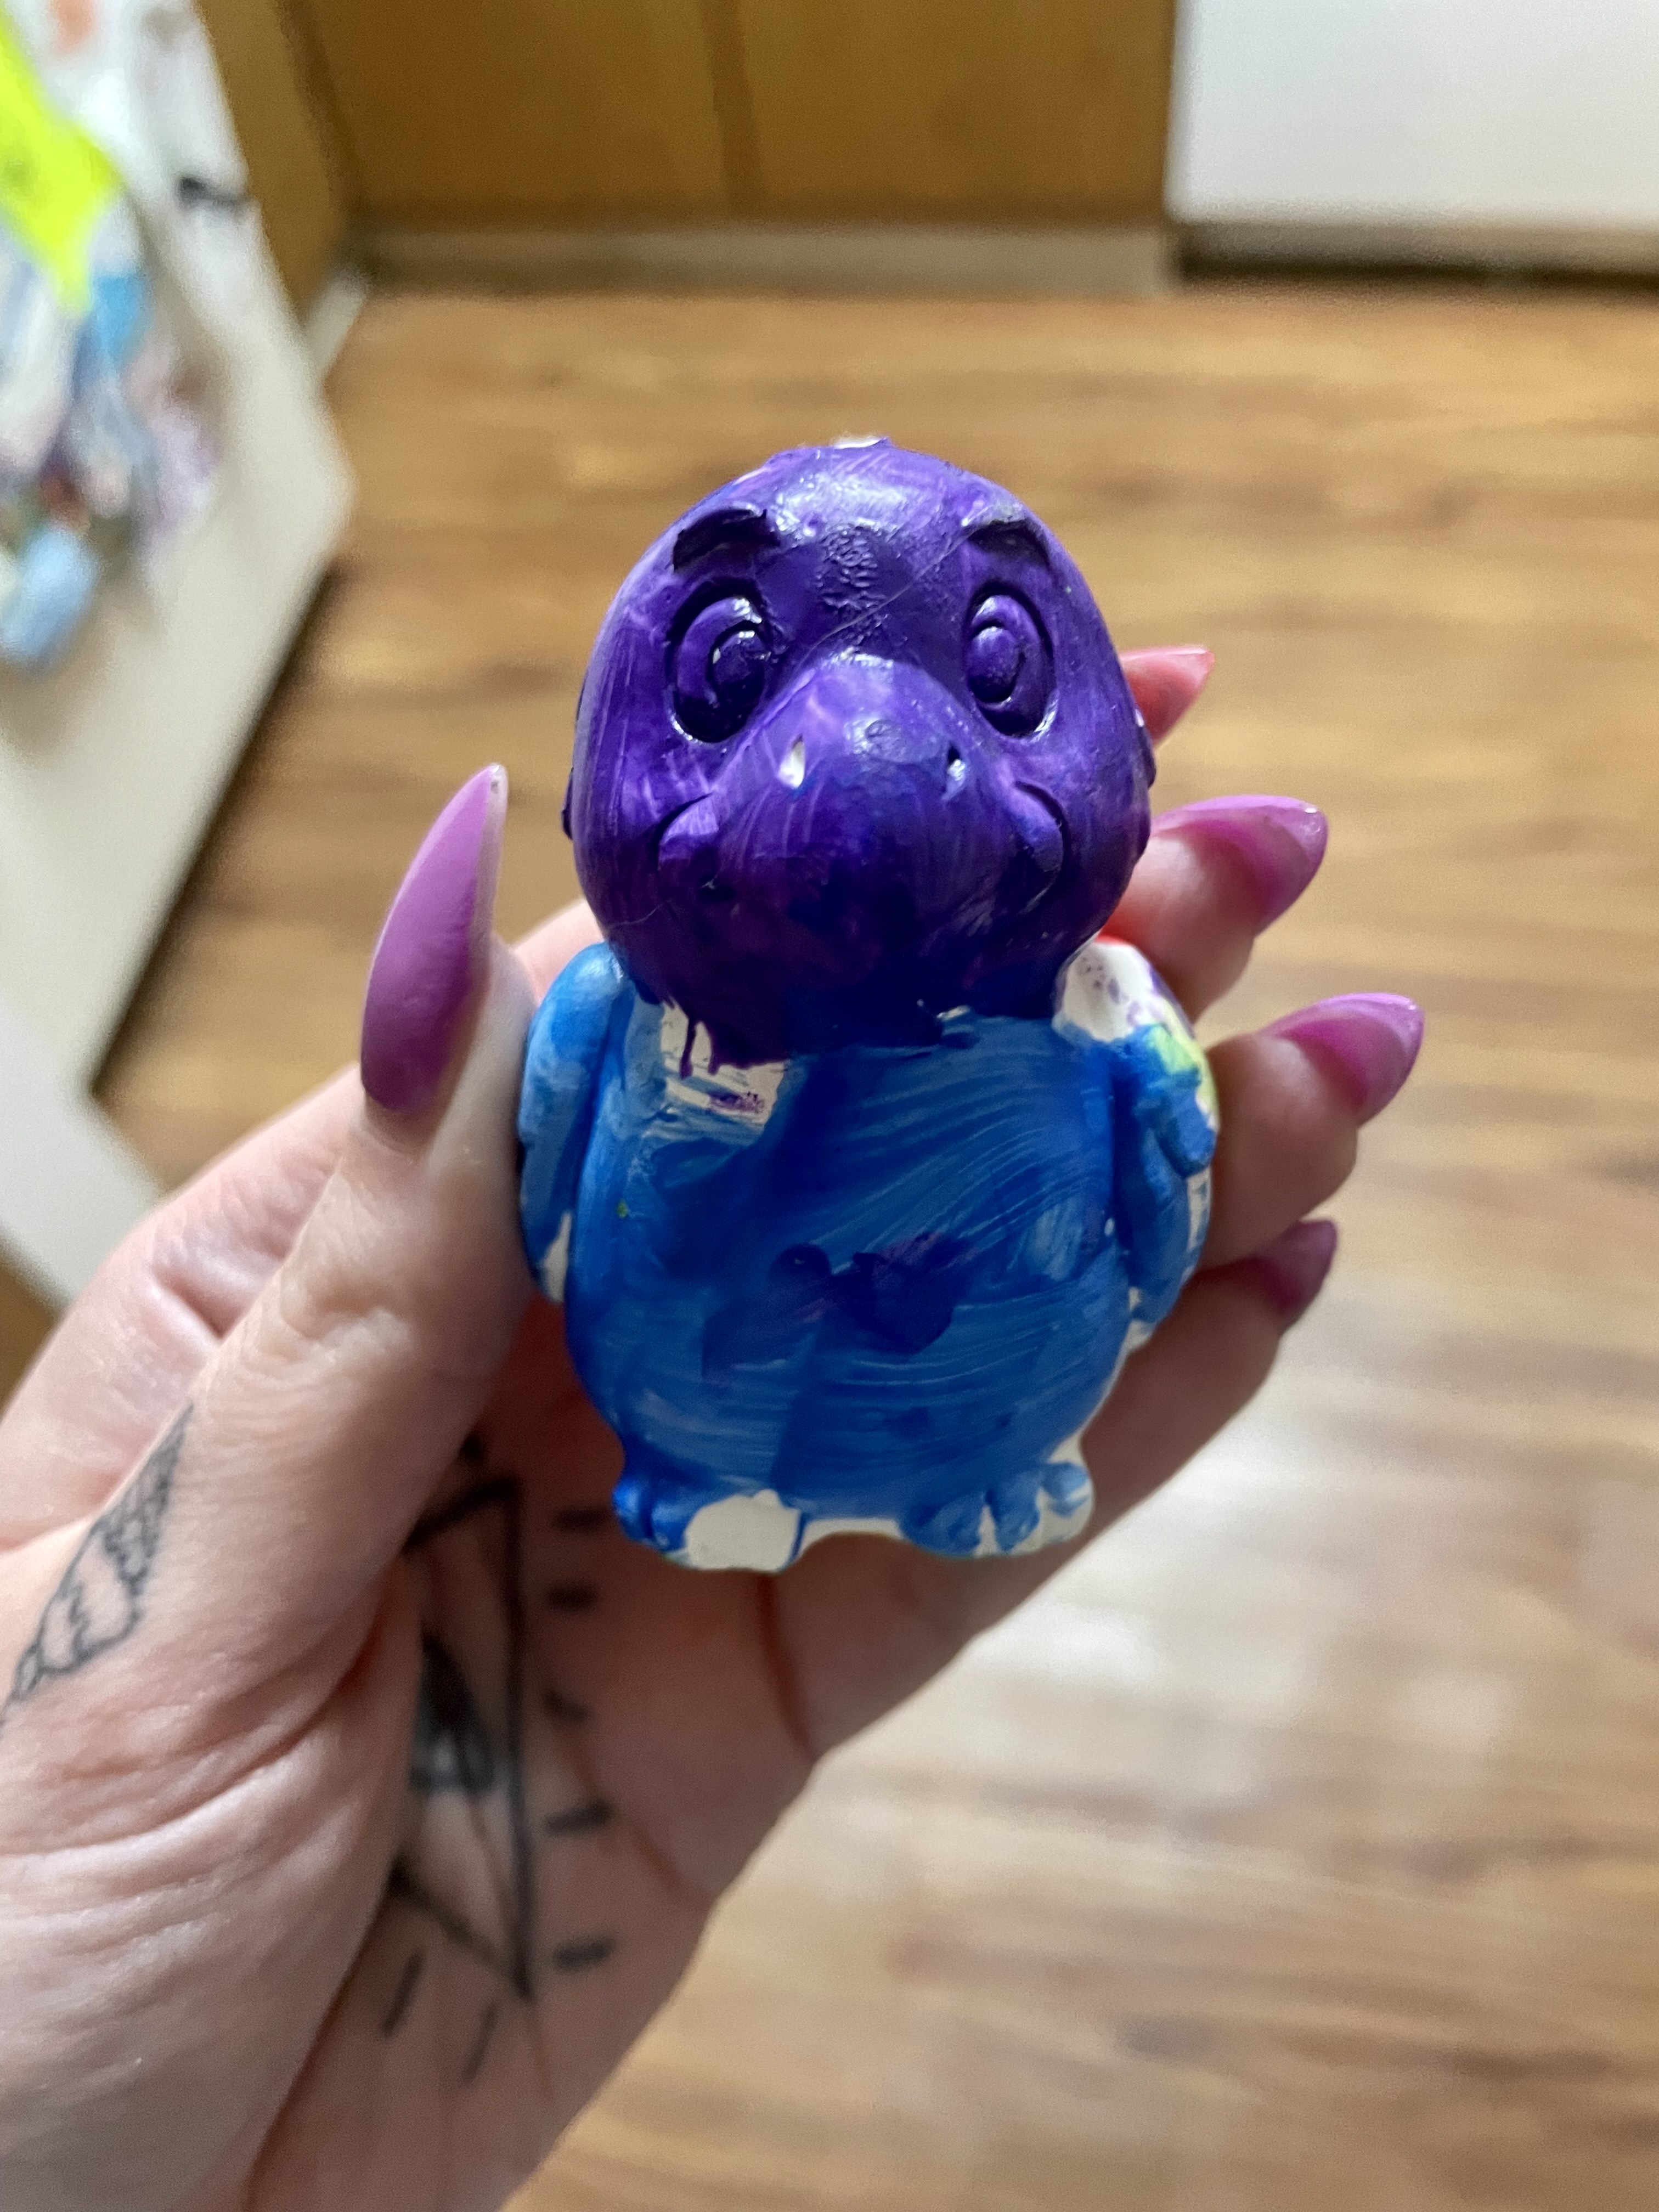
Howdy!! This past Wednesday, my darling niece, Val Gal, came over for a slumber party. It is something we both always look forward to because it is such fun!! I make us dinner, we have ice cream sundaes for dessert, enjoy a movie, and play, play, play. For our entertainment while we noshed on Mint Chocolate Chip sundaes, Val chose Mulan and I was stoked. That was one of my favorite Disney movies as a kid and we were also eating my favorite ice cream. And I was with my favorite person! As always, our partay was a raging success and a full on rager. I was also presented with quite possibly the sweetest gift ever. Check it out:

image_50437377(4)image_50443265(10)image_50455297(3)

Val is a huge fan of crafting. She loves to paint, color, and make masterpieces with Play Doh. For Christmas, I got her a set of animal figurines that she could paint because that is one of her favorite activities. I had honestly forgotten about it when Val told me she brought me something. She handed me a parrot from the set that she painted and said “This is for you, TT. You got it for me for Christmas, but I wanted you to have one too.” Believe me when I say, I completely melted. Out of the mouths of babes!!

My sweet niece is just the coolest kid and Johnny and I cherish the time we spend with her. Val is the best big sister to Raya and is so kind, talented, and absolutely freaking hilarious. That girl keeps me in stitches and I am constantly quoting the ridiculousness she says on the daily. The parrot that she made with love is a testament to what an amazing little girl she is. It was yet another reminder of her thoughtfulness and it really moved me. We are each other’s best friends and she makes my life infinitely better. ❤

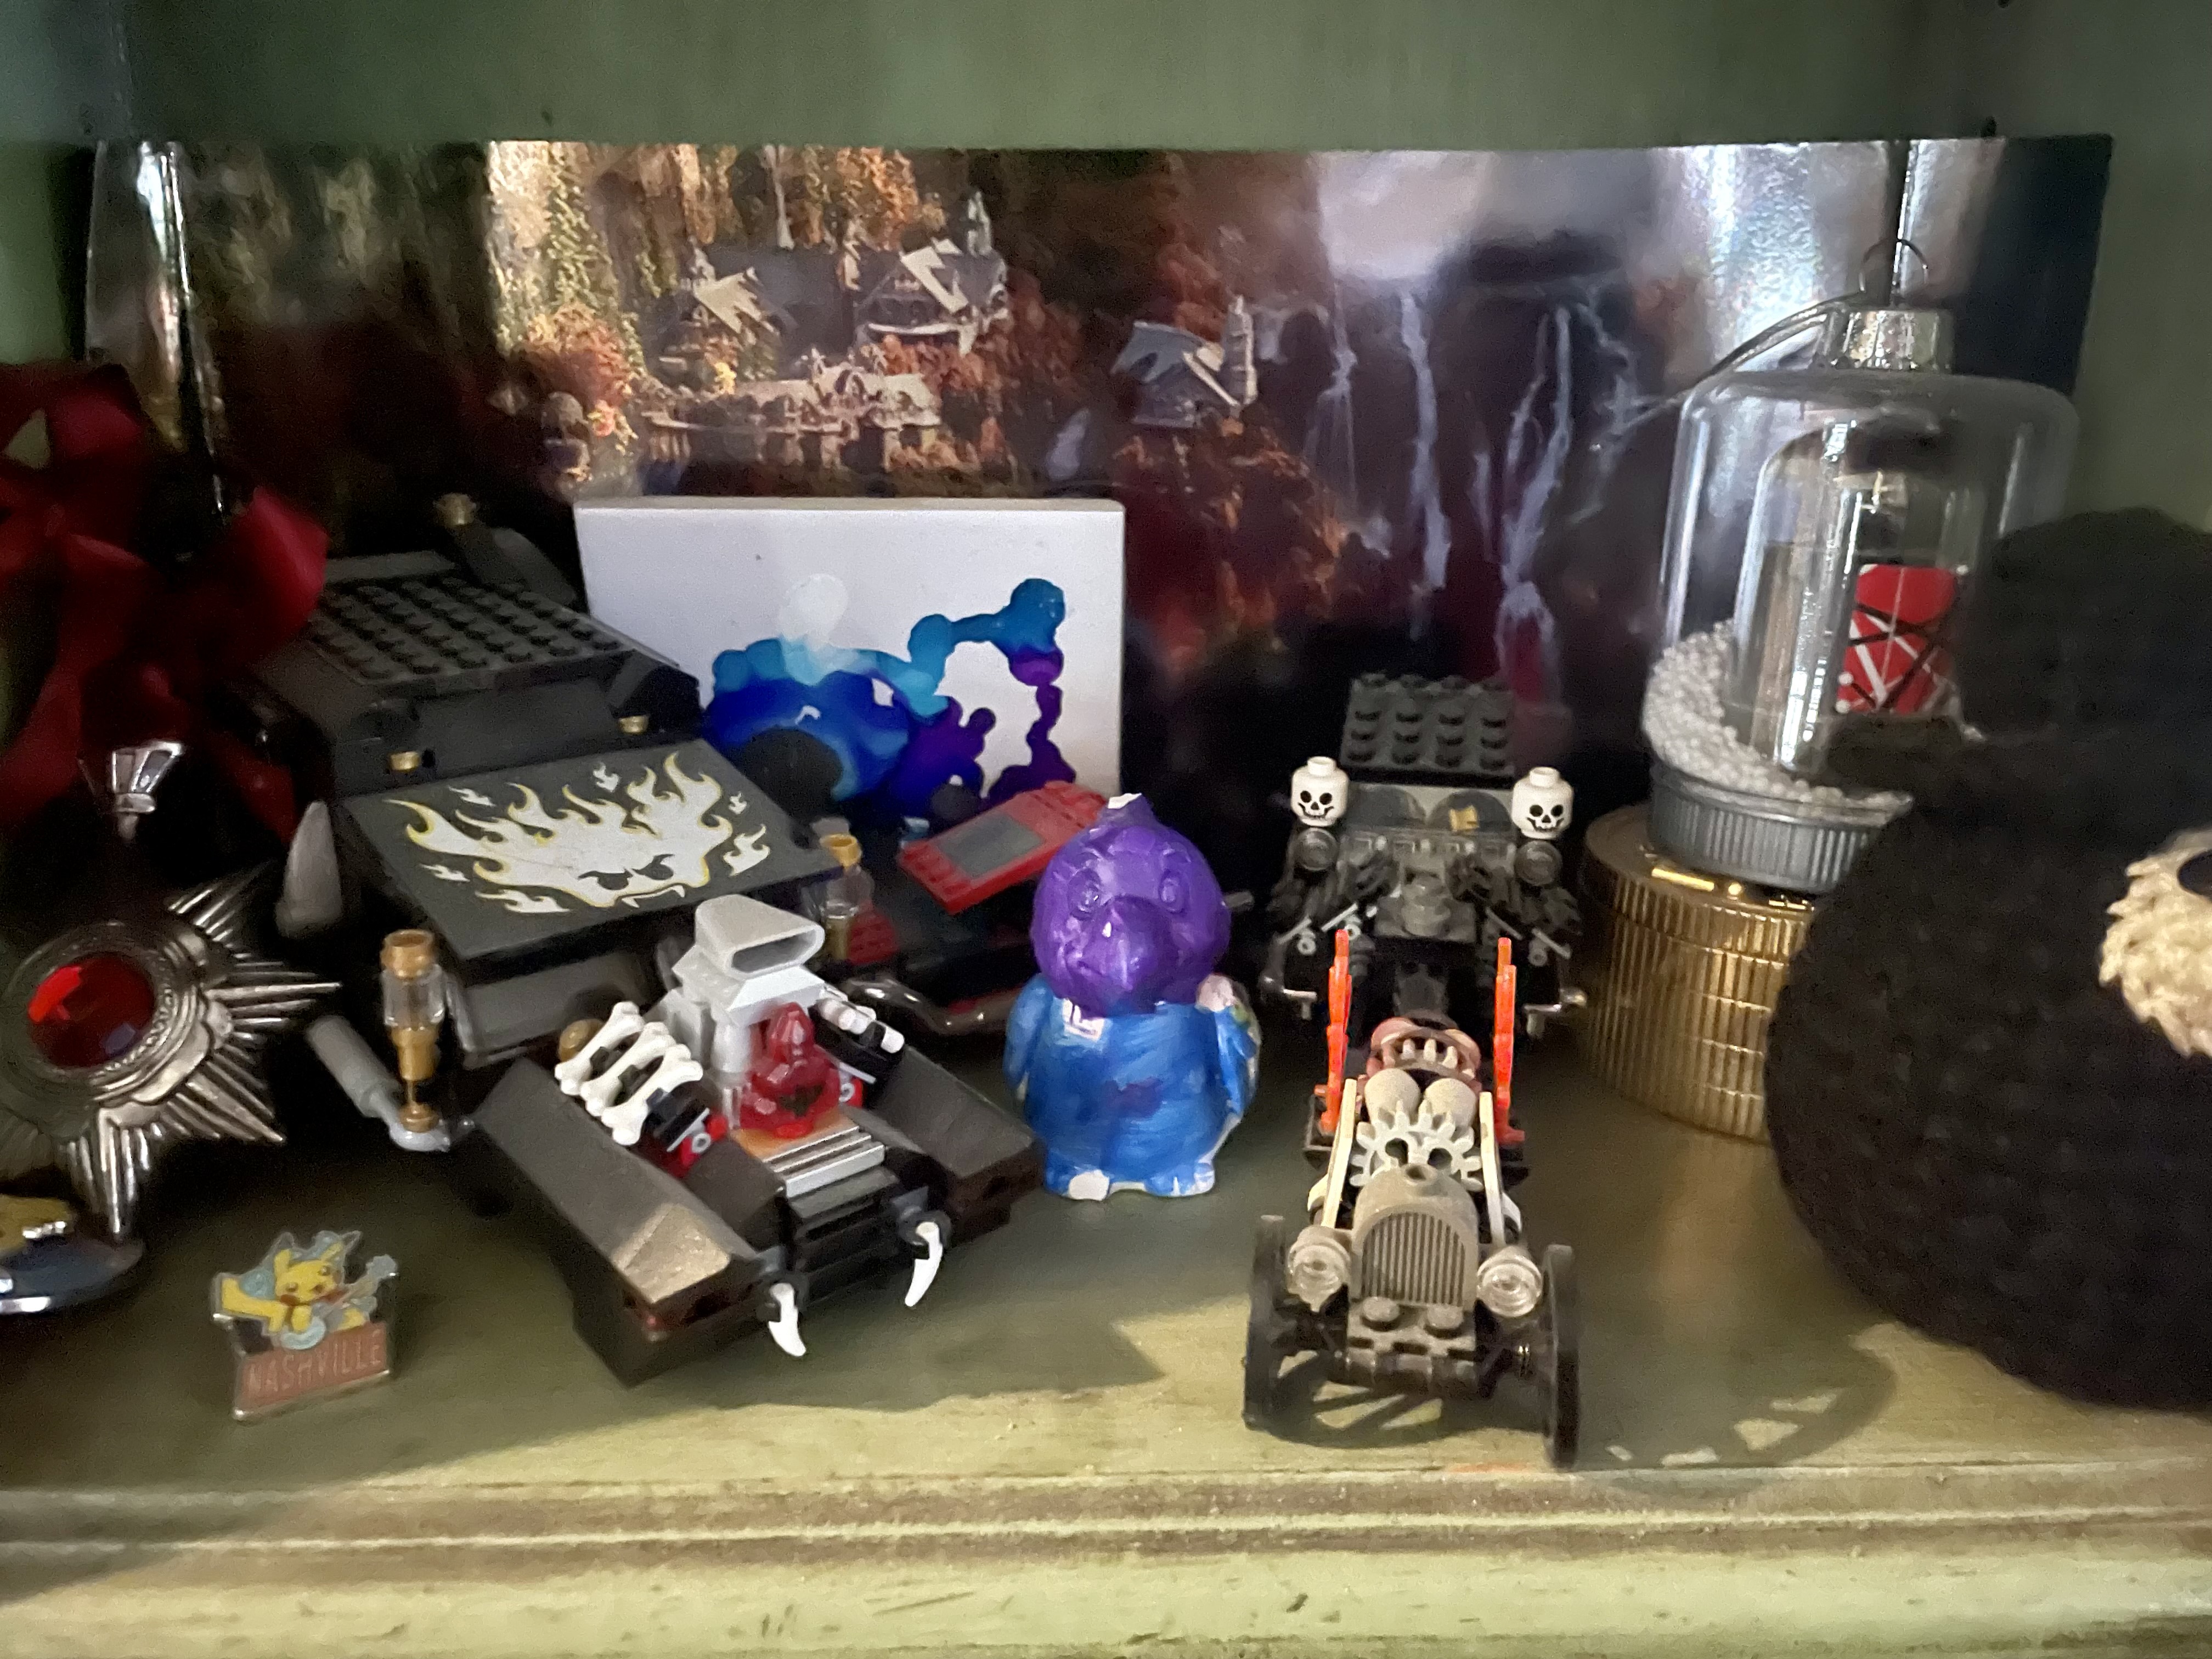
My parrot has a prized spot on our knick knack shelf and I smile every time I look at it/think about it. Here’s to many more slumber parties and fabulous memories with my lil BFF!

What is a gift that you cherish? What is your favorite thing that someone made for you? I want to hear from all of you, so leave me a comment and let’s chat! Much love. -Sarah

A Very Madea Craft

Standard
A Very Madea Craft

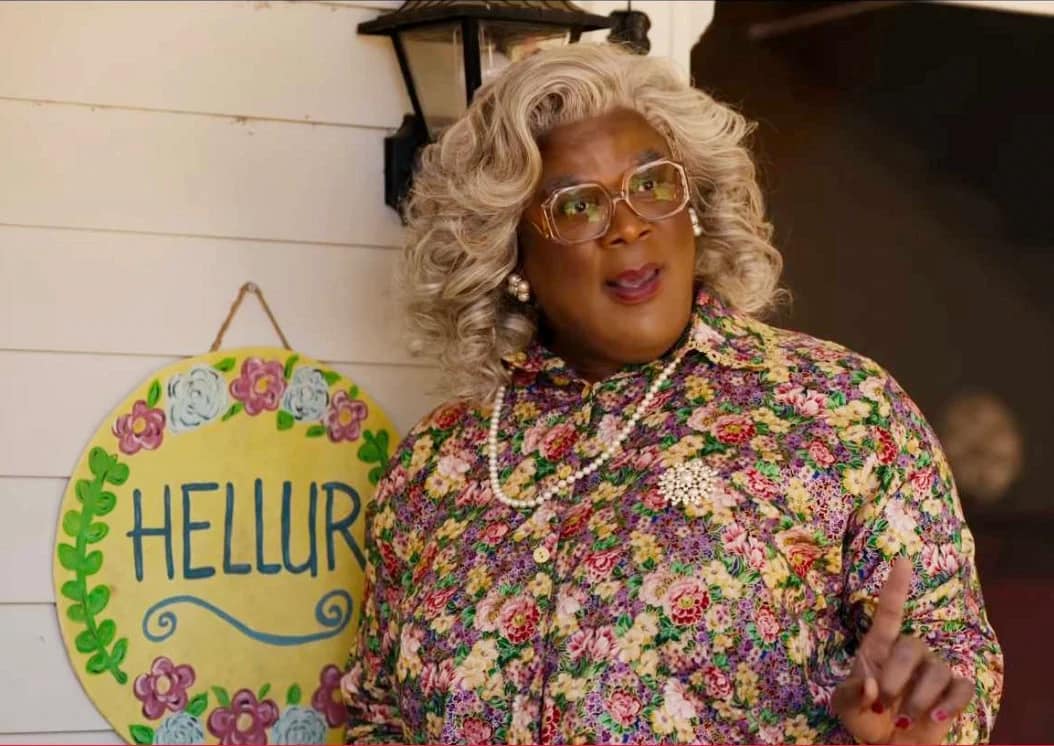
Hello!!! This past Halloween, Johnny and I watched “Boo! A Madea Halloween” for shits and gigs. Little did we know, we would end up LIVING for the Madea franchise and have worked our way through almost the entire collection over our holiday break. What can we say, we love Tyler Perry in a mumu! During one of our viewings, we noticed a welcome sign outside of Madea’s home that says “Hellur” and I decided I wanted to make one for our apartment. So, we went to Walmart, purchased supplies, and went home to watch more Madea movies as I painted away. I’m not the most crafty gal in the world, but I think I nailed it! Check it out:

hellurimage_50425089(6)image_50734337(2)

It has been a long while since I have crafted anything and it felt really good to make this sign and bask in its awesomeness. I am SO proud of how it turned out and it made me happy to hear Johnny’s raving compliments as I completed my project. I created my own little painting station on the floor with a trash bag as a tarp, prepared my paints and water, and paper towel then painted the base of my sign yellow. My goal was to make this sign as close to the one in the movie as possible. We also plan on making a goth version of it in black, red, and white. Johnny already spray painted the base of his, but I have a feeling I will have to do the painting portion lol.

Once the yellow paint had dried, it was time to get started on the pattern. I started with the leaves going around the sides of the sign, which was most helpful. This allowed me to set up the space for the flowers on the top and bottom and the “Hellur” smack dab in the middle. The leaves were easy peasy, but I definitely ran into some difficulty with the flowers. Despite how simple they look, mine just wasn’t going accordingly to plan. The extra colors in the petals gave me the most trouble and my first attempt ended up looking so muddled that I had to cover it up with yellow paint.

As I waited for my “whoops” coat to dry, I had to figure out what to do next because I knew I wouldn’t be satisfied with my second go at the flowers if I tried again. Rather than another attempt to replicate them, I switched gears and went for roses instead. As the paint dried, I practiced the technique to make watercolor roses. Of course, this is much different with acrylic paint but it was basically the same idea. This was much more like it and I love how it turned out! The roses were a time consuming process and it was well worth it. I loved how it added my own personal touch to the sign!

After the flowers were done, all that was left to do was paint a big, friendly “Hellur” and let the sign dry. This painting costed me less than fifteen dollars in supplies and it is one of my favorite things that I have ever made. I can’t wait to hang it up in the apartment!

What is your favorite Madea movie? Have you made any crafts recently? I want to hear from all of you, so leave me a comment and let’s chat! Much love. -Sarah
Watercolor Weeping Willow Pt. 2

Standard
Watercolor Weeping Willow Pt. 2

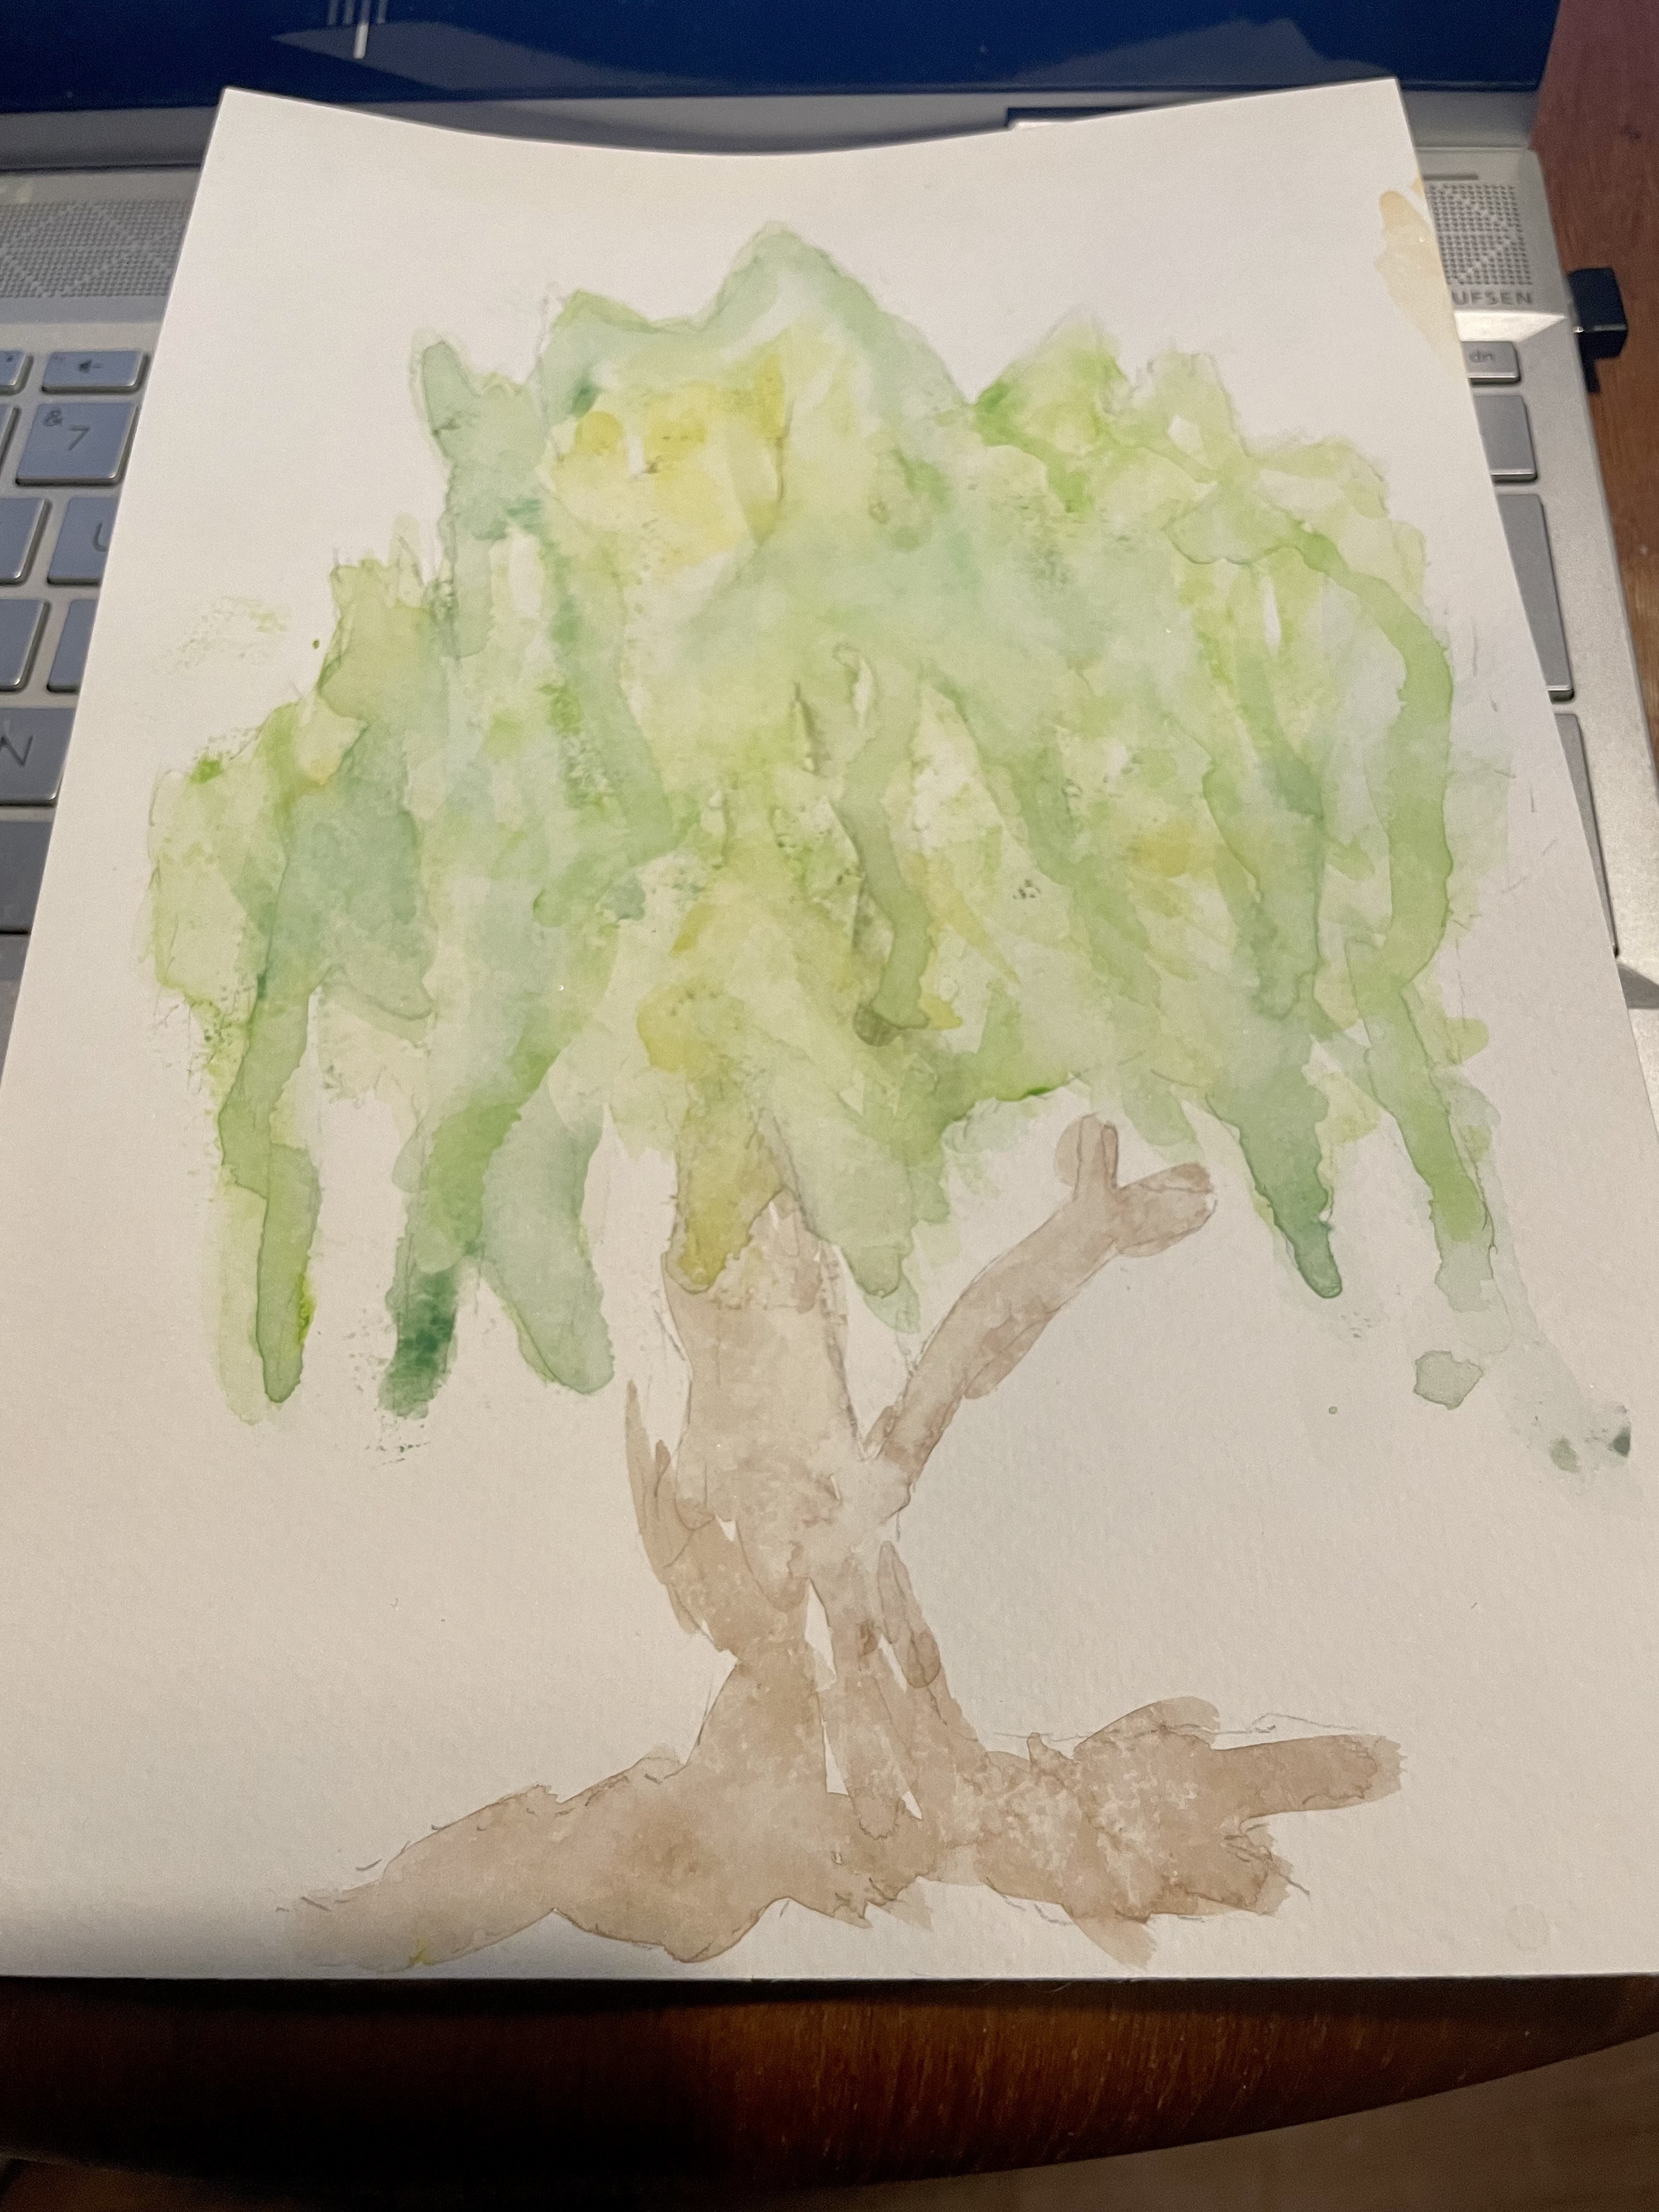
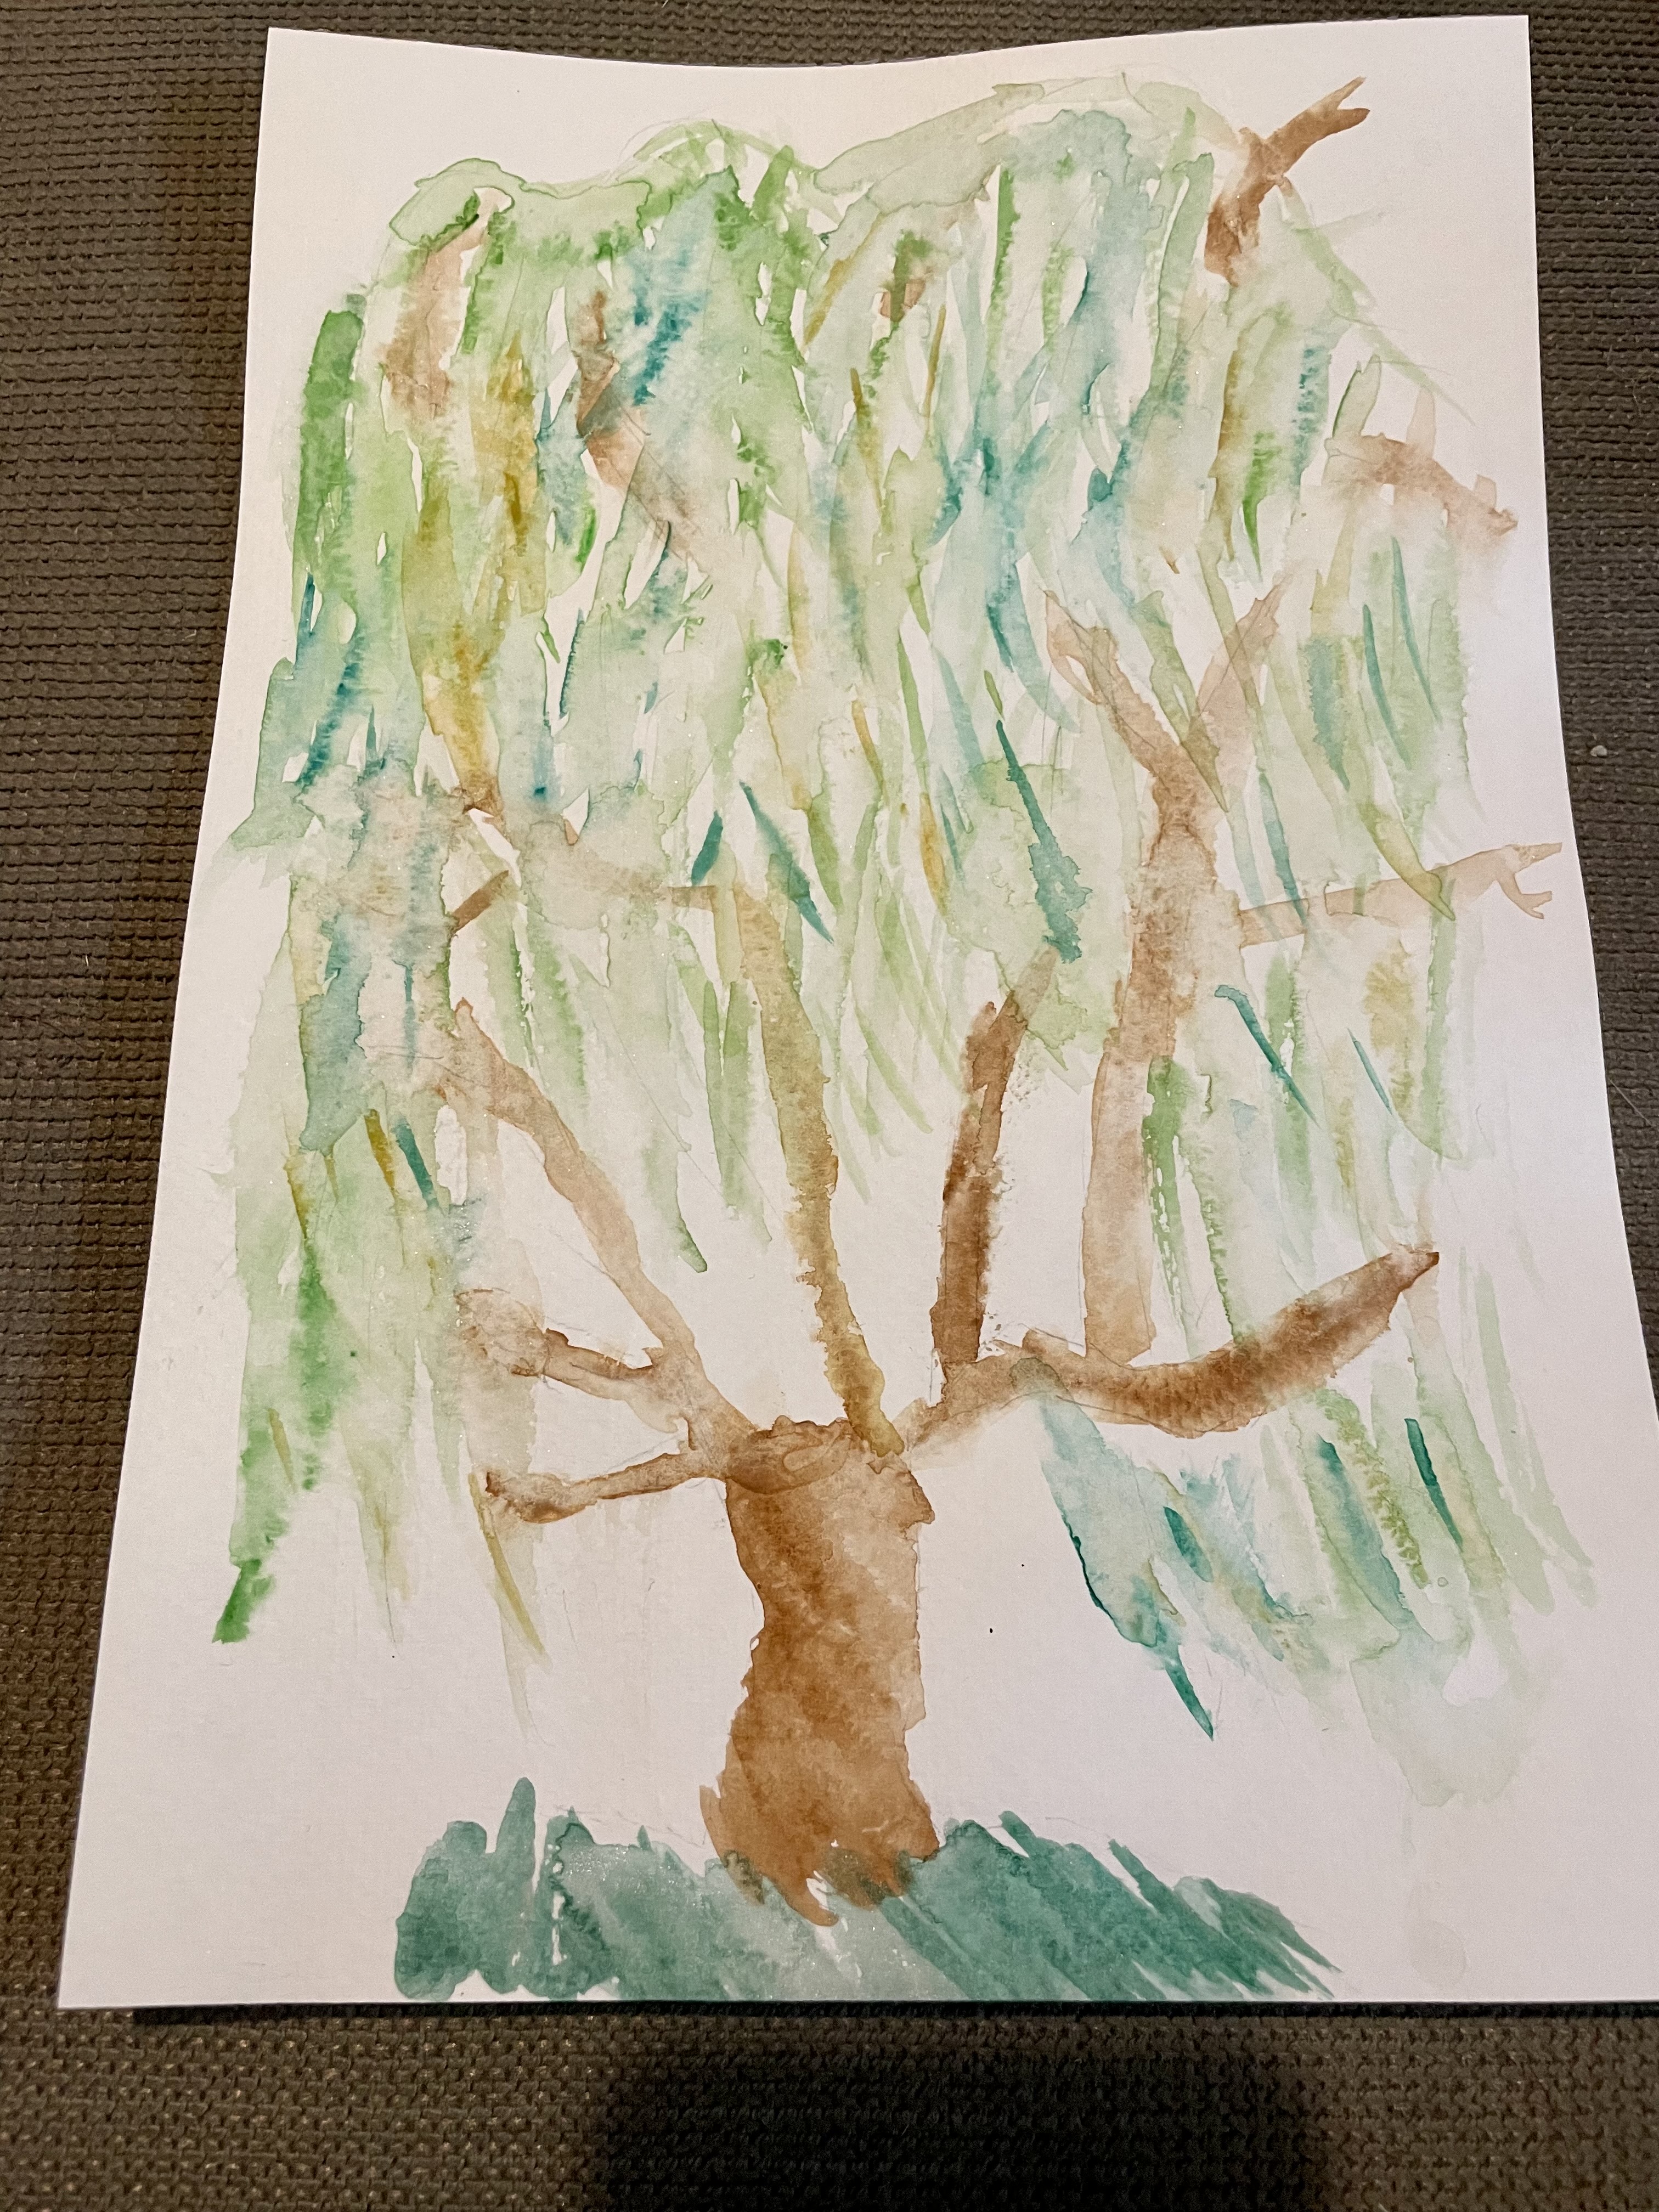
Hello! This past Tuesday, I spent a lovely afternoon painting with my mom. I wanted to revisit doing a watercolor weeping willow to see if I could improve upon my last one. Like my last effort, I am not especially pleased with what I came up with. However, I do think there were a lot of things on an individual basis that were good. The big picture was just meh, though. Take a look at my latest watercolor creation and I’ll tell you what I did like about it:

image_50366209(1)

What bothers me the most about this picture is that I didn’t get full weeping willow vibes from it. I think it’s actually a pretty decent tree, but it wasn’t the tree I wanted lol! I do like the trunk that I made quite a bit and I thought that the color I mixed up for it was great. I also am a fan of the overall color palette that I established. To achieve it, I did a lot of mixing of greens, yellows, blues, and browns. It’s a lot of fun to create your own colors and see what you come up with!

The thing that I am happiest with about this weeping willow is that I think I am getting a more firm grasp on creating the signature “tendrils”. For my other attempt, I did a lot of brush strokes that weren’t blended the best. This time around, I did a really light base coat over the tree and patted it dry. Then, I painted waterlines and applied some paint to the very top of the line. After I had my trail of water, I held the paper up and let the paint run down. This was the closest I got to a tendril and I think that I’ll be onto something if I do smaller waterlines the next time. 😀

As with all of my watercolor paintings, this “weeping willow” is not the best. It doesn’t have to be, though! It’s always nice to spend time painting with my mom and after every sesh, I have new ideas to try. The outcome wasn’t successful, but the fact I tried and am more than willing to try again is a GREAT SUCCESS!!

What is your favorite kind of tree? What should I try painting next? I want to hear from all of you, so leave me a comment and let’s chat! Much love. -Sarah
Watercolor Weeping Willow

Standard
Watercolor Weeping Willow

Hello!! Watercolor painting is something my mom and I really enjoy and it has been a minute since our last painting sesh. Flowers are, admittedly, the only thing we have been painting and I decided to try something different when we painted this Tuesday. I wanted to try my hand at a weeping willow! As always when I have just painted something, I am never particularly thrilled with it. However, this was my first go at anything but a flower and I feel pretty good about attempt number one:

image_50433537(7)

To begin, I assembled my palette with different green, brown, and yellow watercolor paint. Then, I sketched a super rough outline with some assistance from Google Images. I started with the grass and I actually love how that turned out, then moved onto the branches. To do this, I painted the branches with water alone and then added color to the wet paper. I do like the trunk and the placement of the branches, but the upper ones got muddled when I painted the leaves. As always, it was because I was impatient!

When I painted the leaves, I started from the top down and painted the top with water then color and brought it down in thinner strokes. I think that the idea was right, but the execution was wrong. Like the branches, the colors got murky at the top. And, yes, it was because I was impatient! I should have allowed for drying time and I didn’t – especially when I was introducing new colors.

I definitely want to give the weeping willow another shot and next time, I will give myself enough time to give the painting drying time. I like the colors I used so I am not going to change that. I also like that there were areas of white within the painting too, which was a recommendation from a watercolor teacher. I’m excited to see my next painting in comparison to this one because I know there will be at least some improvement. I’m proud of myself for trying something new!

Watercolor painting is a nice reminder of try and try again and I can’t wait to paint again with my mom. I branched out with my weeping willow (See what I did there?) and it’s not the best. But, it’s the best one I have painted yet! 🙂

What is your favorite medium of art? What is your favorite plant? I want to hear from all of you, so leave me a comment and let’s chat! Much love. -Sarah
Watercolor Pansies

Standard
Watercolor Pansies

Hello!! My mom and I really enjoy watercolor painting and it is such a fun and different medium of art to work with. With all of the craziness going on in both of our lives, we haven’t been able to paint as often as we would like. In fact, the last time we painted together was back in March! During that painting session, I tried my hand at pansies and was pretty pleased with the outcome as I had never tried it before.

This past week, we finally got to paint together and I decided to pick up where I left off with pansies. I wasn’t as happy as I was with the ones you’re about to see as the previous effort. However, I hadn’t painted in months and we all have to start (again) somewhere! Check out the image I was trying to pull from and my attempts:

image_6483441(12)image_50369025

After sketching out a basic outline for each flower, I began painting the top right pansy. Obviously, it was a bit of a bust and my mistake was being impatient AF. I gave no time for literally anything to sit and the blob flower became a muddled mess. I was feeling frustrated because my previous pansies were not the best but certainly not the worst and this one just sucked lol. So, I had to regroup, take a breath, and remember that patience is a virtue in life and especially with watercolor!

For the following flowers, I tried really hard to take my time and use the paints and water to my advantage. I also channeled the advice from a previous watercolor teacher to use areas of no paint within what you are working on too. The next flower I attempted was the one in the bottom left and I still wasn’t feeling it, but it was getting closer. Then, I had a brain blast and remembered how I did my original pansies!

The first time I painted pansies, I did a rough outline and then started in the middle. I began with the yellow center and line detailing and waited for it to dry. Then, I applied a light wash of paint, blotted it, and moved onto the next color. I used my original method for the middle right pansy and was much happier with how it turned out. There was even some areas of white to accent the red and orange too. That was much more like it and I ended my painting session feeling satisfied with the top left, two middle, and bottom right pansies.

I’d be a liar if I said I wasn’t slightly disappointed with how my pansies turned out. But, I reminded myself that it was a great first go after an over three month long hiatus. After I shook away the blahs, I felt motivated to paint more so I never have to restart my progress again. I can’t wait for my next painting session with my mom!

What helps motivate you after a disappointment? Have you tried any new artistic ventures recently? I want to hear from all of you, so leave me a comment and let’s chat! Much love. -Sarah